

Hydro dipping, also known as water transfer printing, is an incredible technique that allows you to apply intricate, colorful designs to virtually any object.
Whether you’re looking to personalize your sneakers, helmets, car parts, or even a simple coffee mug, hydro dipping can bring your items to life with eye-catching patterns and artwork.
In this guide, we’ll walk you through the process of hydro dipping, from gathering your materials to applying the design and finishing up with tips for the best results.
What is Hydro Dipping?
Hydro dipping involves immersing an object into a water-based solution that has a film of paint floating on top.
This paint film is transferred onto the object as it is dipped into the water, resulting in a seamless, custom design. The technique can be used on various materials, such as plastic, metal, wood, and even fabric.
Hydro dipping is particularly popular in the world of custom automotive parts, gaming accessories, footwear, and home décor. It allows for unique, multi-colored patterns that would be difficult or time-consuming to create with traditional methods.
Materials Needed for Hydro Dipping
Before you start hydro dipping, make sure you have the right materials for a smooth and successful process. Here’s a list of essential items:
- Object to Hydro Dip – Choose the item you want to decorate, such as a plastic or metal object.
- Hydrographic Film – This is the film that will transfer the design to your object. You can choose from a wide range of designs, including carbon fiber, flames, camo, and various custom patterns.
- Water-based Paint – You’ll need spray paints that are water-based to create the color layers on top of the water. Typically, 2-3 colors are used to create a marbled effect.
- Activator Spray – This helps activate the paint film on the water surface, ensuring the design adheres to the object when submerged.
- Plastic Tub – A large enough tub to fit your item and hold the water and paint film.
- Gloves – Always wear gloves to protect your hands from paint and activator chemicals.
- Masking Tape and Painter’s Tape – Used to protect areas of the object you don’t want to dip.
- Cleaning Supplies – Cleaning the object before dipping is crucial for adhesion.
- Clear Coat (Optional) – After hydro dipping, applying a clear coat will protect your design and give it a glossy finish.
Step-by-Step Guide to Hydro Dipping
Now that you have your materials, it’s time to get started! Follow these steps for a successful hydro dipping project:
Preparation and Cleaning
The first step is to thoroughly clean the item you are going to dip. This ensures that there are no oils, dust, or dirt that could interfere with the paint’s adhesion.
Use soap and water, followed by a rinse with rubbing alcohol to ensure the surface is completely clean and dry.
If the object has areas you don’t want to be dipped (such as logos or hardware), use painter’s tape or masking tape to cover these sections.
Prepare the Water

Fill your plastic tub with warm water. The size of the tub should be large enough to submerge your item without it touching the sides or bottom.
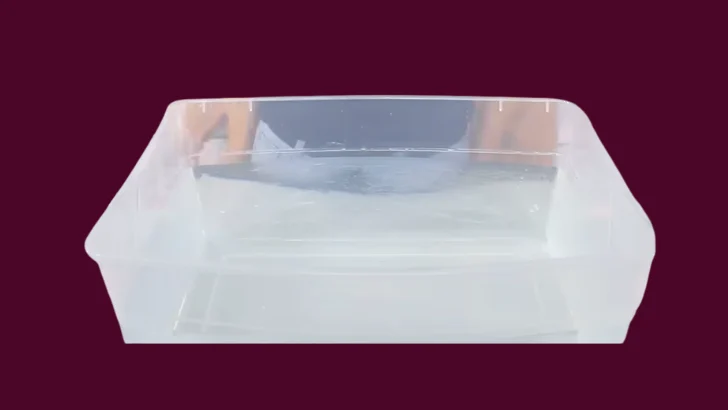
The water temperature should be around 80°F (27°C). If the water is too cold or hot, it could affect how the paint film floats and adheres to the object.
Spray the Paint
Shake your spray paint cans well, and lightly spray a base color on the surface of the water.
You want the paint to float on the water, not mix with it. After the first color is sprayed, let it sit for a few seconds, and then spray additional colors to create the desired design.
You can experiment with how much paint you spray to create various effects—whether you want bold streaks or soft, blended patterns.
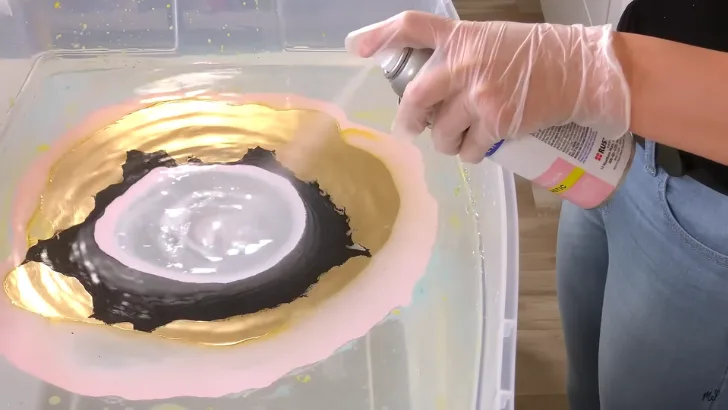
Activate the Paint Film
Once you have your desired colors on the water’s surface, use the activator spray to activate the paint film.
Hold the spray can about 8–12 inches from the water and apply a thin, even coat over the paint film.
The activator causes the paint to become more adhesive and allows it to stick to the object as you dip it.
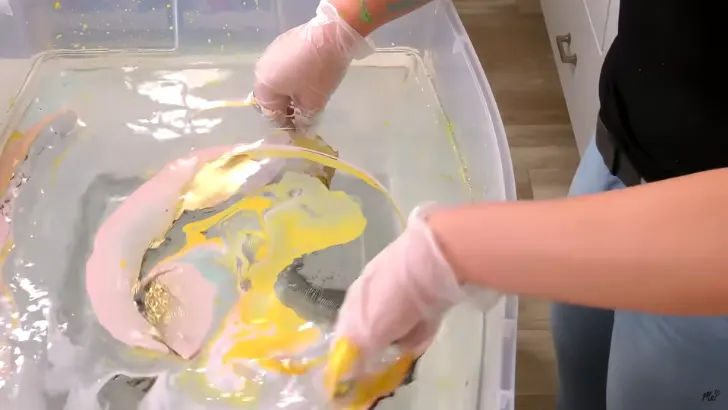
Dip the Object
Now, carefully dip your prepared object into the water, ensuring it goes in slowly and evenly to avoid creating air pockets or uneven patterns.
The object should be submerged completely, and it’s essential to keep it steady while the paint film wraps around it.
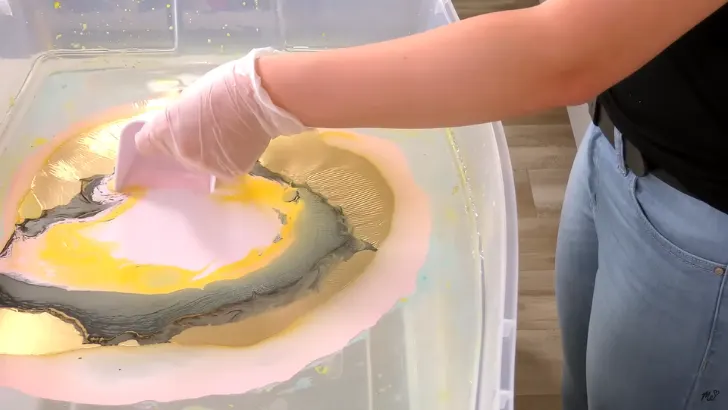
Rinse and Dry
Once your item is fully dipped, remove extra colour gently form the water surface and immediately rinse it under cool water to remove any excess paint or film.
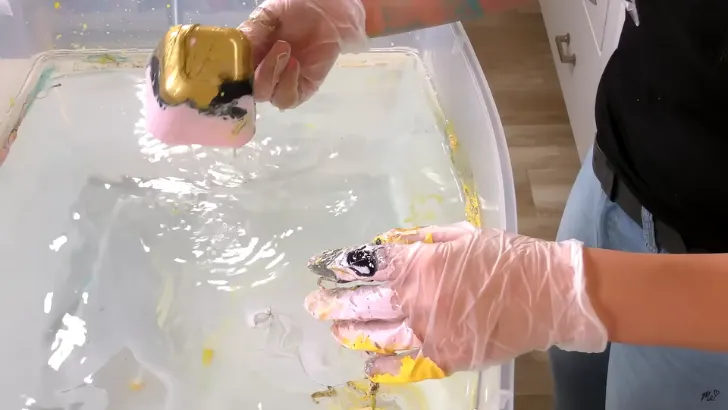
Be gentle when rinsing to avoid disturbing the design. Let the object dry completely before moving on to the next steps.
Finishing Touches
After your object is dry, inspect the design. If you’re happy with it, you can now apply a clear coat to protect the print.
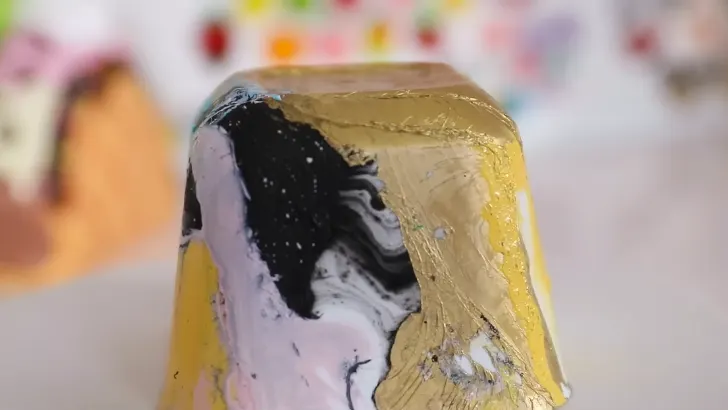
The clear coat will also give it a shiny, polished finish. Be sure to follow the instructions on the clear coat spray for the best results. Let the object cure for 24 hours before handling it.
Tips for a Successful Hydro Dip
Use high-quality hydrographic film for the best results. Cheap film may not transfer well or create the designs you want.
Test on a smaller object first to practice and get the feel of the process before hydro dipping something larger or more valuable.
Experiment with different colors and techniques to get unique effects. You can create marble patterns, ombre effects, or even mix colors to make a custom design.
Be patient—rushing the dipping or activation process can lead to poor results.
Wear protective gear like gloves and masks to avoid inhaling fumes or getting paint on your skin.
Conclusion
Hydro dipping is a fun and creative way to customize objects and create one-of-a-kind designs.
Whether you want to decorate your car parts, upgrade your favorite shoes, or create a personalized gift, hydro dipping offers endless possibilities.
By following the steps in this guide and experimenting with different materials and designs, you can master this technique and produce stunning results every time.
Happy dipping!


