
Candles add warmth, ambiance, and a touch of elegance to any space. While store-bought candles can be pricey, making your own is a fun, cost-effective way to customize scents, colors, and styles to match your taste.
Whether you’re crafting for relaxation, gifts, or home decor, this guide will walk you through easy DIY candle recipes that anyone can master.
Essential Materials and Tools
Materials Needed:
- Wax: Soy wax, beeswax, or paraffin wax
- Wicks: Cotton or wood wicks
- Containers: Mason jars, tins, teacups, or recycled glass jars
- Fragrance Oils: Essential oils or candle-specific fragrance oils
- Colorants: Candle dyes or natural options like turmeric or beetroot powder
- Wick Holders: Chopsticks or wick-centering tools
Tools you will need:
- Double boiler or a heat-safe bowl over a pot of boiling water
- Thermometer
- Stirring utensil (wooden stick or spoon)
- Scissors
Basic Candle-Making Process
Melt the Wax: Fill the bottom of a double boiler with water and bring it to a simmer. Add wax to the top pot and stir occasionally until fully melted.
Add Fragrance and Color: Once melted, remove from heat. Add fragrance oils (about 1 oz per pound of wax) and your desired colorants.
Attach the Wick: While the wax cools slightly, secure the wick to the bottom center of your container using a dab of melted wax or a wick sticker.
Pour the Wax: Slowly pour the wax into the container, holding the wick upright. Leave about 1/2 inch of space at the top.
Secure the Wick: Use a chopstick or wick holder to keep the wick centered as the wax sets.
Cool and Trim: Let the candle cool for at least 4 hours. Once solid, trim the wick to about 1/4 inch.
Easy DIY Candle Recipes
1.) Classic Lavender Soy Candle
Ingredients:
- 1 lb soy wax
- 1 oz lavender essential oil
- Purple candle dye (optional)
- Cotton wick
Instructions:
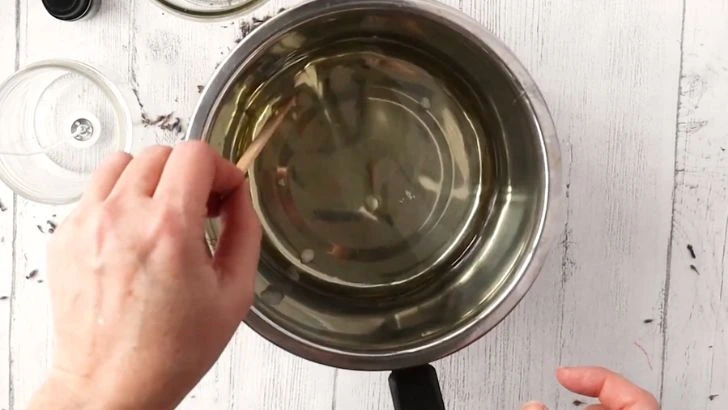
Melt the Wax: Begin by placing 1 lb of soy wax in the top of your double boiler. Heat it gently, stirring occasionally, until fully melted. Soy wax melts at a relatively low temperature, so keep an eye on it to avoid overheating.
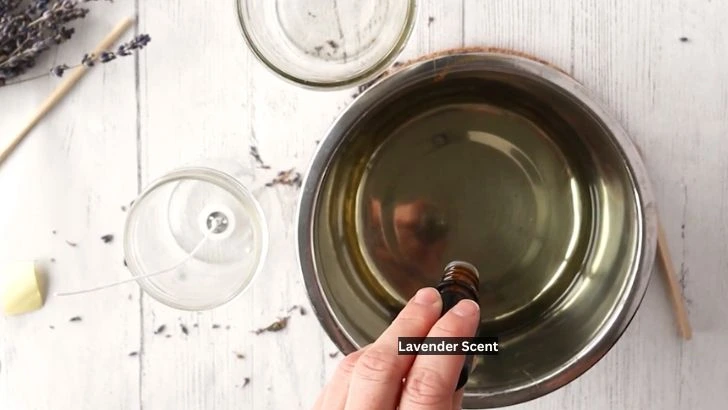
Add the Lavender Scent: Once the wax is completely melted, remove it from the heat source. Let it cool slightly to around 120-130°F (this helps preserve the potency of the essential oils). Stir in 1 oz of lavender essential oil, ensuring the fragrance is evenly distributed.
Add Color (Optional): If you’d like a subtle purple hue, add a small amount of purple candle dye. Stir thoroughly until the color is uniform. You can adjust the shade by adding more dye for a deeper color or less for a pastel effect.
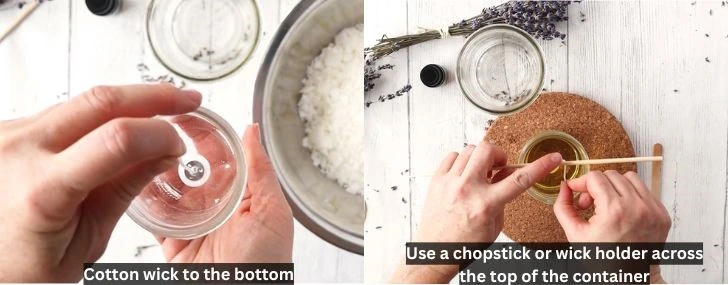
Prepare the Wick: While the wax cools slightly, secure the cotton wick to the bottom of your chosen container. You can use a dab of melted wax or a wick sticker to hold it in place. Use a chopstick or wick holder across the top of the container to keep the wick centered.
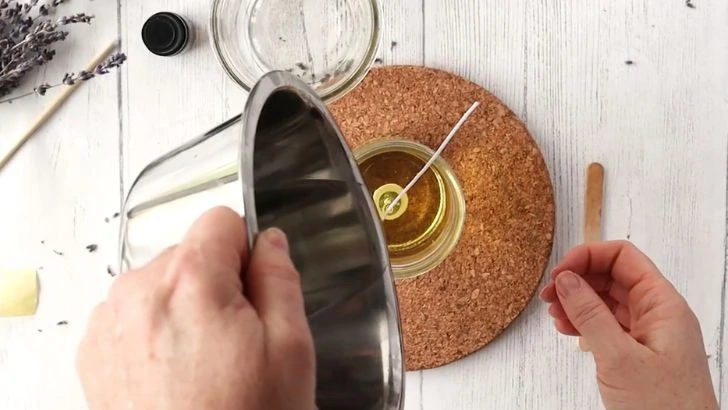
Pour the Wax: Slowly pour the scented, colored wax into the container, leaving about 1/2 inch of space at the top. Pouring too quickly can create air bubbles, so take your time.
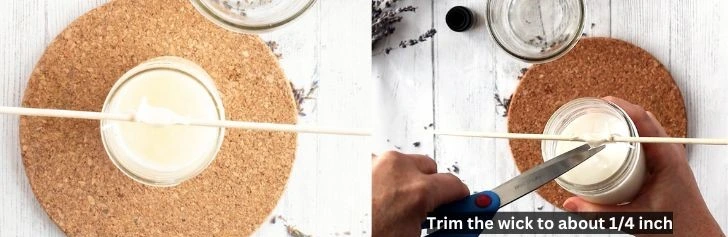
Set and Trim: Allow the candle to cool undisturbed for at least 4 hours, or until fully solidified. Once set, trim the wick to about 1/4 inch to ensure a clean, even burn.
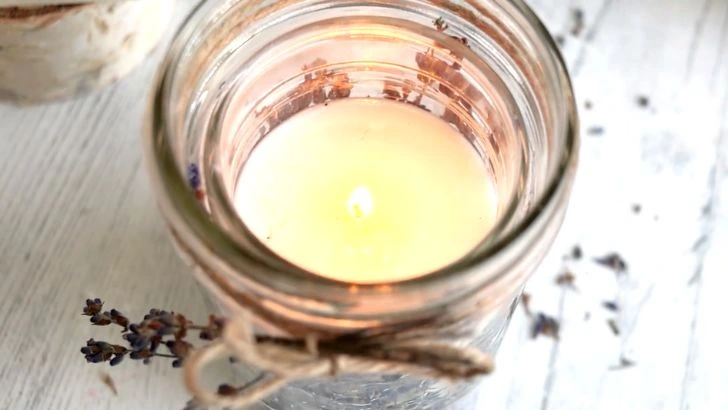
Cure and Enjoy: For the best fragrance throw, let the candle cure for 24-48 hours before lighting. Enjoy the calming aroma of your homemade lavender candle!
2.) Beeswax and Honey Candle
Ingredients:
- 1 lb beeswax
- 2 tbsp honey
- 1 oz vanilla essential oil
- Wooden wick
Melt the beeswax, add honey and vanilla, and pour into your container for a warm, sweet aroma.
3.) Citrus Burst Candle
Ingredients:
- 1 lb soy wax
- 0.5 oz orange essential oil
- 0.5 oz lemon essential oil
- Yellow candle dye
- Cotton wick
Blend the citrus oils into the melted wax with yellow dye for a bright, energizing scent.
4.) Coffee Scented Candle
Ingredients:
- 1 lb soy wax
- 1 oz coffee-scented fragrance oil
- Brown candle dye (optional)
- Dried coffee beans (for decoration)
- Cotton wick
Add coffee fragrance to melted wax, pour into a mug, and sprinkle coffee beans on top for a cafe-inspired candle.
5.) Herbal Eucalyptus Candle
Ingredients:
- 1 lb soy wax
- 1 oz eucalyptus essential oil
- Green candle dye (optional)
- Cotton wick
Add eucalyptus oil and green dye to the wax for a refreshing, spa-like candle.
Conclusion
Making your own candles is a fun and rewarding DIY project that allows you to customize scents, colors, and designs to suit your style.
Whether you’re making them for yourself or as gifts, these easy recipes and tips will help you create beautiful, fragrant candles that light up any space. Happy candle-making!
For more DIY craft ideas and tutorials, be sure to check out our blog!


