
Paper squishies are fun, easy-to-make, and customizable squishy toys that kids and adults alike can enjoy.
Unlike store-bought squishies, DIY paper squishies are inexpensive and offer unlimited creativity.
Whether you want to create an animal, a cartoon character, or your favorite food item, paper squishies allow you to bring your imagination to life.
In this guide, we will walk you through the entire process of making paper squishies, the materials required, and some fun ideas to try!
What Are Paper Squishies?
Paper squishies are homemade, squishy toys crafted using paper, tape, stuffing, and markers or paints for decoration.
These toys are great for stress relief and can be used as fun decorations or gifts. Unlike foam squishies, paper squishies are air-filled and require simple materials, making them a perfect DIY craft project.
Materials Needed
- To make your own paper squishies, you will need:
- White printer paper or construction paper
- Clear packing tape or laminating sheets
- Scissors
- Markers, colored pencils, or paints
- Pencil (for sketching designs)
- Stuffing materials (cotton, polyfill, tissue paper, or plastic bags)
- Glue (optional, for extra reinforcement)
Step-by-Step Guide to Making Paper Squishies
Step 1: Choose and Sketch Your Design
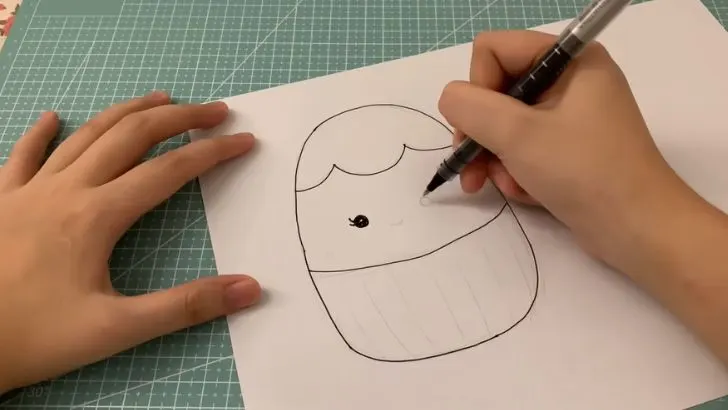
Think of a simple and fun design, such as a donut, ice cream cone, cat, or emoji.
Using a pencil, lightly sketch your design on a piece of paper.
Once you’re happy with your design, outline it with a black marker to make it stand out.
Step 2: Color Your Squishy
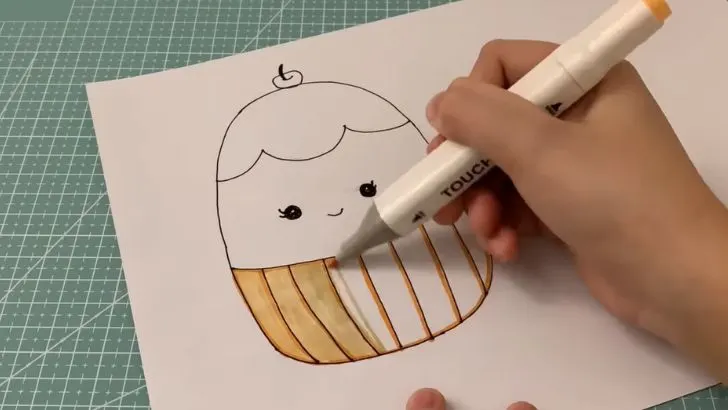
Use markers, colored pencils, or paints to bring your design to life.
Add shading or patterns for a more detailed look.
Let the colors dry completely before moving to the next step.
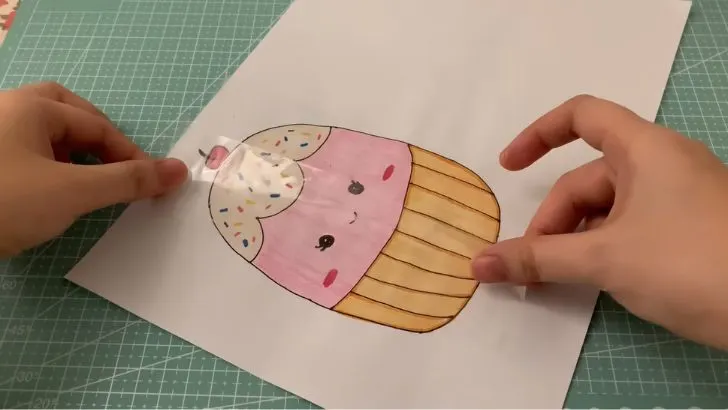
After coloring, cover the Squishy with tape so that the Squishy becomes waterproof and stain proof
Step 3: Cut Out the Design
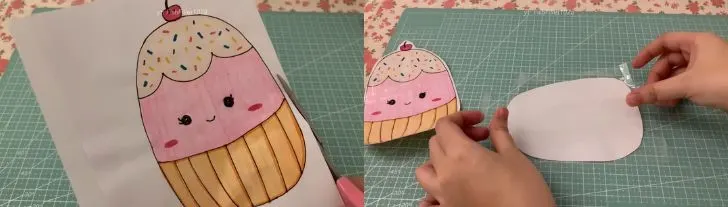
Carefully cut around your design, leaving a slight border if you want an outline effect.
Cut a second, identical piece for the back of your squishy.
Just like you covered the front part of the Squishy with tape, you also have to cover the back part of the Squishy with tape
Step 4: Tape the Edges
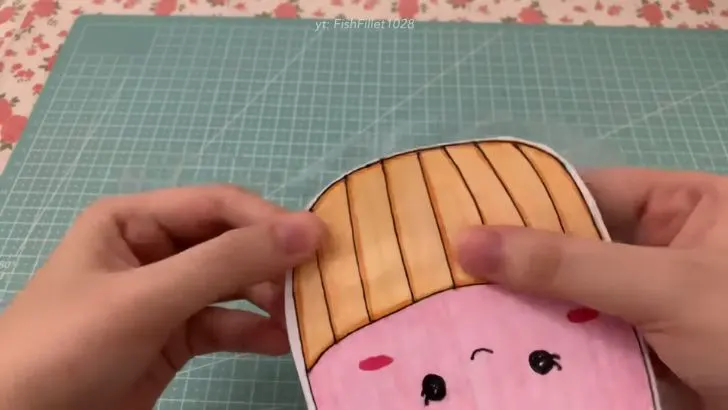
Place a piece of clear packing tape over the front and back pieces to laminate them.
Cut around the edges, leaving a small border to seal the design.
Carefully tape the edges together, leaving a small gap for stuffing.
Step 5: Fill Your Squishy
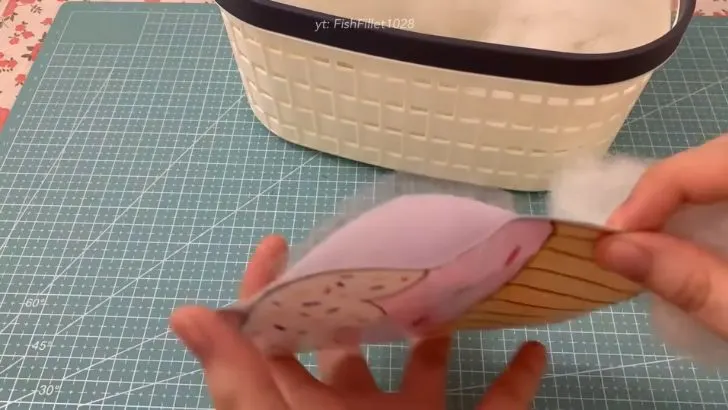
Insert soft stuffing material like polyfill, tissue paper, or plastic bag pieces through the gap.
Adjust the amount to get your desired squishiness level.

Once filled, seal the remaining gap with tape.
Step 6: Enjoy Your Paper Squishy!
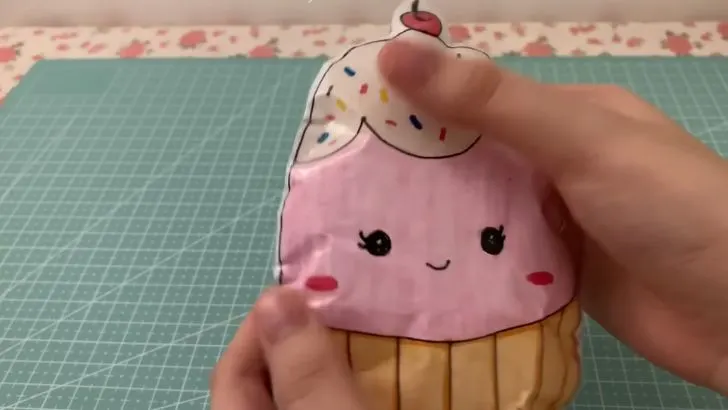
Now your DIY paper squishy is ready to be squeezed and played with. Try making different designs to build your own collection!
Creative Paper Squishy Ideas
Looking for inspiration? Here are some fun ideas to try:
Food-Themed Squishies: Donuts, pizza, cupcakes, ice cream cones
Animal Squishies: Cats, pandas, unicorns, fish
Emoji Squishies: Happy, sad, winking, heart-eyed emojis
Holiday-Themed Squishies: Halloween pumpkins, Christmas trees, Easter eggs
Tips for the Best Paper Squishies
Use multiple layers of tape for extra durability.
Don’t overstuff your squishy; too much stuffing can make it hard to squeeze.
Add glitter or stickers for extra decoration.
Try different paper types for unique textures.
Final Thoughts
DIY paper squishies are a fun and easy craft that anyone can enjoy. They are affordable, customizable, and make great gifts or stress-relief toys.
With just a few materials and a little creativity, you can make a variety of adorable squishies. Get crafting today and see how many creative designs you can come up with!


