
This collection of A to Z Alphabet Hat Crafts is an interactive, wearable learning resource designed for preschoolers and kindergarteners. These A4 sized printables combine phonics, fine motor practice, and creative play into one engaging activity.
By the end of the activity, each child will have a custom “Letter Crown” featuring six vocabulary words that start with that specific letter.
Detailed Breakdown of the Worksheets
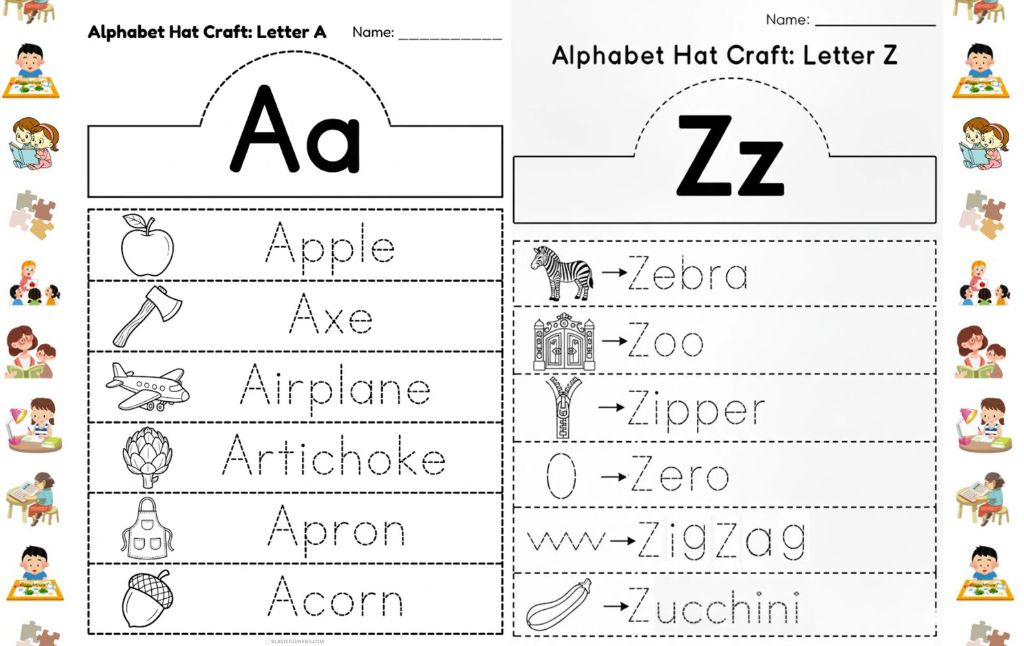
Each worksheet is divided into two main parts:
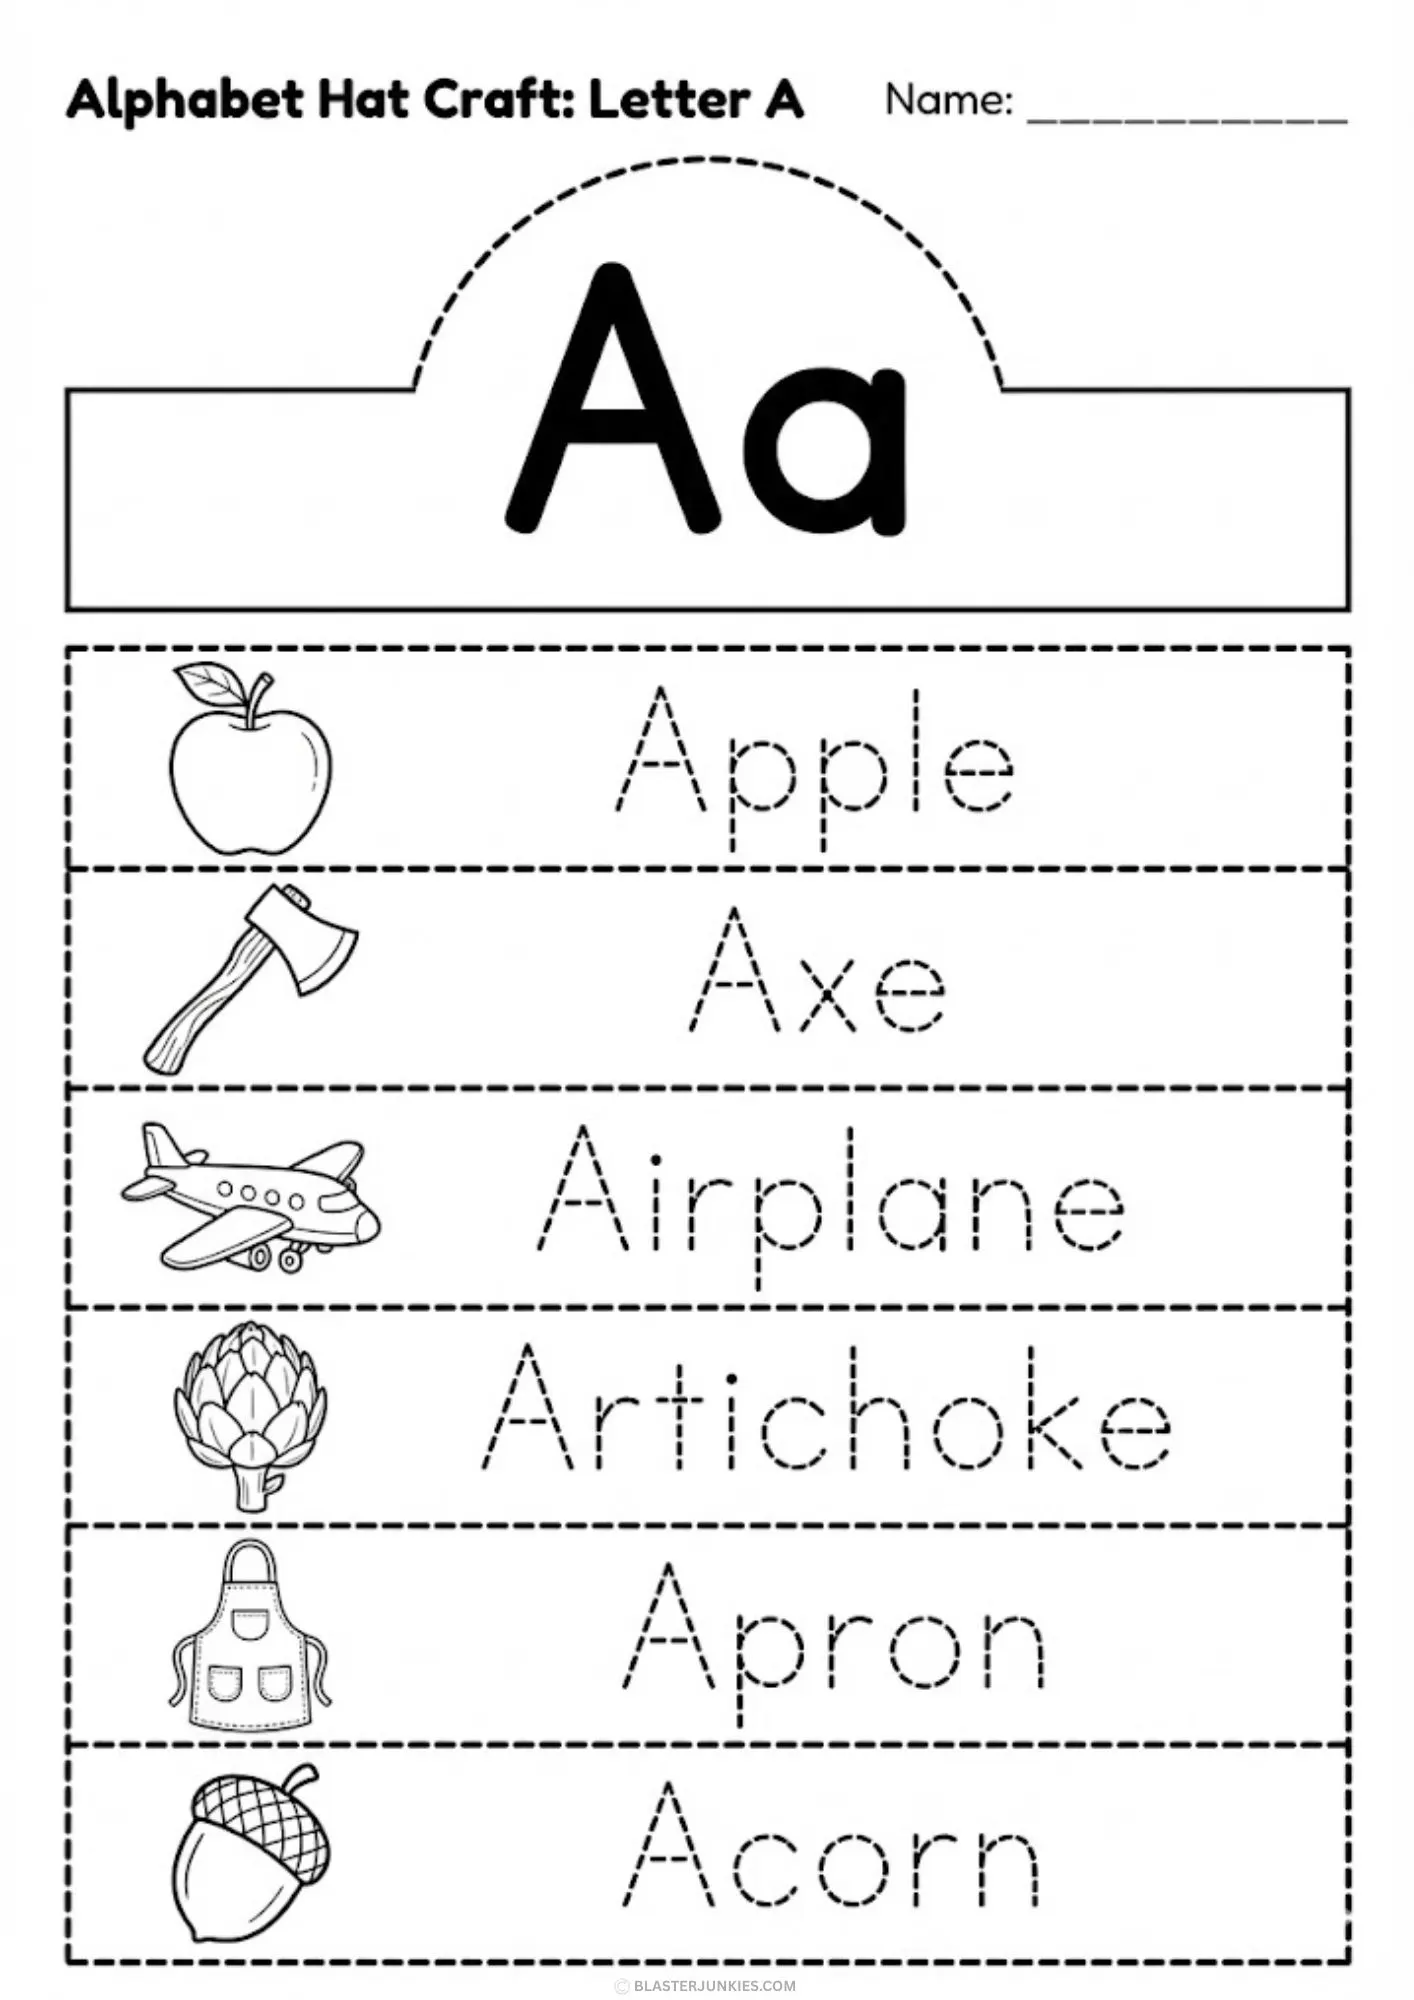
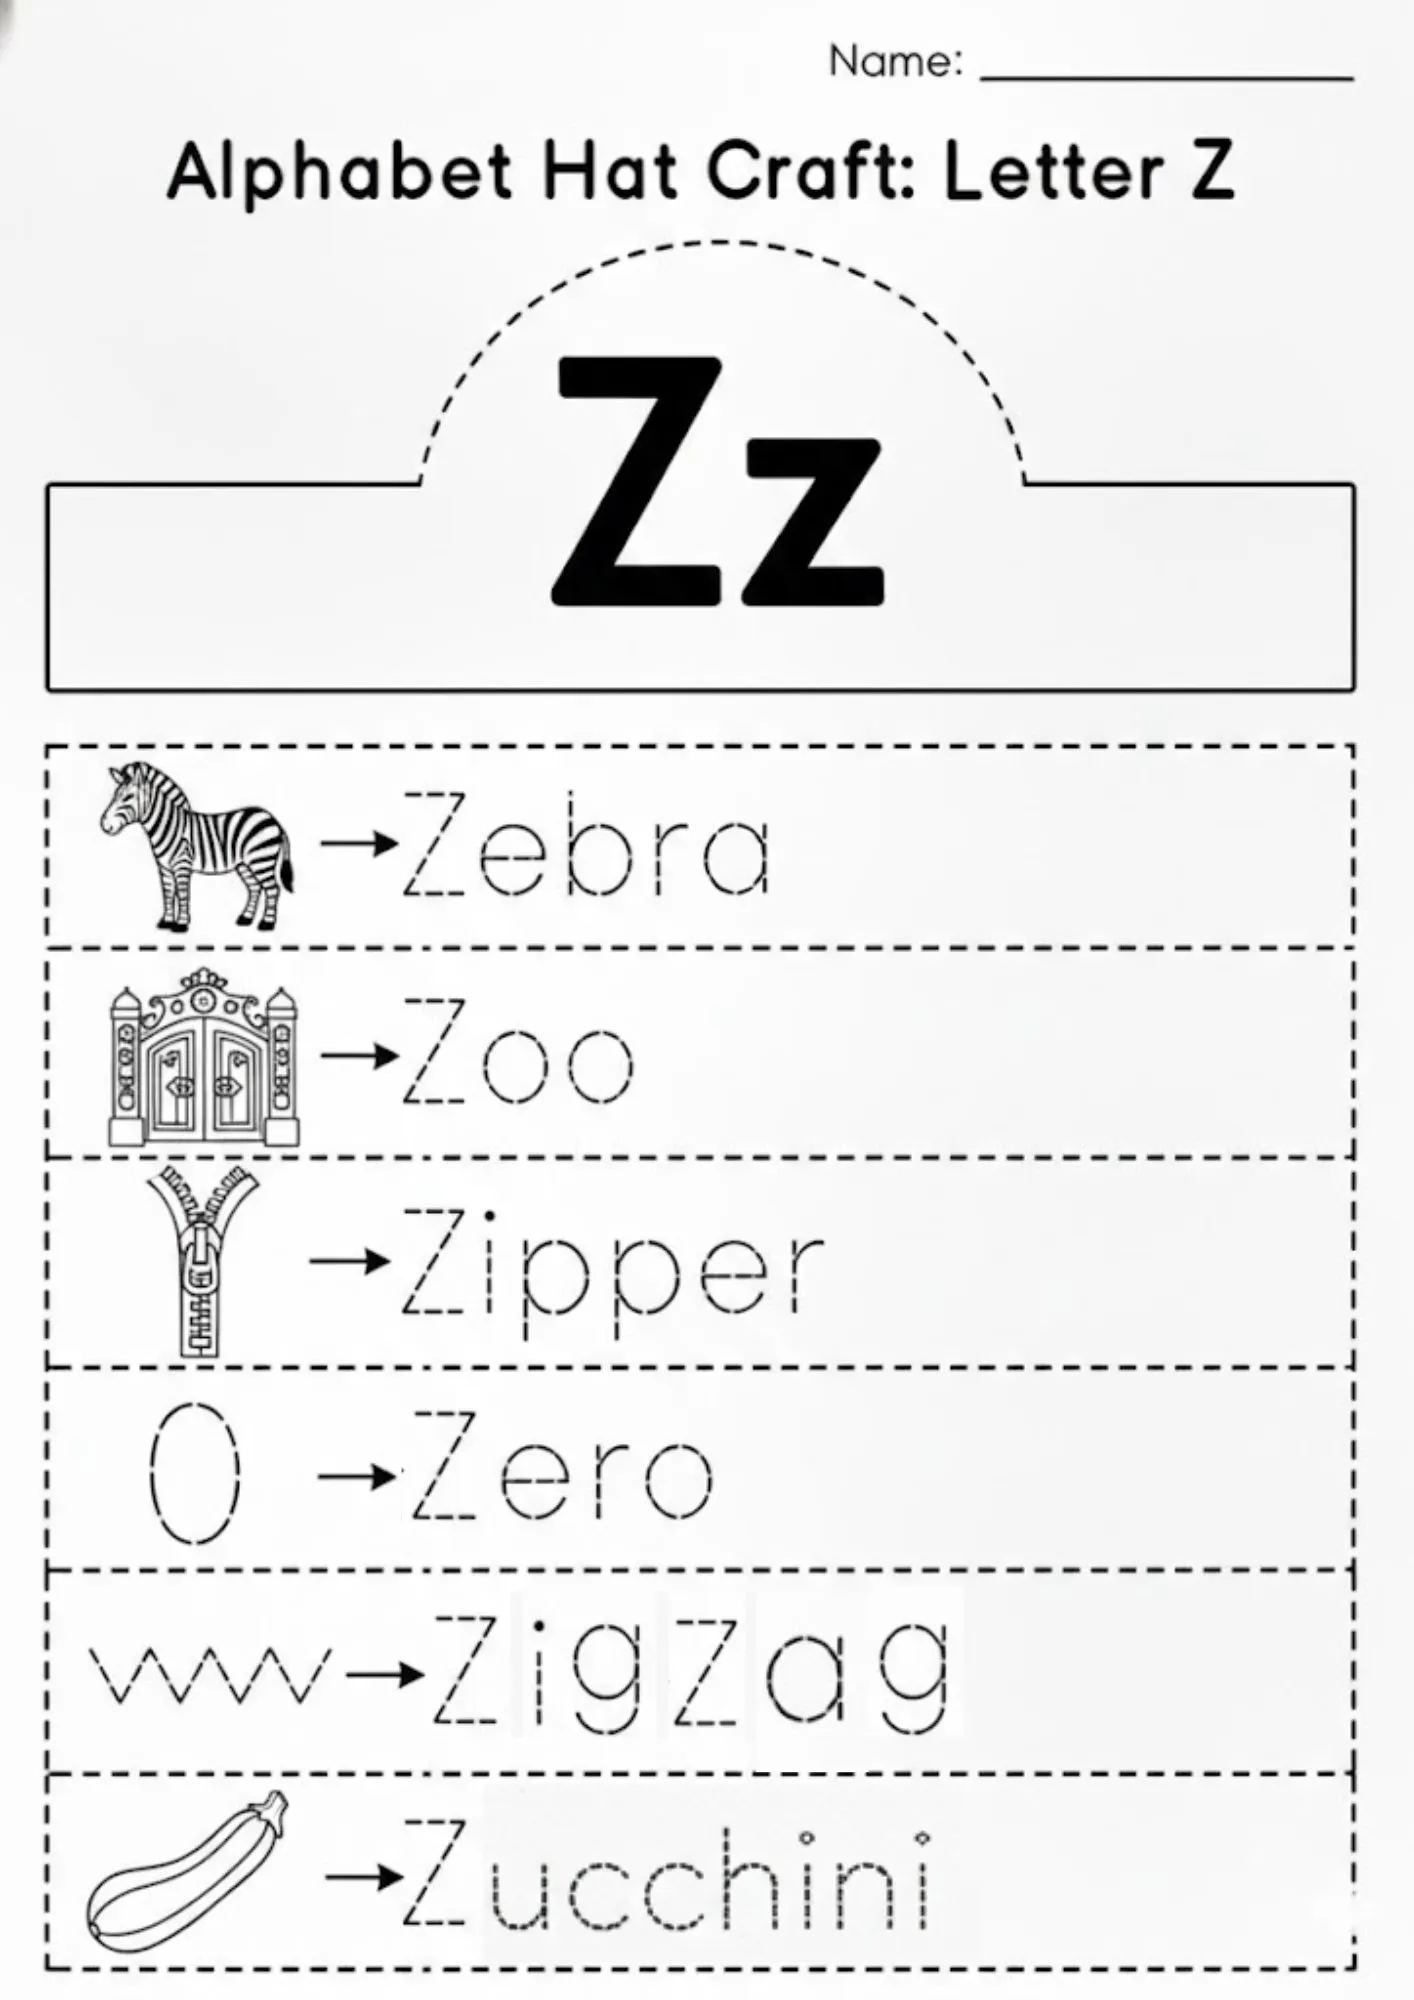
The Crown Base (Top):
- Features a large uppercase and lowercase version of the letter (e.g., Aa, Bb, Cc).
- The rounded top is designed to be the “front” of the hat that sits on the child’s forehead.
Vocabulary Strips (Bottom):
- There are 6 strips per letter.
- Image: A simple black and white illustration for coloring.
- Tracing Word: The name of the object is written in a dotted font, allowing children to practice letter formation and spelling.
- Diverse Vocabulary: The sheets include classic words (Apple, Dog, Frog) as well as more unique ones (Artichoke, Zucchini, Yacht) to expand a child’s vocabulary.
How to Use These Worksheets for Kids
Follow these steps to turn these printables into a fun classroom or home craft:
Step 1: Letter Introduction & Phonics
Start by showing the child the letter at the top. Practice the sound it makes. For the “Letter H” hat, say: “H says /h/ like in Heart and Hat.”
Step 2: Trace the Words
Before cutting, have the child use a pencil or marker to trace the six words at the bottom. This reinforces the connection between the sound, the letter, and the written word.
Step 3: Color the Illustrations
Let the child color the small pictures. This is a great time to discuss the items. For “Letter V,” you can ask, “What color should we make the Volcano?”
Step 4: Cut and Assemble
Cut the Crown: Cut along the solid lines of the top “hat” piece.
Cut the Strips: Cut out the six vocabulary strips.
Assemble: Glue or staple the strips to the sides of the main hat piece to create a long headband.
- Tip: If the child’s head is larger, you can use three strips on each side. If the head is smaller, you might only need four strips total.
Step 5: Wear and Review
Measure the hat around the child’s head and staple it closed. Now the child is an “Alphabet Expert!” Encourage them to walk around and “teach” others the words on their hat.
Why This Activity Works
Fine Motor Development: Tracing small letters and cutting along straight and curved lines builds hand strength and coordination.
Multi Sensory Learning: Kids see the letter, say the sound, write the word, color the image, and physically build the craft.
Confidence Building: Children love wearing their work. Wearing the hat provides a sense of pride and encourages them to talk about what they learned.
No Prep for Adults: These are ready to print A4 PDFs. No expensive materials are needed just paper, crayons, scissors, and glue.
Pro Tips for Teachers & Parents
Use Cardstock: For a more durable hat that lasts all day, print the worksheets on heavy cardstock paper.
Letter of the Week: Use one hat every Monday to introduce a new “Letter of the Week.”
Alphabet Parade: Once the class has finished their hats, have an “Alphabet Parade” where kids march around the room showing off their letters.
Download the full A to Z high resolution PDF bundle to start your wearable alphabet journey!
Zoo Animal Scavenger Hunt Worksheets
The Ultimate Shapes Bundle: Free Printables for Circle, Triangle, Square, and Rectangle.
Neighborhood Water Cycle Worksheet Pack
Educational Easter Activities Neighborhood Scavenger Hunt for Kindergarten & Elementary.
Easter Create A Word Spelling Activity Pack for Kids.
9 FREE Easter Tracing Worksheets


