

Hello, fellow crafters and educators! As the autumn leaves start to turn, my mind immediately goes to all things apple themed. It’s the perfect season for fun, hands on learning, and today I have a wonderful craft that combines both!
This Apple Life Cycle project is a fantastic visual tool to help little ones understand the amazing journey of an apple, from a tiny seed to the delicious fruit we love to eat. It’s simple to assemble, looks adorable, and is a great addition to any fall-themed lesson plan.
Ready to get started? Let’s make something amazing!
What You’ll Need:
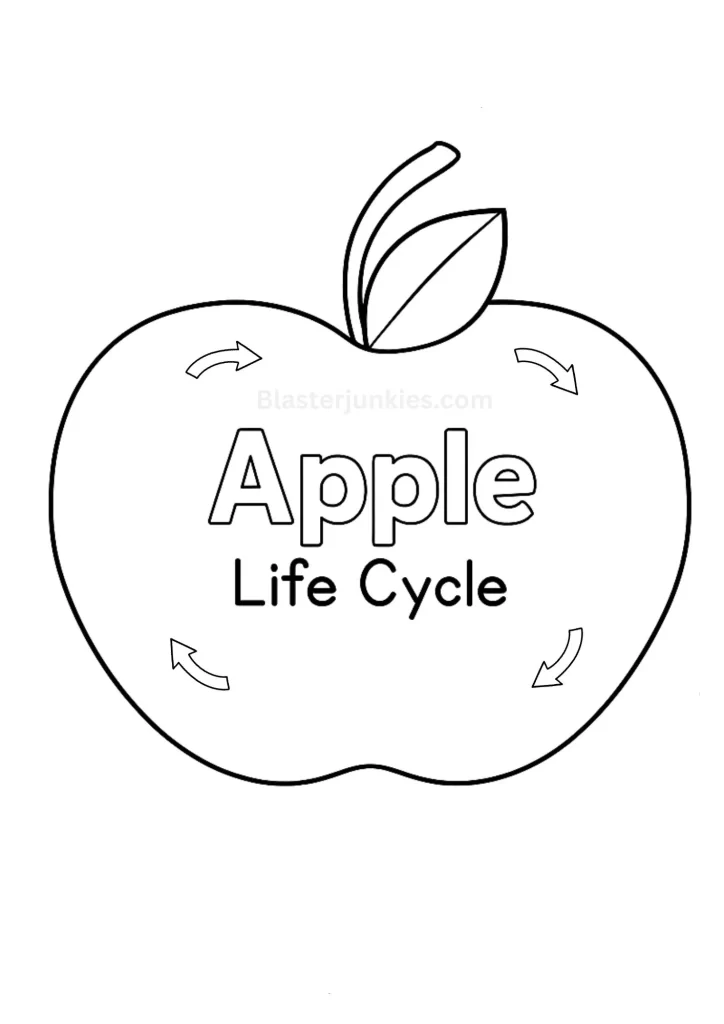
- Free Apple Life Cycle Printable (download below!)
- Red, green, and brown construction paper
- Scissors
- A glue stick
- Markers or colored pencils
Step-by-Step Instructions
Step 1: Prepare Your Pieces
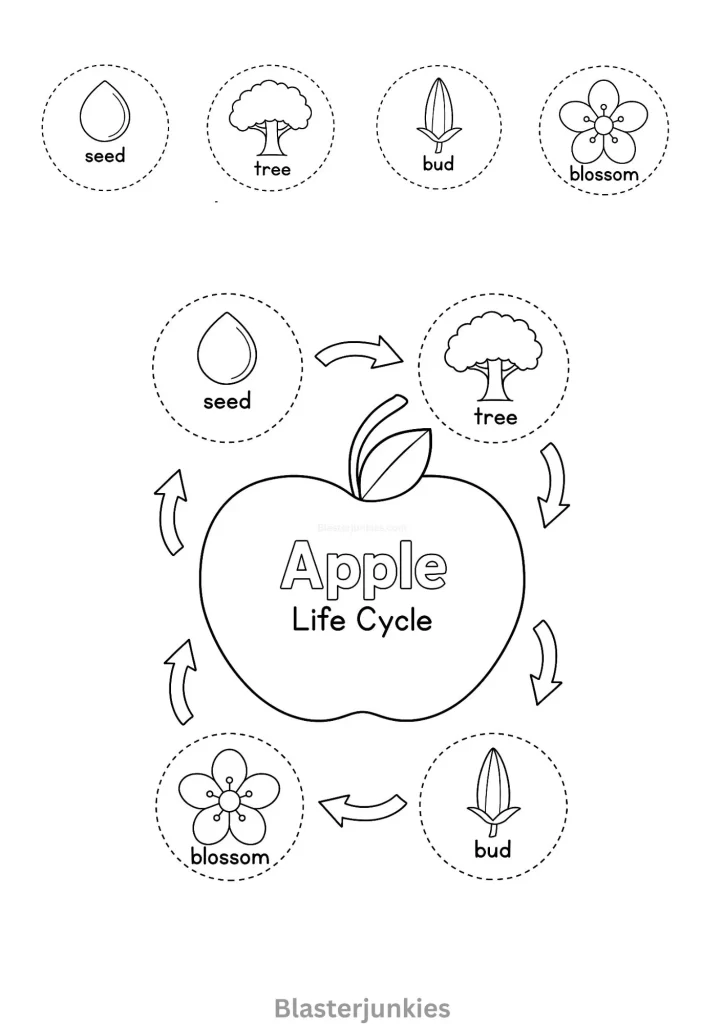
First things first, grab your free printable and cut out all the pieces. You’ll have a large apple shaped base, several small circles showing the different stages of the life cycle, a stem, and a leaf.
To make your craft extra sturdy and colorful, trace the large apple shape onto red construction paper, the stem onto brown paper, and the leaf onto green paper. Cut these out.
Additionally, you can download the free apple printouts we provide, cut them out with scissors, and continue the activity
Step 2: Assemble the Apple Base
Take your red apple cutout and glue it onto a piece of black paper or cardstock. Carefully trim around the edges, leaving a thin black border. This will make your apple really pop! Glue the brown stem and green leaf to the top of your apple.
Furthermore, separate the life cycle circles by cutting them from the given free printables
Step 3: Learn and Color the Life Cycle
Now it’s time for the educational part! Lay out the small circles that show the different stages: seed, tree, bud, blossom, and finally, the apple. Talk through each stage with your child.
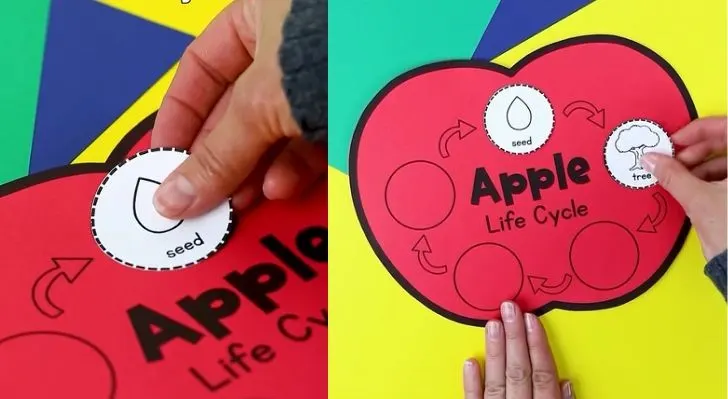
Once you’ve discussed the cycle, It’s time to put it all together! Take your life cycle circles and, following the arrows on the apple base, glue each one into its correct place. Start with the seed, then move on to the tree, the bud, the blossom, and finally, the apple.
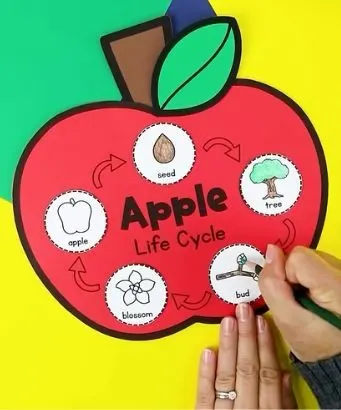
let your little one have fun coloring in each of the pictures. This is a great time to talk about the colors of each stage the brown seed, the green tree, the pink blossom, etc.
Step 4: Complete the Cycle
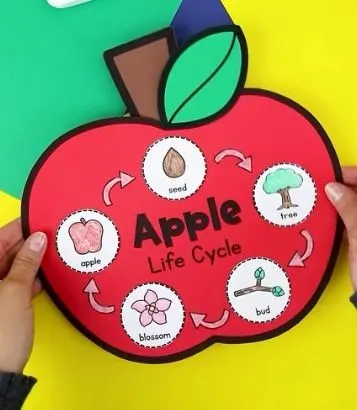
Your beautiful and educational Apple Life Cycle craft is now complete! It’s a perfect visual aid for learning and a wonderful piece of seasonal decor to hang on the fridge or in the classroom.
I hope you have as much fun with this project as I did. Happy crafting.
3 Fun and Easy Apple-Themed Activities for Kids (with Free Printables!)
Capture the Beauty of Autumn with These DIY Clay Leaf Bowls
Create a Colorful Paper Turkey for Thanksgiving!
Build Your Own Amazing Dancing Robot!
Craft a Wicked Animated Eyeball Spellbook for Halloween
Create Adorable Upcycled Ghost Portraits for Halloween
Create Your Own Spooky & Glowing Ghost Family This Halloween!


