
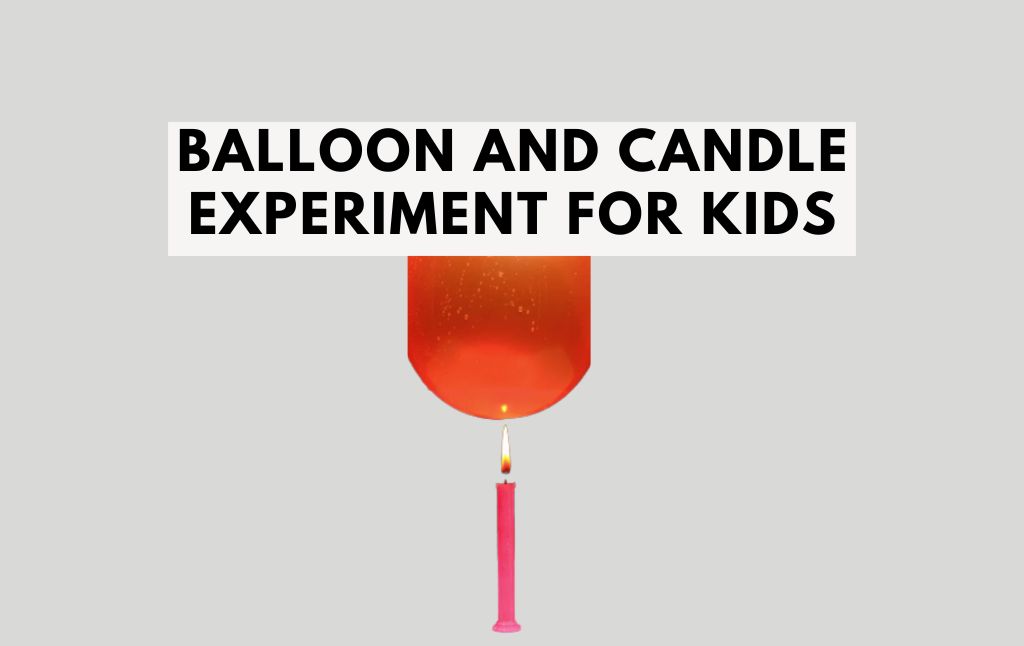
The Balloon and Candle Experiment is a fascinating science activity that demonstrates the concepts of heat conduction and air pressure. This simple yet impressive experiment will show how a balloon can survive direct contact with a candle flame when filled with water.
Materials Needed
- 2 regular birthday balloons
- 1 small candle
- 1 cup of water
- Matches or a lighter
- A plate (for safety)
- Paper clips (optional, for sealing balloons)
- Safety goggles (highly recommended)
- Adult supervision (a must!)
Step-by-Step Instructions
Step 1: Set Up Your Experiment
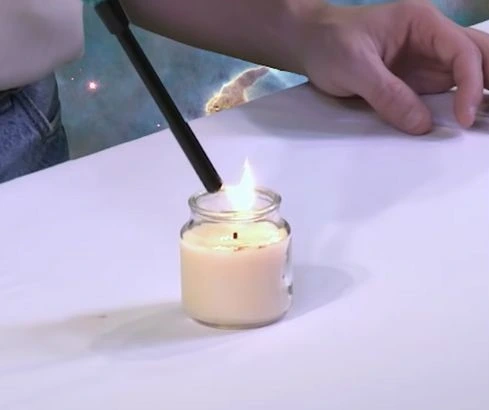
Place the candle in the center of a plate. This helps catch any wax drips and prevents a mess.
Put on your safety goggles.
Light the candle carefully using a match or lighter. Always have an adult present while working with fire.
Step 2: Testing the First Balloon
Take a regular balloon and blow it up with air.
Seal the balloon by tying a knot or using a paper clip.
Hold the inflated balloon over the candle flame but do not let it touch the flame directly.
Slowly lower the balloon towards the flame and observe what happens.
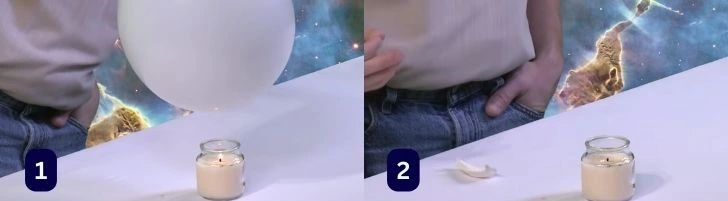
What happens? 🔥💥
As expected, the balloon pops when it gets too close to the flame.
The heat from the candle weakens the rubber, creating a small hole, which leads to a sudden burst.
Step 3: Adding Water to the Balloon
Take a second balloon and pour a small amount of water into it (about 4-5 tablespoons).
Now, blow up the balloon with air as before.
Secure the opening using a knot or a paper clip.
Gently shake the balloon to ensure the water settles at the bottom.
Step 4: Testing the Water-Filled Balloon
Hold the balloon so that the water-filled part is positioned at the bottom.
Slowly lower the balloon over the candle flame, just as you did before.
Keep it there for a few seconds and observe the results.
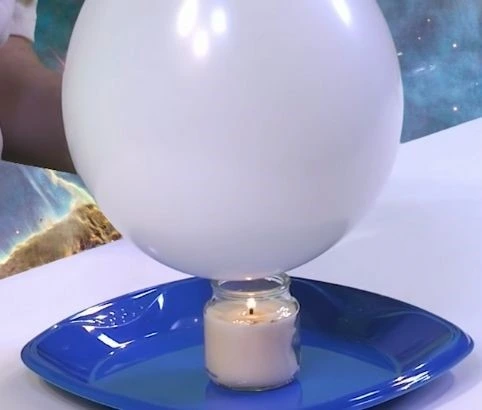
What happens? 🔥💧
The balloon does not pop! Instead, it remains intact even when placed directly over the flame.
You may notice black soot forming on the rubber, but the balloon remains unbroken.
Step 5: The Grand Finale – Extinguishing the Flame
Lower the water-filled balloon directly on top of the candle until it touches the rim of the candle holder.
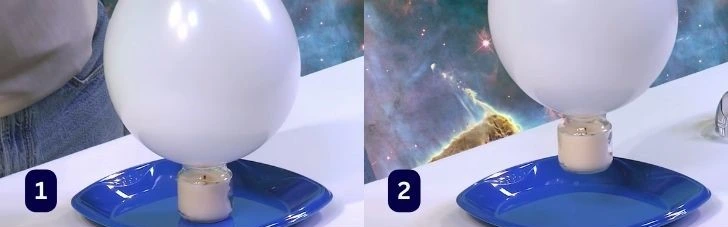
The flame goes out!
The Science Behind the Experiment
Why Did the First Balloon Pop?
When the air-filled balloon was placed near the candle flame, the heat quickly transferred to the rubber, making it weak. As a result, the rubber melted and popped.
Why Did the Water-Filled Balloon Not Pop?
Water is an excellent conductor of heat, meaning it absorbs heat energy from the flame. Since the water inside the balloon absorbs most of the heat, the rubber never reaches a temperature high enough to melt. Instead of popping, the balloon remains intact.
How Did the Balloon Extinguish the Candle?
When you placed the balloon directly over the candle, it cut off the oxygen supply. Fire needs oxygen to burn, so without it, the flame goes out. Additionally, the trapped hot air cools down, creating a vacuum effect that briefly makes the balloon and candle stick together.
Conclusion
This Balloon and Candle Experiment is a fun and educational way to learn about heat conduction and air pressure. It’s an engaging activity for kids that combines science with a touch of magic!
🚀 Try it yourself! Be sure to have an adult assist you, and don’t forget your safety goggles. Happy experimenting! 🎈🔬


