
Looking for a craft that’s part art, part magic, and a whole lot of fun? You’ve come to the right place!
With this simple project, you can create a seemingly dark and mysterious scene, then use a special “magic flashlight” to reveal the bright, colorful pictures hidden within.
It’s an amazing optical illusion that’s easy to make and perfect for a rainy day, a themed party, or just some creative fun. Let’s illuminate your imagination!
What You’ll Need:
- A clear plastic zipper bag (like a Ziploc bag or a clear document pouch)
- Permanent markers (various colors, including black)
- A sheet of white paper
- A sheet of black paper
- A drawing or a printed picture to use as a template (optional, but helpful!)
- Scissors
Step-by-Step Instructions: Let’s Make Some Magic!
Step 1: Prepare Your Scene
First, decide what hidden world you want to create. It could be a spooky graveyard, an underwater ocean scene, a galaxy full of planets, or anything you can dream up!
- Create your drawing on a piece of white paper that is the same size as your plastic bag. This will be your template.
- Slide the template paper inside the clear plastic bag.
Step 2: Trace and Color on the Bag
Now it’s time to bring your scene to life on the plastic bag itself.
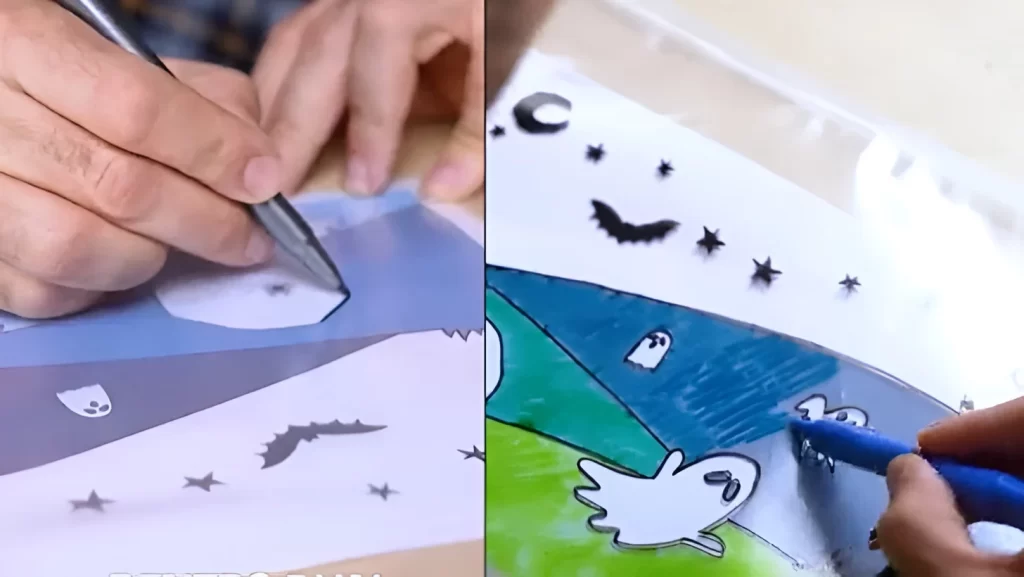
- Using a black permanent marker, trace the outline of your drawing directly onto the clear plastic bag.
- Once the outlines are done, use your other colored permanent markers to fill everything in. Be bold and vibrant with your colors—they will make the final reveal even more impressive!
Step 3: Create the Nighttime Effect
This is where the “disappearing” magic happens.
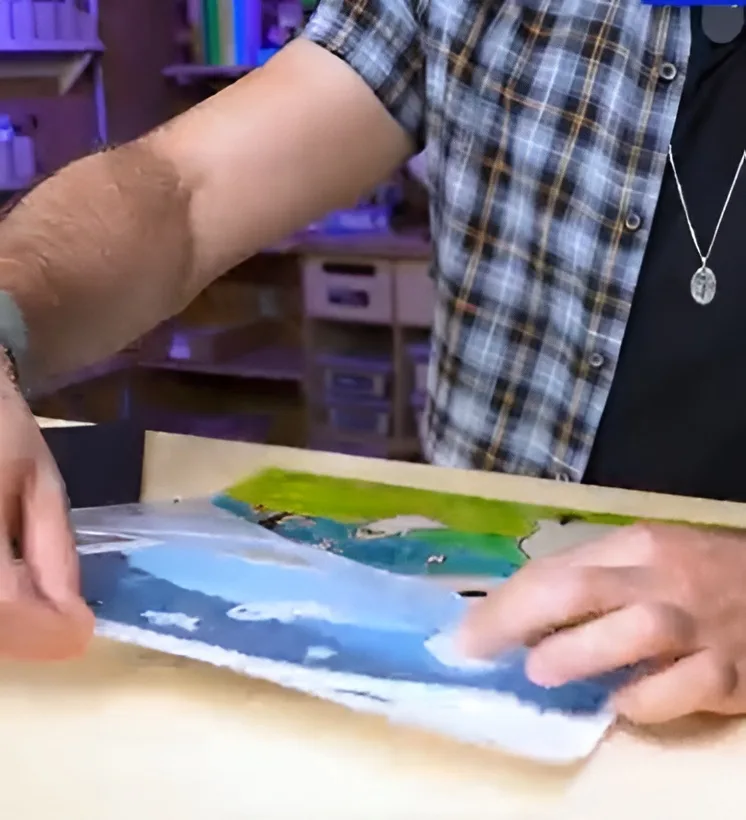
- Once your drawing is complete and the ink is dry, carefully remove your white paper template from inside the bag.
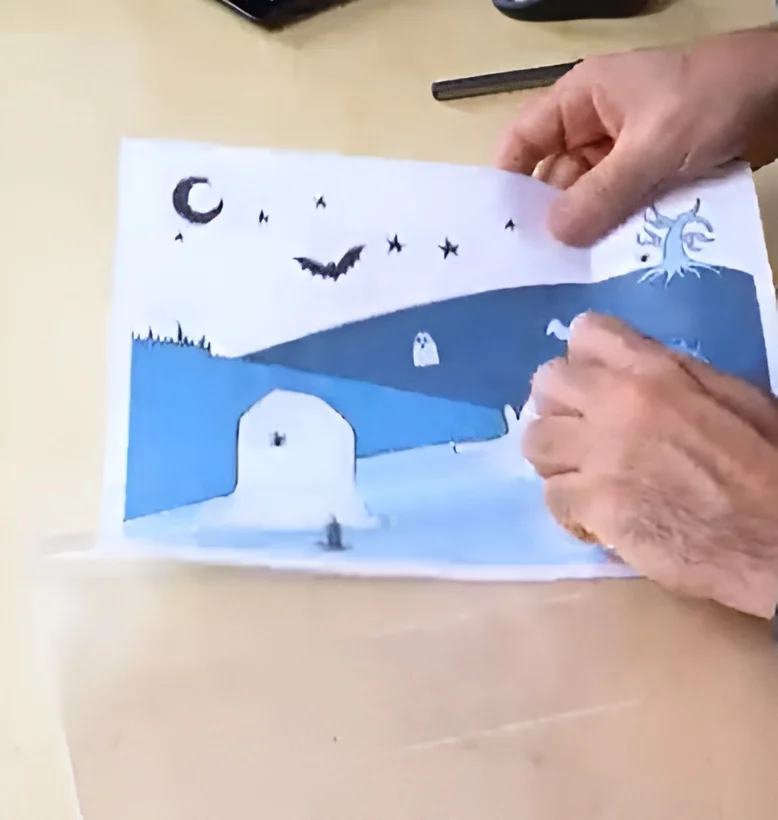
- Now, slide the sheet of black paper into the bag. Voila! Your colorful drawing will suddenly look dark and mostly hidden against the black background.
Step 4: Craft Your Magic Flashlight
Every explorer needs a flashlight!
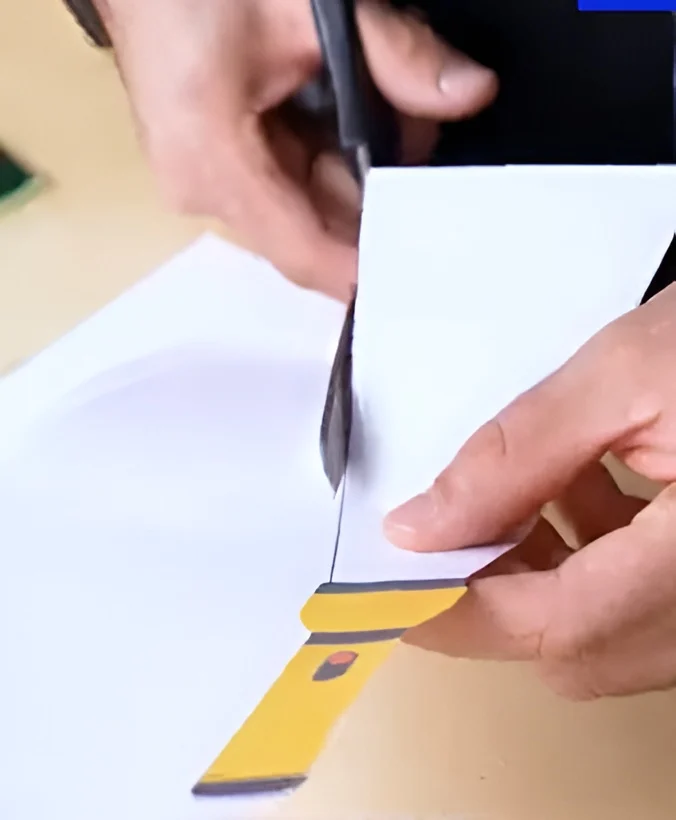
- Take your remaining sheet of white paper and draw the shape of a flashlight with a wide beam of light coming out of it.
- Carefully cut out the flashlight shape. You can even color the handle to make it look more realistic.
Step 5: Let the Adventure Begin!
You’re all set for the grand reveal.
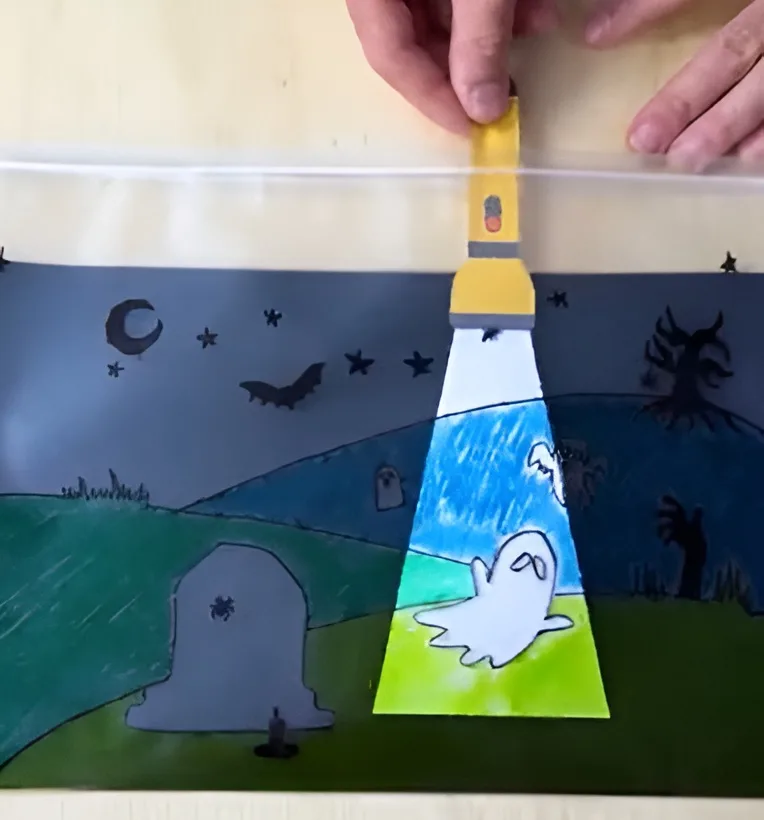
- Take your paper flashlight and slide it inside the plastic bag, positioning it between the side you drew on and the black paper in the back.
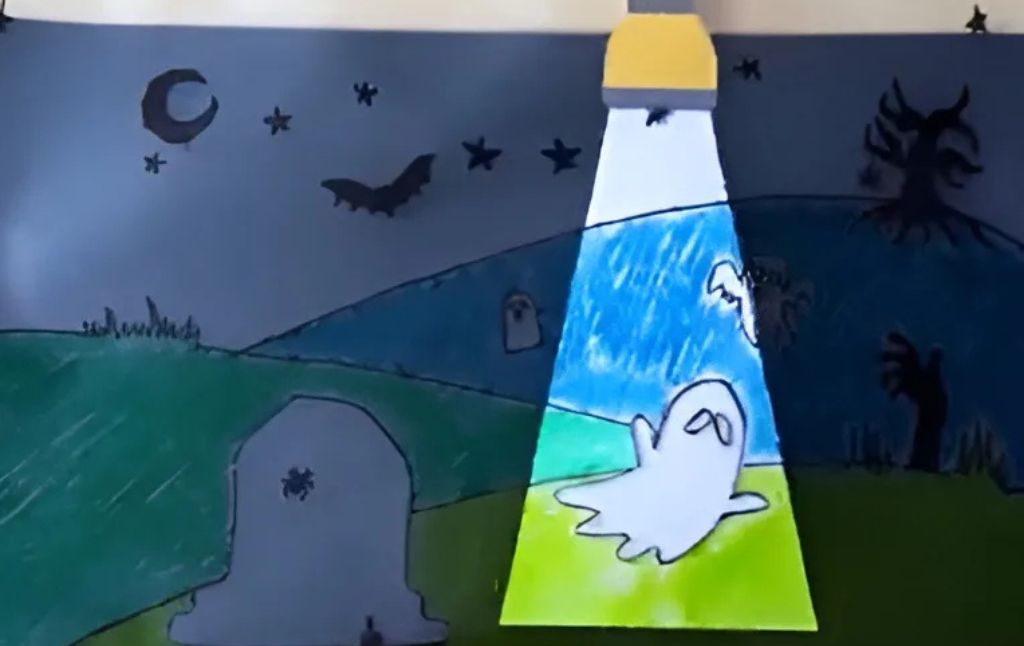
- Move the flashlight around inside the bag. Wherever the white beam of light goes, the true, bright colors of your drawing will magically appear, as if you’re really exploring a dark scene!
Slide your flashlight across the spooky graveyard to find hidden ghosts, or search the deep ocean to discover colorful fish. The possibilities are endless.
Kids Activities
Looking for more fun kids activities and other ideas to keep kids engaged, learning, and having fun? Check out these:
Create a Mesmerizing 3D Hologram Projector for Your Smartphone!
Create an Amazing Rainbow Bubble Snake: A Fun and Easy DIY Toy!
How to Make a DIY Popping Fish Fidget Toy
A Sprinkle of Magic Create a Blooming Paper Flower Garden!
How to Make Origami Basketball Hoop Step by Step Instructions
Easy Steps: How to Make Toilet Roll Ninjas – A Fun DIY Craft for Kids!


