
Painting is indeed a fun activity. Whether it is about painting a canvas with your kids at home or painting your daily supplies by yourself, it involves a lot of fun and happy moments.
Nowadays people are much more fascinated by the working of a water gun. The way it can be brought to the use of painting objects is really simple when compared to other traditional ways of painting.
You can use a squirt water gun to paint objects at home by yourself. In this article, we have discussed the simple procedure that one needs to follow in order to have a smooth and successful squirt painting experience.
Apart from this, Water Weenie is also an excellent water toy that can be a part of another fun activity for parents and children
How To Paint With A Squirt Gun?
First of all, you’ll need certain materials like the:
- Canvas/ Thing You Want To Paint
- A Squirt Gun
- Water
- Paint
- Paint Bucket
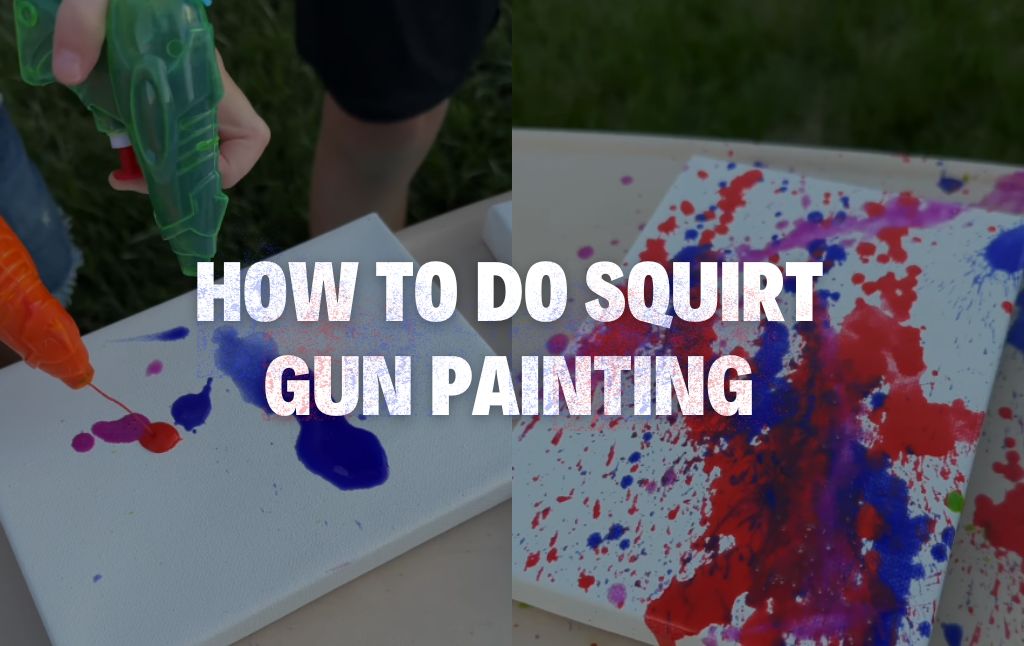
In order to paint with the help of a squirt gun, you have first to identify the object that you are going to paint. If you only wish to paint for fun, then you can try it on a canvas.
Start by adding some paint to a paint bucket and dilute it with the help of water. Remember that the ratio of the paint and water must be equal that is, 50% of both.
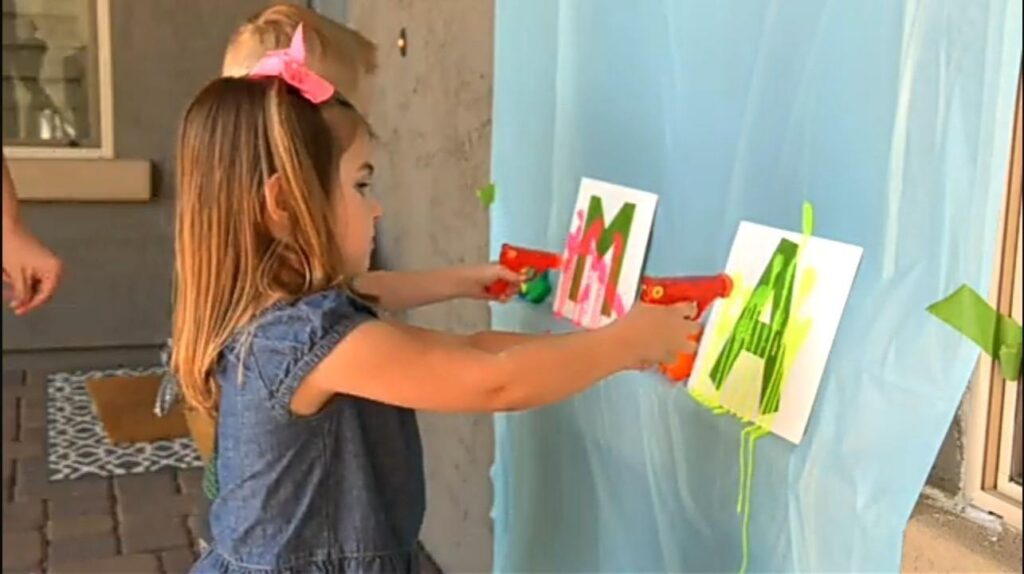
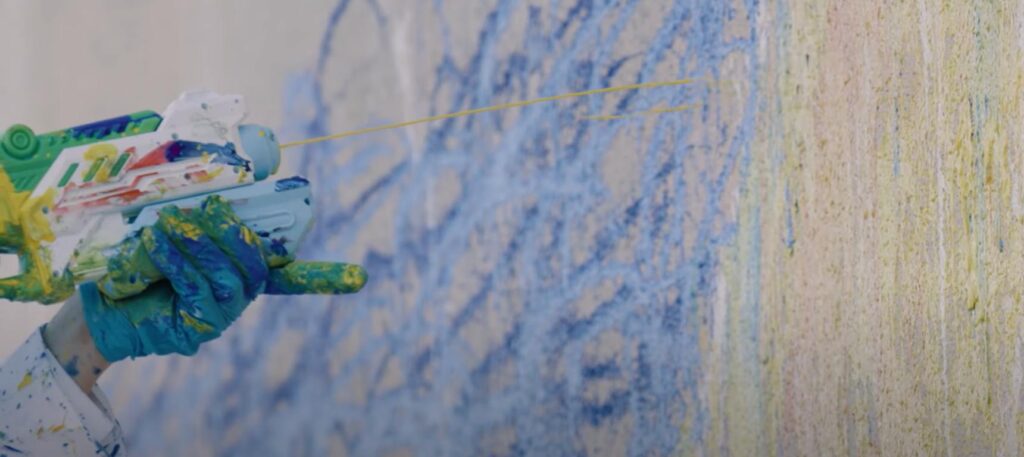
After diluting the paint and identifying the perfect consistency, you have to fill this paint solution inside the squirt gun. Now place the canvas on a wall and start throwing squirts of paint through the gun all over it to create a stunning piece of craft.
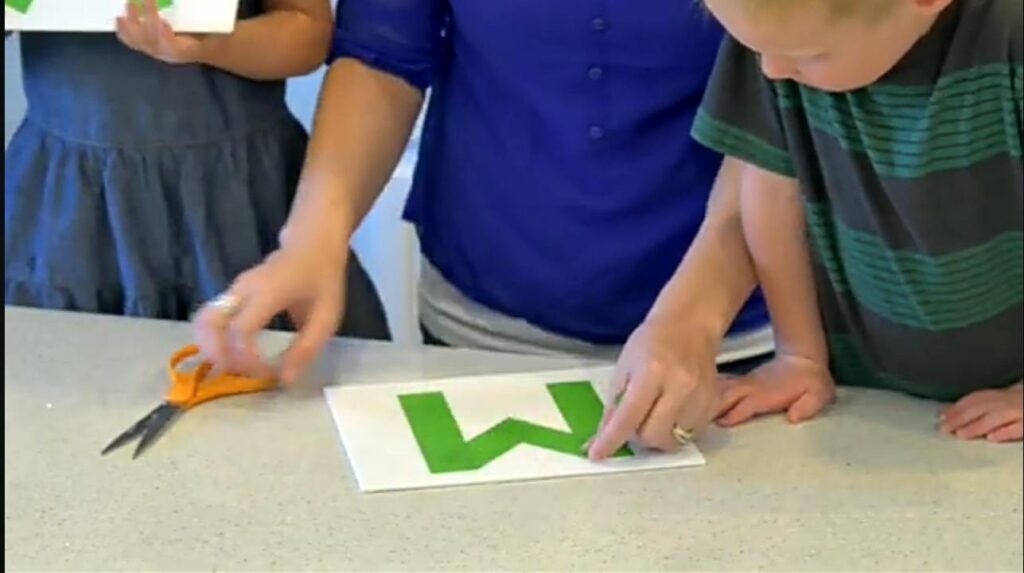
If you wish to draw some extraordinary patterns on your canvas, you can try covering some areas with tape to create patterns or to reflect your initials on the same.
How To Make Paint For Water Gun
Making paint for a water gun is all about diluting it perfectly to get a consistency, which is perfect for painting with a gun.
Generally, washable colors are used for Squirt Gun painting. First of all, you have to check whether your color is too thick or not. If yes, your color is thick, then first of all, put a glob of your favorite color in a cup, add a fourth cup of water to it, and mix it well.
You can do this with different colors in different cups so that different combinations of colors are available for your water gun.
If you have Washable Tempera Paint, which is already in liquid form, then as mentioned earlier, you have to keep the color and water in half so that a perfect color is made for Squirt Gun Painting.
Step 1: Get Some Paint Colors
The first step of painting with the help of a gun is to collect the colors of your choice. You have to identify your requirements and get your hands on your favorite paint colors for painting.
Step 2: Dilute The Paint With Water
The next step is to dilute the paint with the help of some water.
As we have discussed above about diluting the color, you just have to follow the same method. If you want to make this step easy, you can use Washable Tempera Paint. For this, you have to use the 50:50 formula, as mentioned above.
Make sure you have a running consistency with a fair amount of paint. This will allow you to paint through a gun easily.
Step 3: Fill The Gun With Paint
In the next step, you have to fill your water gun with a paint mixture and make sure that the mixture is in a perfect liquid state. It should not be thick enough that it gets difficult to fill it inside the gun.
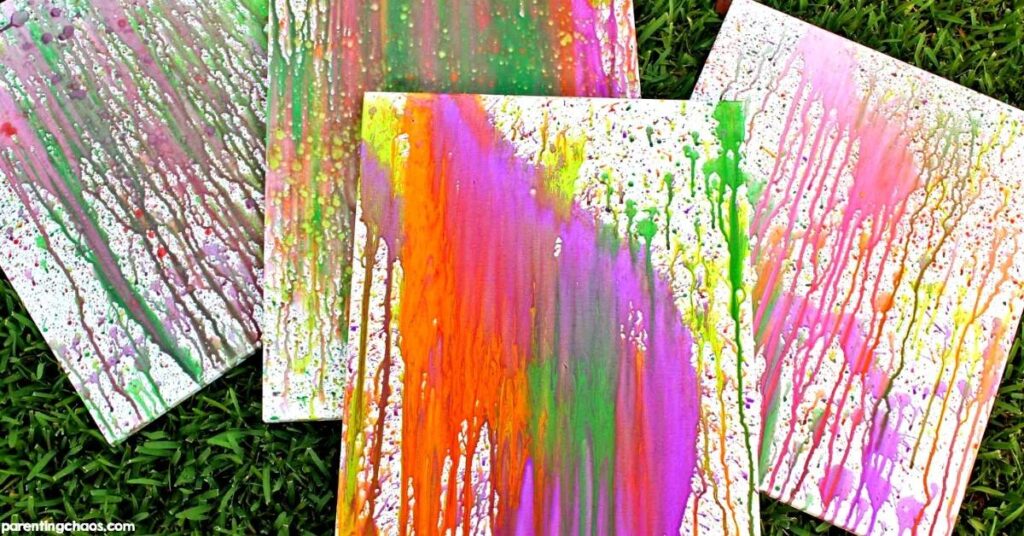
Step 4: Start Painting
Once your paint is made and you have a perfect consistency, you’re all set to throw squirts of water on the canvas through your gun and enjoy your painting experience.


