
Water guns are one of the most popular toys among small kids and youngsters. The joy of running loads and water over your friends through a small nozzle opening is unmatchable.
Having a water fight with your friends or watching your kids throwing squirts of water on each other is a perfect adventure for these burning hot summers.
A water spray gun is a perfect toy to beat the heat of summer and indulge in a fantastic water bottle.
But apart from playing, you can also use it as a household requirement or a cleaning tool for your daily needs. A water gun can clean difficult-to-reach areas, wash your vehicle, and even water plants.
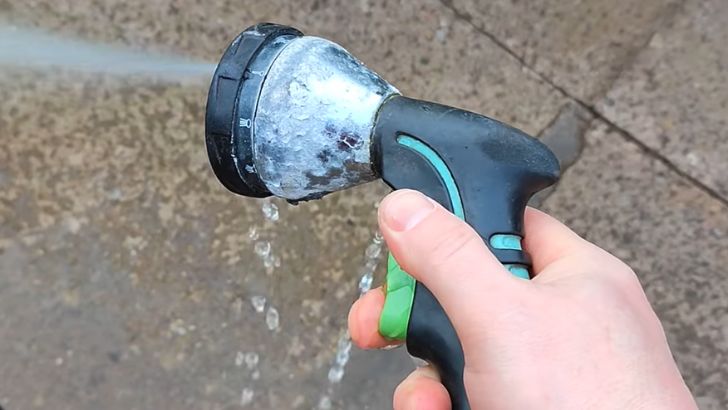
But sometimes, a water spray gun leaks, creating a real mess for the people around it. A leaking water gun can destroy the interiors and ruin the fun of playing a water fight.
Therefore, we have discussed fixing a leaking water gun in this blog. We have provided you with a detailed explanation and steps you need to follow to fix your leaking spray gun.
If you want to involve yourself in DIY summer projects where you can have fun with a self-made Water Gun Sniper Rifle, then we have also talked about such a project.
Materials Required:
1. A screwdriver
2. A flat head screwdriver
3. Good Water Connectivity
Steps To Fix A Leaking Spray Gun
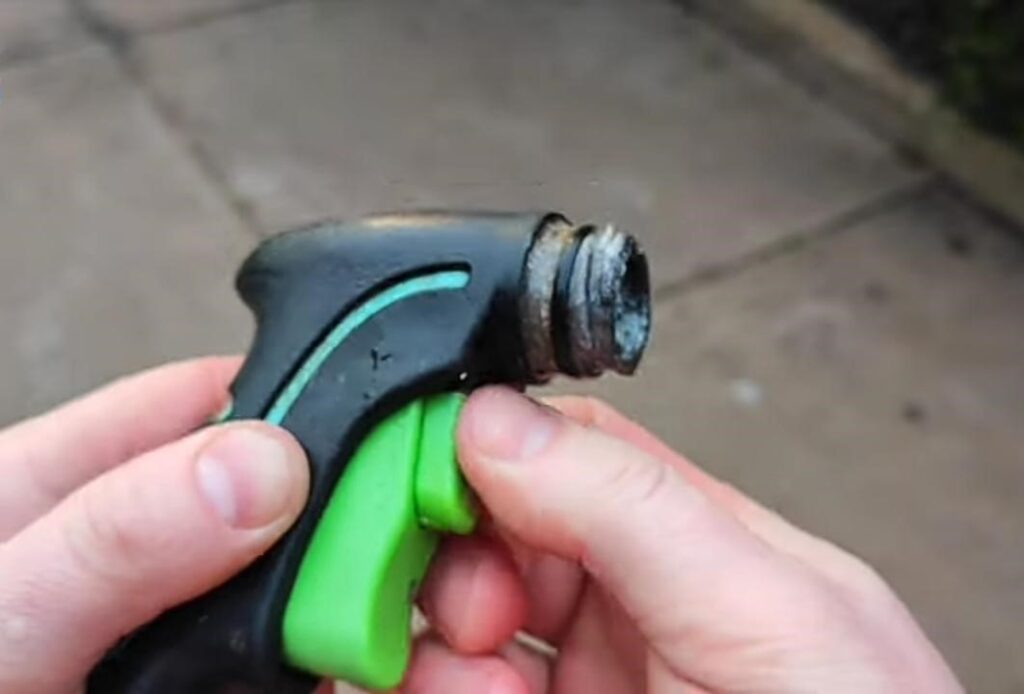
Step1: Remove The Aircap Of The Spray Gun With The Help Of A Screwdriver
The first step is to open the air cap of the water spray gun with the help of a screwdriver. On that side of the spray gun, which is used to shoot out water, you will find a big screw fitted in the center. You have to screw this out with the help of a screwdriver.
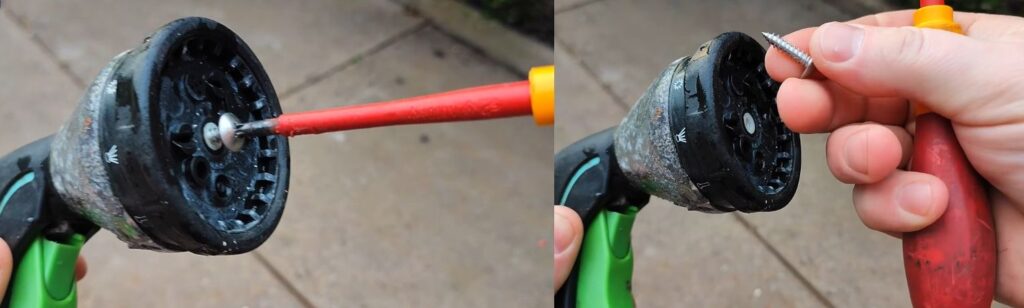
Once the big screw is removed from the center of the water gun, the adjustable air cap on the water spray gun would fall out easily. You can take this out with the help of your hands, as shown in the picture below.
Upon removing the cap, the inside of the water spray gun would look something like the one shown above.
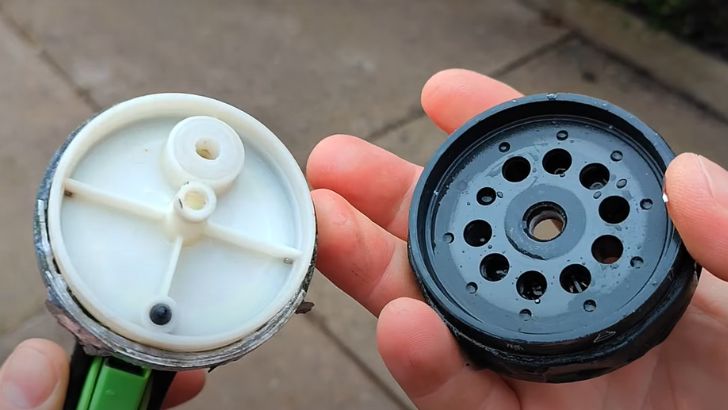
Step 2: Remove The Head Of The Water Spray Gun By Pulling It Out
In the next step, you must place your hand firmly over the mouth of the water spray gun and pull it firmly towards yourself. This will loosen the grip of the spray gun’s head, and it will come out quickly.
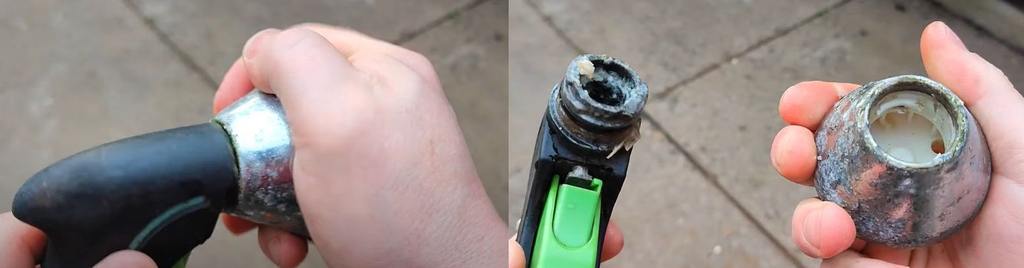
Upon removing the head of the spray gun, its structure would look something like the one shown above.
Step3: Remove The Trigger With The Help Of A Flat Head Screwdriver
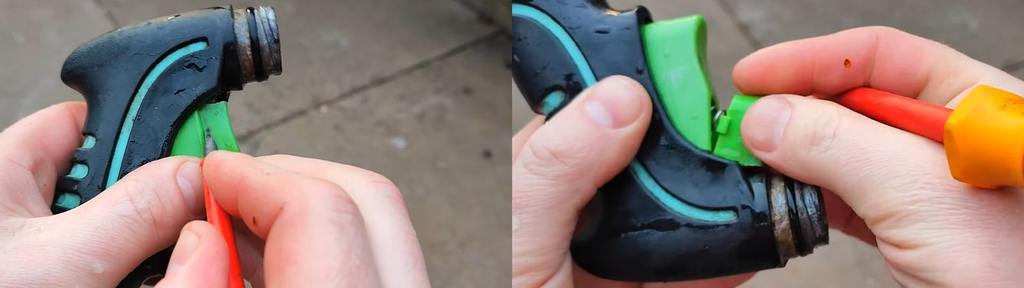
Now with the help of a flat head screwdriver, we have to take aside the trigger on the water gun. For this purpose, you have to insert the mouth of the screwdriver into all the corners of the trigger one by one, to loosen it. Once free and loose, the trigger, along with the spring, would come out easily.
Step4: Take Out The Base Of The Trigger With The Help Of The Flat Head Screwdriver
Again, with the help of a flathead screwdriver, pull out the base on which the trigger was placed. Once the trigger is removed, you will find it below it. You have to remove it the same way you remove the trigger by inserting the flathead screwdriver. This will loosen the base from all sides, and it will fall out easily.

After loosening all the sides of the trigger’s base, removing it from your hands will be easy. After removing the trigger’s base, you will reach the gun’s interior mechanism, which needs to be corrected.
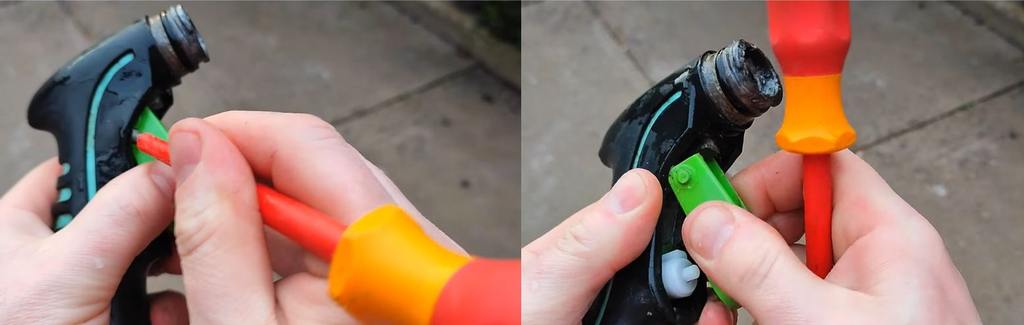
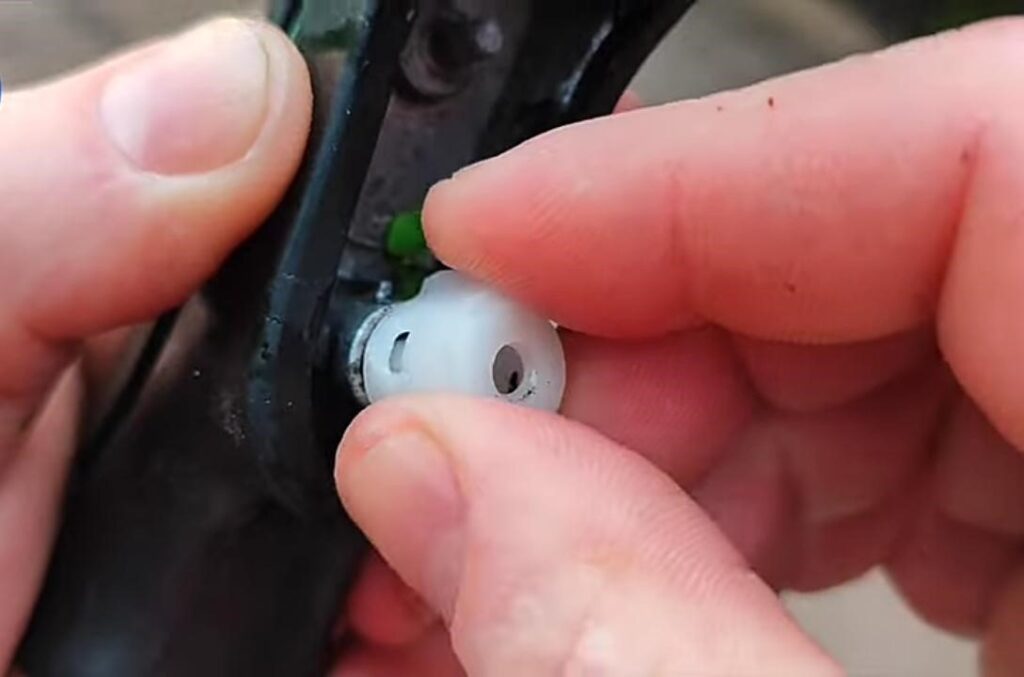
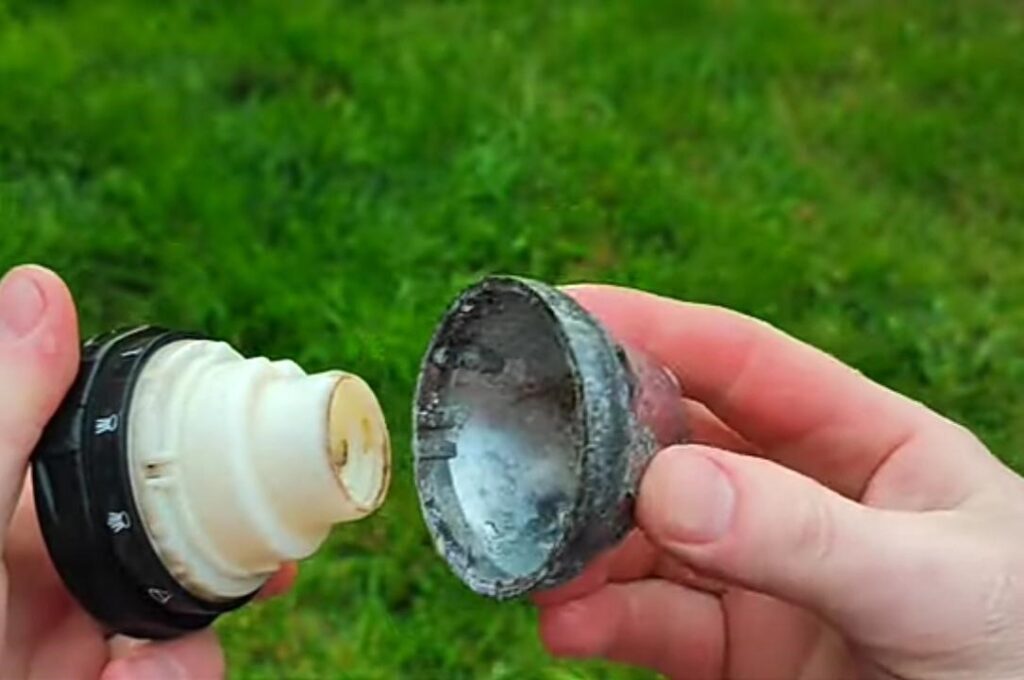
Step5: Remove The White Cap And Press It Tightly
After removing the trigger’s base, you will find a white cap beneath it. You must remove this cap by spinning it to the left with your fingers.
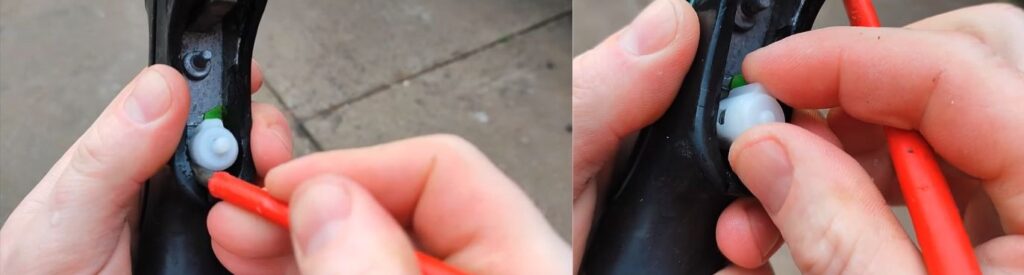
Once the white color cap is removed, you discover a small plastic tube/pipe lying open. The next thing you have to do is to press the tube that surrounds the white color pipe. As in the picture above, the white color pipe is surrounded by a rubber tube in black color.
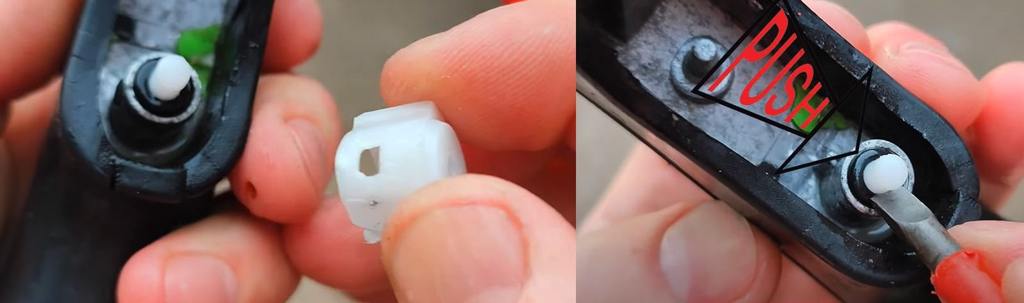
This loose tube caused your water spray gun to leak. So, we need to fix it stronger and better into the mechanism. You have to press the tube around the pipe with a flathead screwdriver. While pressing the tube, make sure that you press it strongly from all sides.
Step6: Put Everything Back Again
After pressing the tube surrounding the small piece of pipe, we have to get everything back together before we can use the water spray gun. We start by putting back the white cap that covers the piece of pipe, this time by pressing it inwards over the pipe with the screwdriver.
After putting back the white color cap on the pipe, the next step is to fix the base of the trigger in the gun. The base of the trigger has two small circular structures on both sides, which are to be fixed into the holes provided by the water spray gun. This is an easy task that can be done by using your hands in the proper motion.
After fixing the trigger’s base in the right place, press it inside to check that it is strong and firm.
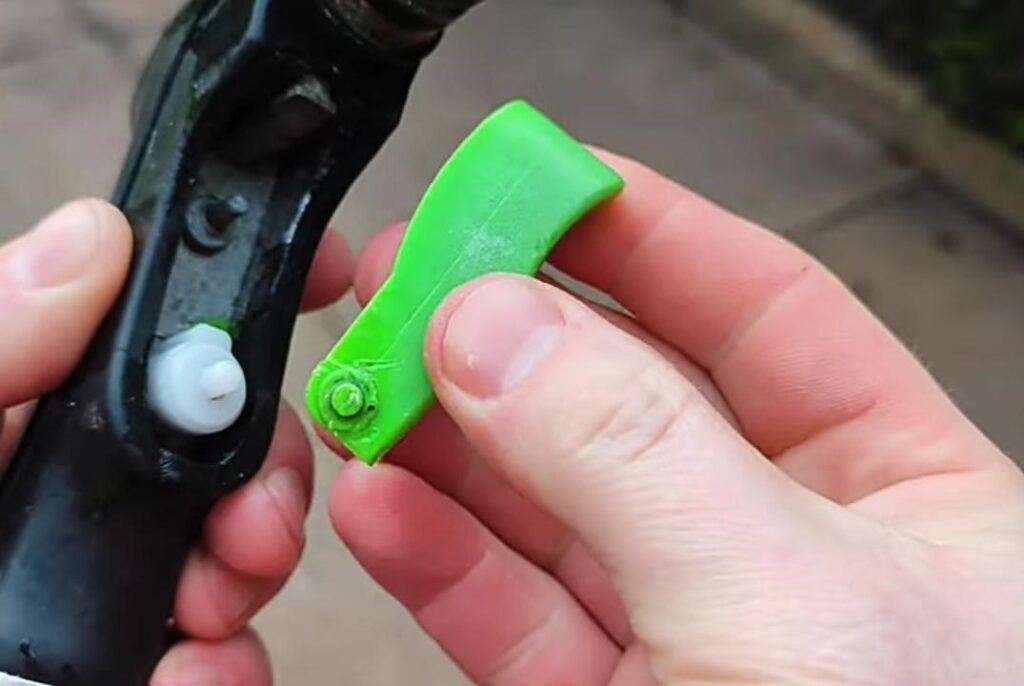
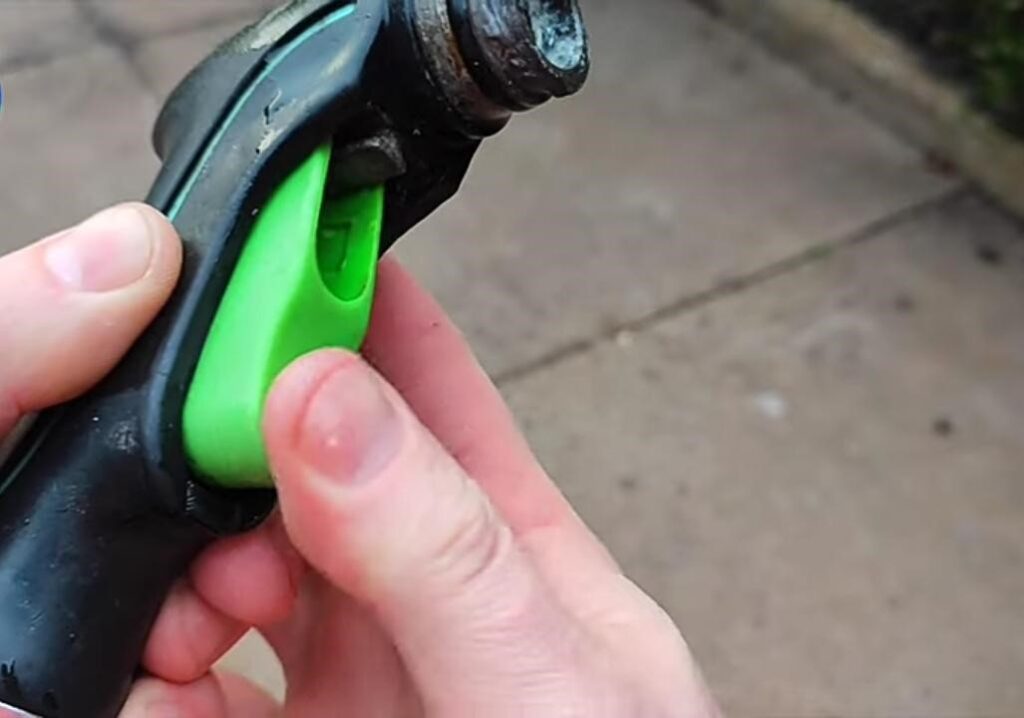
After the base of the trigger is fixed, you have to fix the actual trigger along with the spring in the hollow space on the base of the trigger.
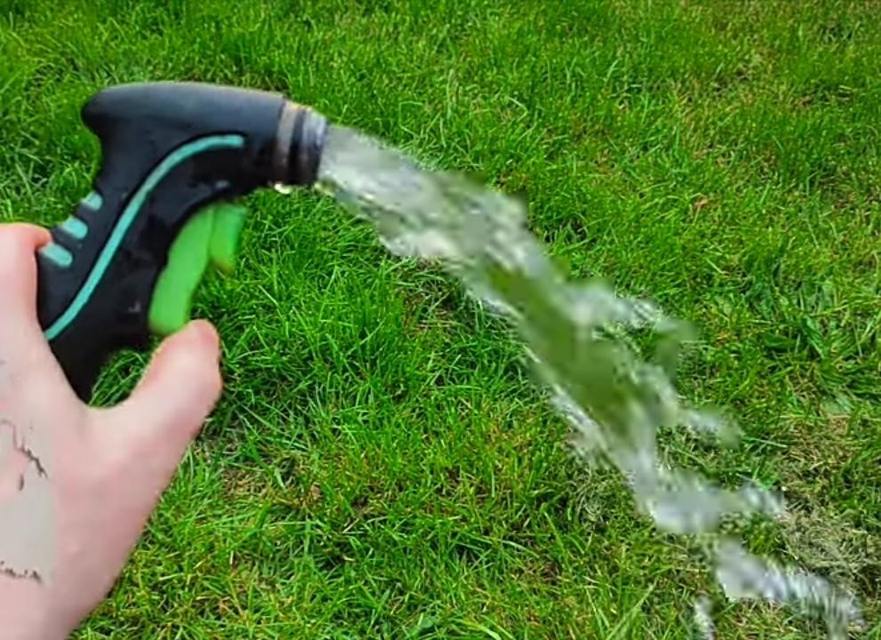
Press the trigger on the water spray gun and check if it is working properly. If it is not, you will have to get a new trigger from the market and fix it into the gun in the same way you fixed the original trigger.
Step7: Clean The Head Of The Water Spray Gun With Water
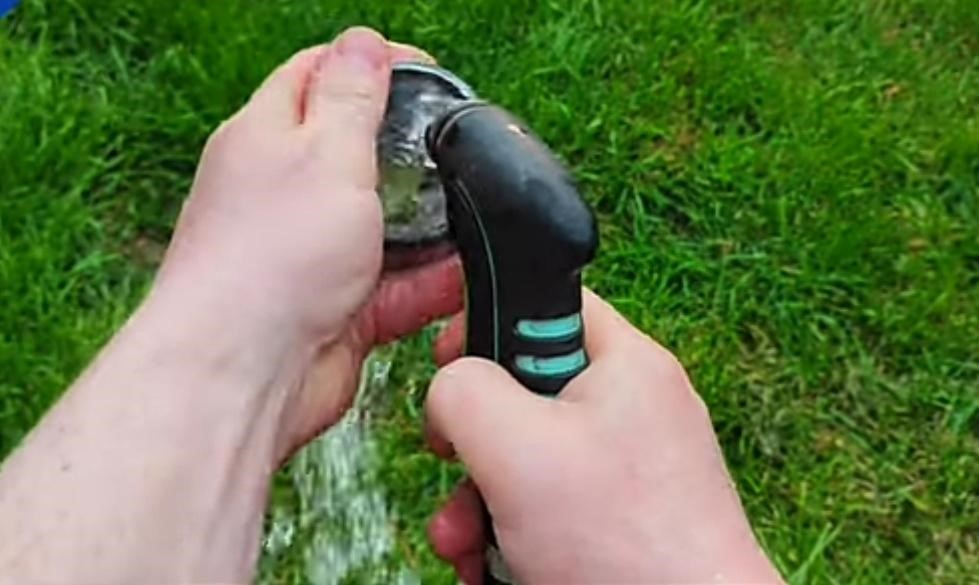
The next thing you have to do is clean the head of the water spray gun with water. Do this work diligently, removing all the dirt particles and cleaning all the edges well.

You have to clean the head of the water spray gun by putting your finger inside and cleaning the parts carefully, as shown in the picture above.
Now, you have to put back the head of the Water Spray Gun into the metal frame that it was covered with. The metal frame protects the head of the spray gun from damage.
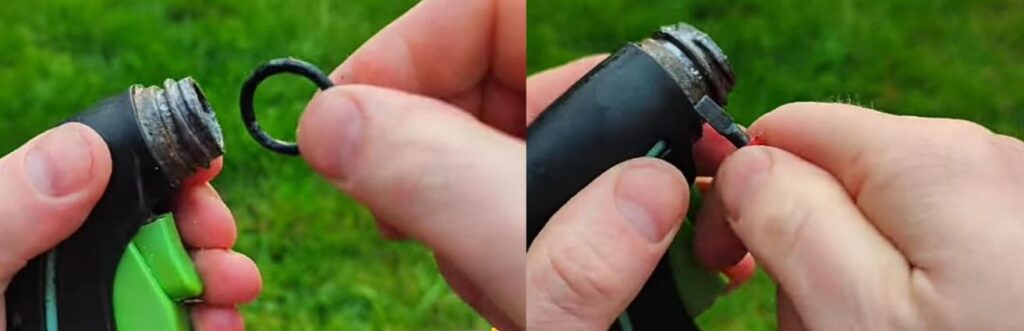
After you have cleaned the head of the water spray gun, you also need to clean the mouth where the head will be placed. You will spot a small circular metal ring on the mouth of the water spray gun. You have to remove the ring and clean the mouth of the water gun with a flathead screwdriver, as shown in the picture below.
Step8: Fit The Head Of The Water Spray Gun And Aircap To The Water Spray Gun
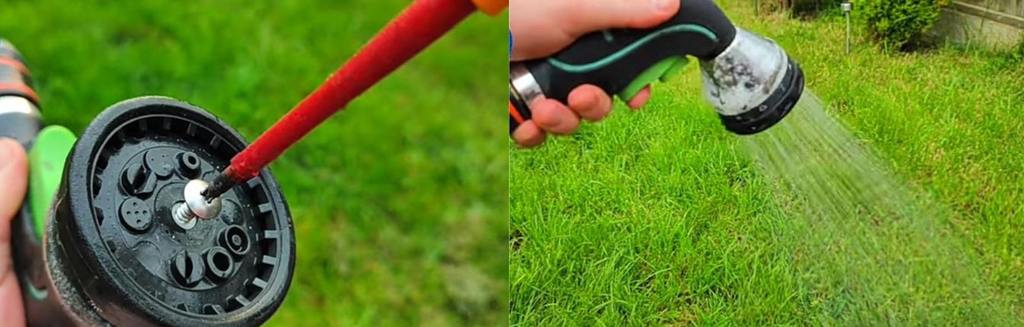
Fix the screw back into the air cap with the help of a screwdriver, as shown in the picture above. Then, attach the head of the water spray gun to its body, and you will be done with it.
Now, you have a leak-free water spray gun. You can use it to water your plants, wash your vehicles, or bathe your pets at home.