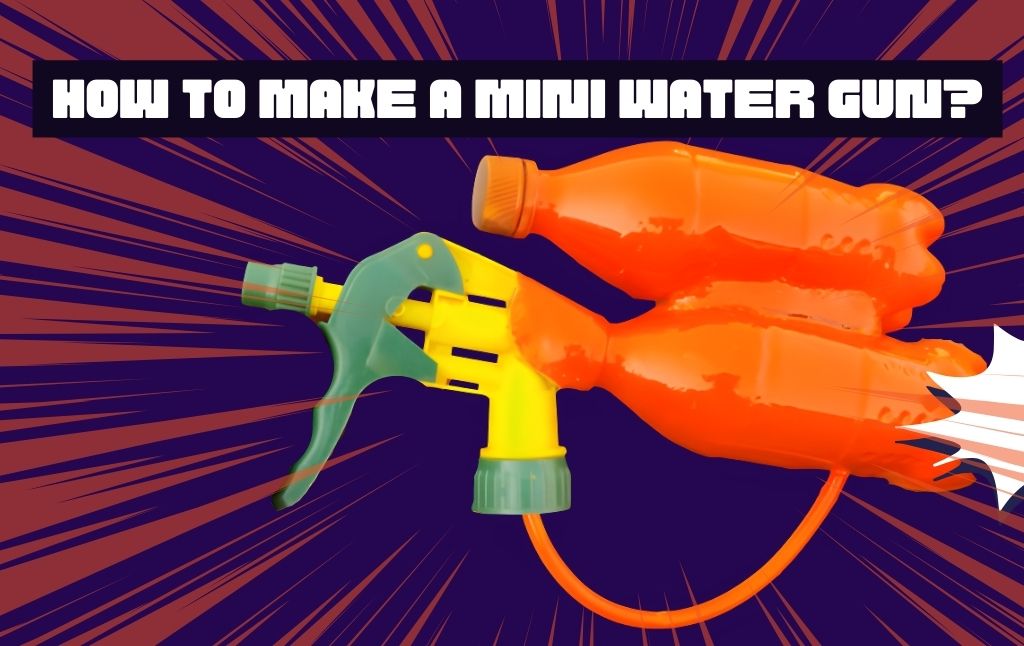
Water guns are fun to explore, and water fights are one of the finest experiences that one can have in one’s lifetime.
While people find it extremely amazing to play with a water gun, it is surprising that making a water gun by yourself at your home is a more amazing experience.
It is really a pleasant surprise to discover that your favorite water toys are just a DIY hack that can do wonders for your playing experience with your family, friends, and relatives.
Mini Water gun is a handy toy that is not only suitable for young people but also small kids. If you are also looking for a safe and enjoyable toy for your kids, you can definitely indulge them in this craft work and make the perfect water gun for them.
Kids love Squirt Gun Painting, for which this mini water gun you made can be helpful.
Steps For Making A DIY Mini Water Gun:
Here is the detailed process of making a Mini Water gun for your kids at your home.
Materials Required:
1. Two small cold drink bottles, 250 ml
2. A paper cutter
3. A plastic hole puncture tool
4. A small piece of plastic tube
5. A plastic straw
6. A glue gun
7. A spray trigger
8. A black marker
9. A driller that is suitable to drill a hole in the plastic bottle
10. A Spray Paint of your choice
Steps To Be Followed:
Step1: Take Two Small Plastic Bottles
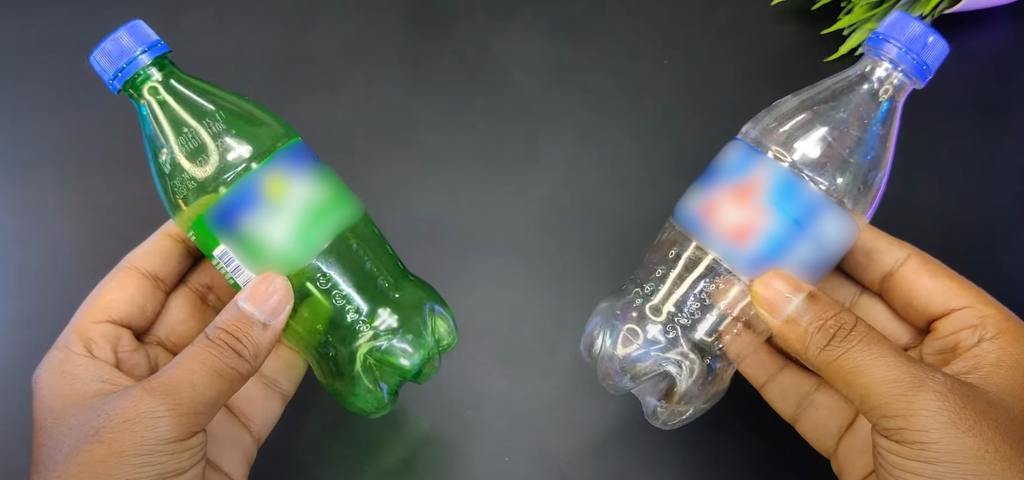
The first step is to take two small plastic bottles that would work as the base of our Mini Water gun. Here, we have used plastic bottles from the popular cold drink brands Thumbs Up and Sprite. You can use any small bottle of 250 ml in the size 7.62 x 7.62 x 15.24 cm.
Step2: Remove The Wrappers
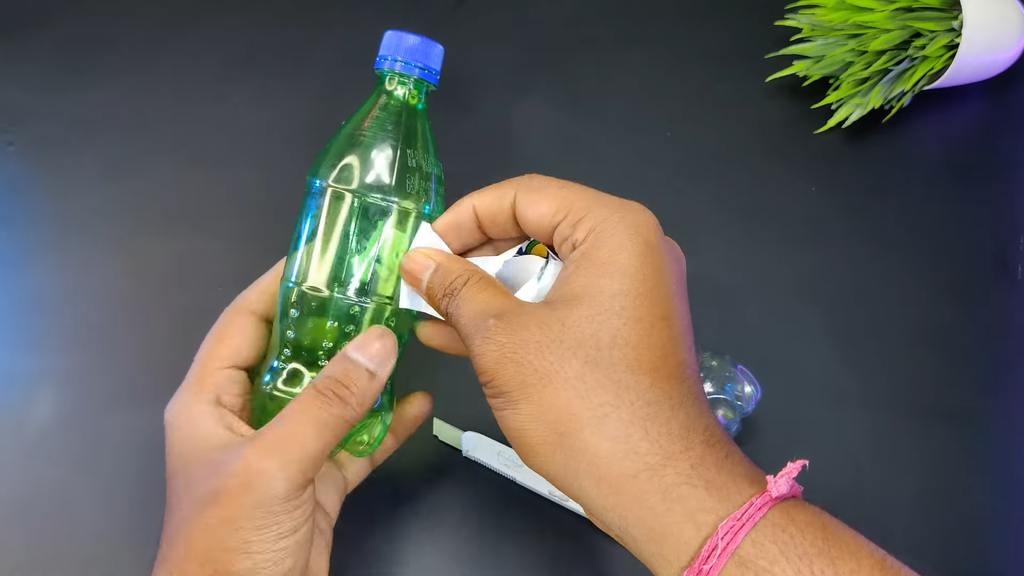
With the help of a paper cutter, cut the plastic label pasted on the bottle and get it removed. Make sure that the bottle does not have any labeling or sheet wrapped around it.
Step3: Drill Two Holes, One On Each Bottle
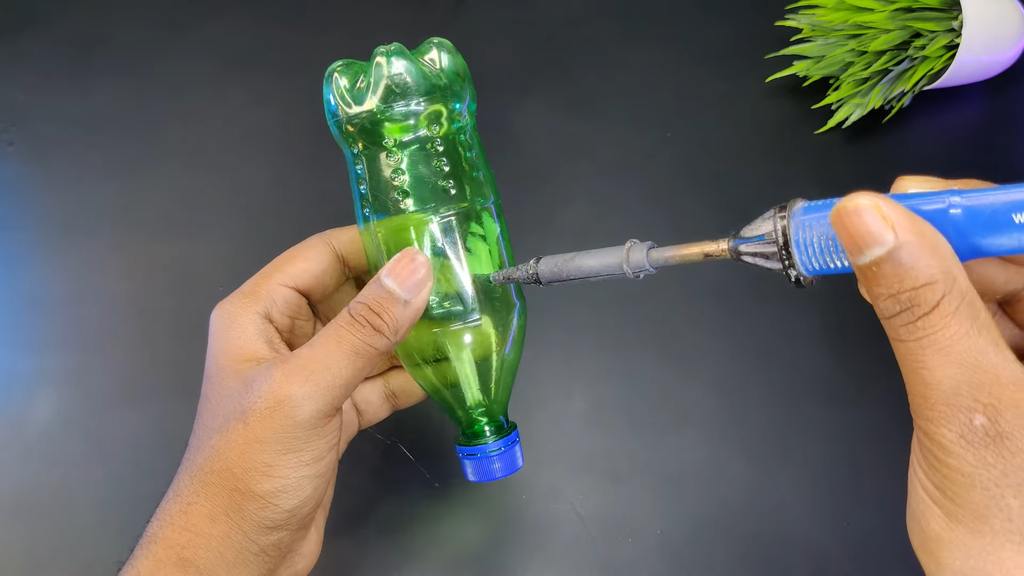
Now, you have to drill holes in the plastic bottles with the help of a plastic hole puncture tool. You have to heat this equipment and push it straight into the bottle; this would make a fair round hole on the surface of the plastic bottles without disturbing its shape.
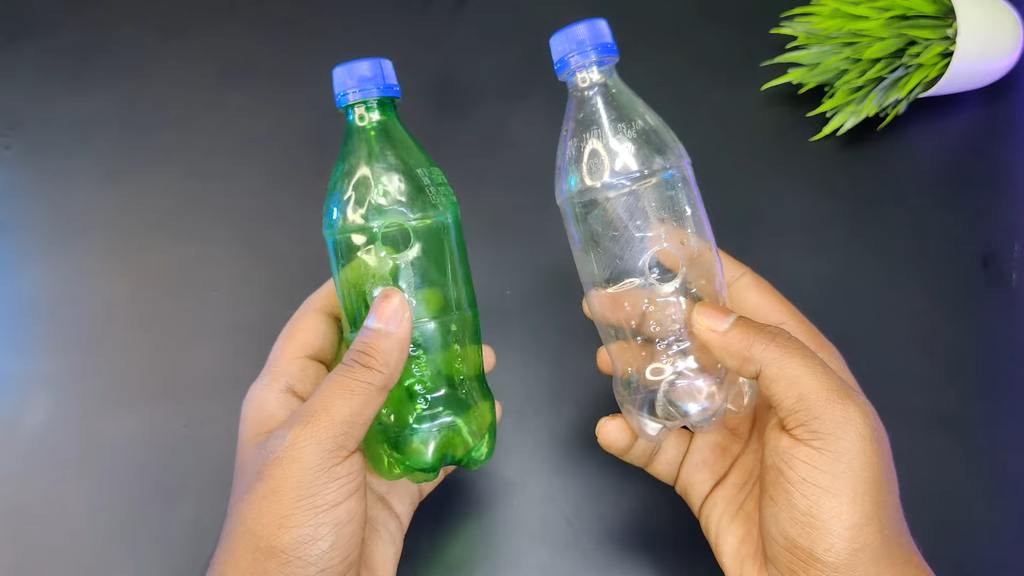
We have to drill both bottles in different areas, as shown above. Drill the first bottle slightly above the center and the second bottle exactly in the center. These holes are made in the bottles to attach them while making the base of the water gun. Using a plastic hole puncture tool will make your work much easier than any other traditional method.
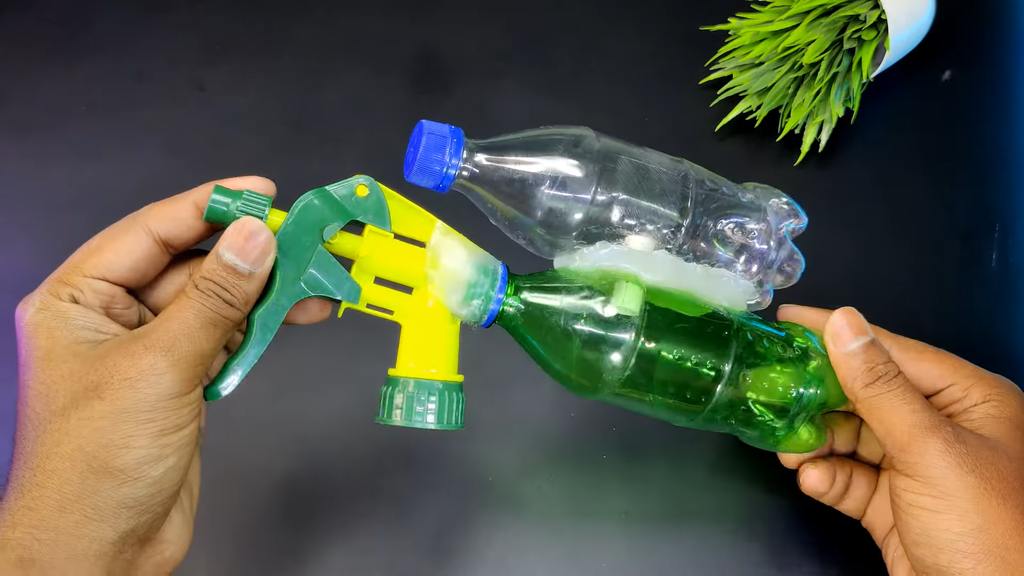
Step4: Fix The Bottles Together
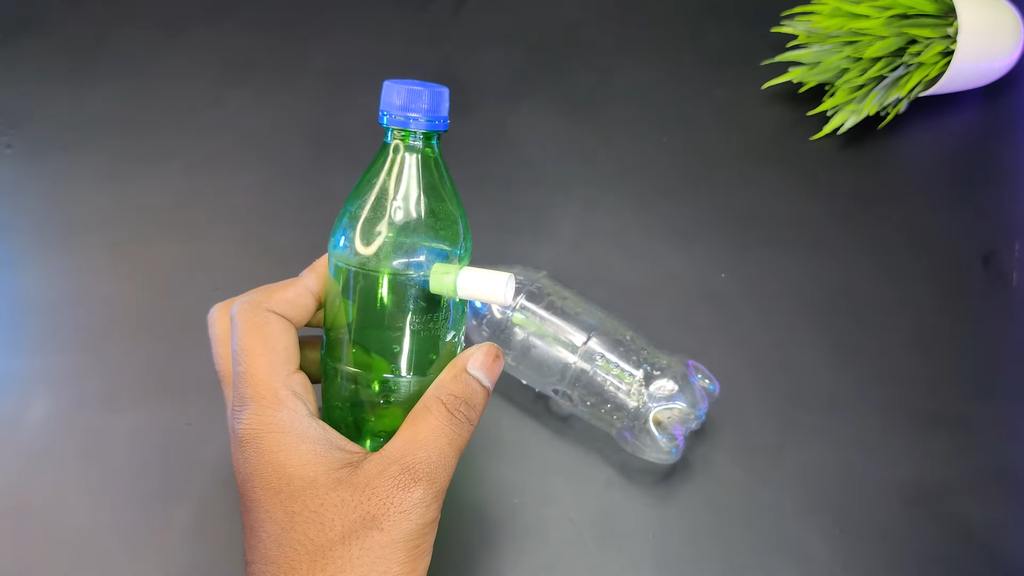
Now the next step is to fix both the bottles together; for this purpose, we will need a small piece of plastic tube, the same in diameter as the size of the hole that you created in both the bottles (you can get the plastic tube of the size of the plastic hole puncture tool that you used to create the holes in bottles).
Insert the plastic tube in the hole that we created in the first bottle. Remember that only one part of the tube must be inserted inside the bottle, and the other part must remain outside as we are going to attach the other bottle to this end of the tube.
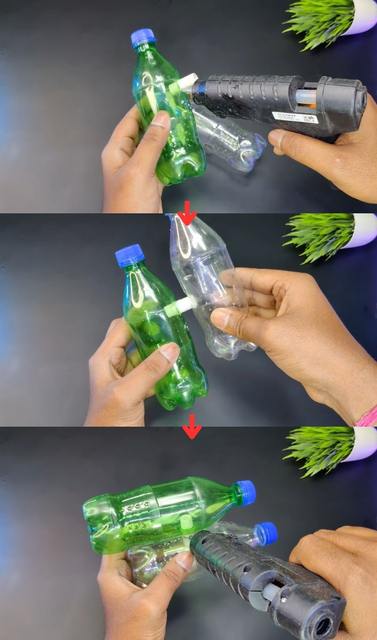
Once you are satisfied with the arrangement of the tube inside the first bottle, run a layer of glue gun over the area of the tube, as shown in the picture above.
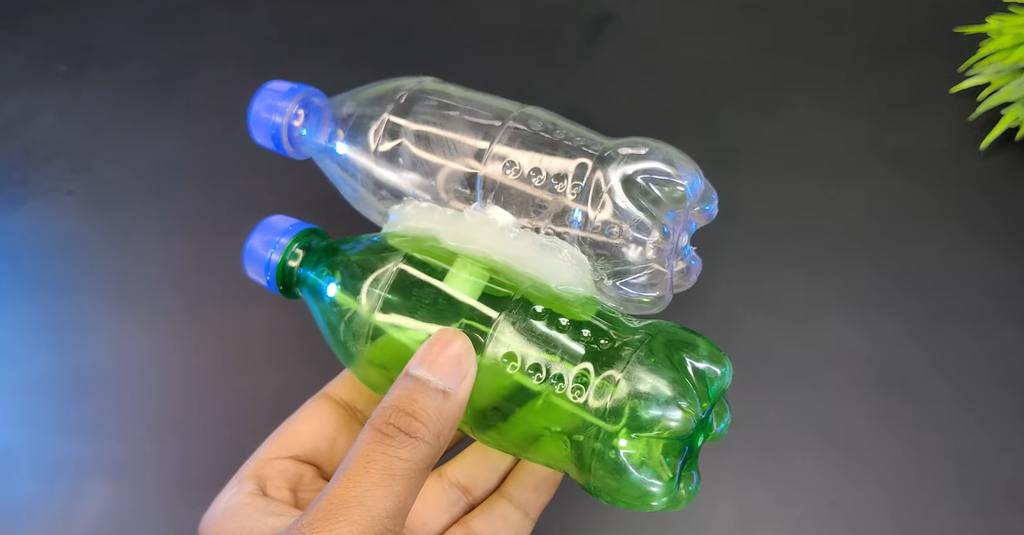
Now, join the other bottle to the end of the tube lying outside the first bottle. Once you feel the arrangement is strong and secure, run a layer of glue gun over the entire settlement and cover the tube completely with the glue. Ensure that the arrangement is strong and secure, as this is going to be the base of our water gun.
Step5: Attach Spray To The Bottle
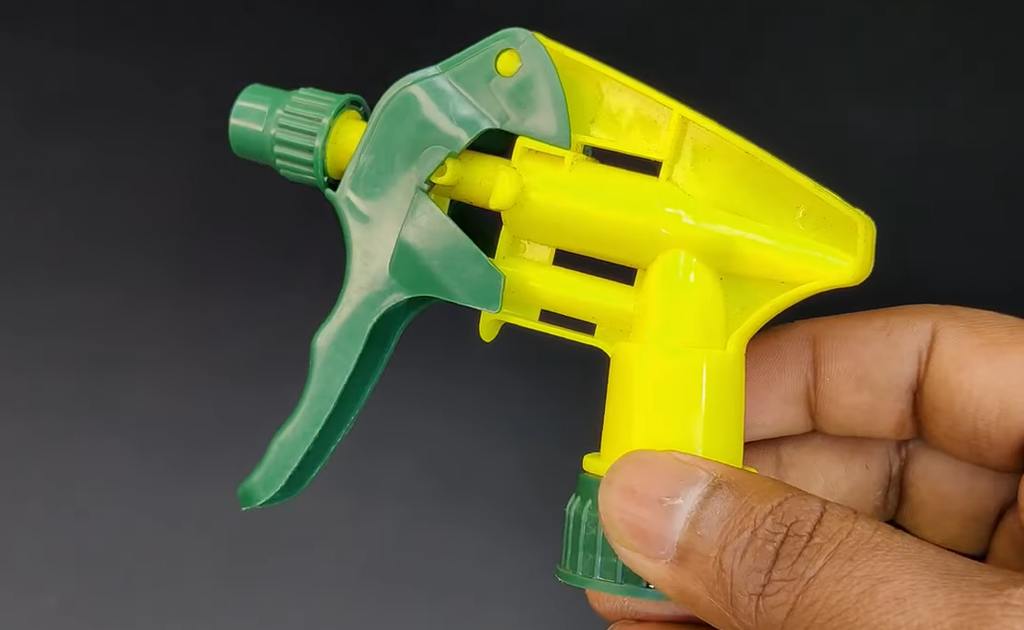
For the next step, you will require a sprayer that is attached to the first bottle. The sprayer is needed to shoot out water from the gun while playing a water fight.
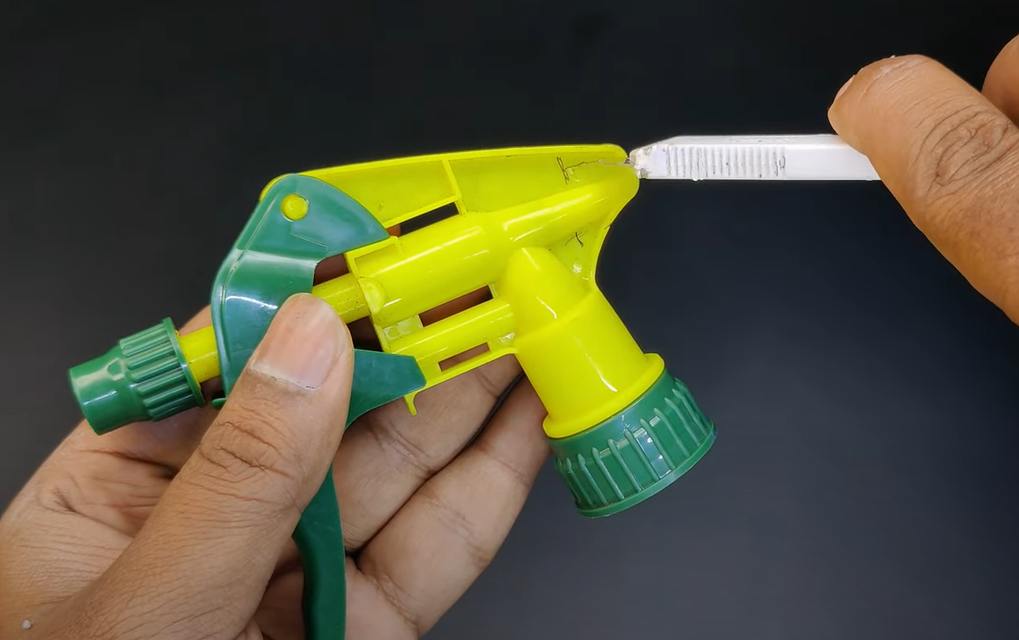
As you will notice, the spray does not have a desired place to attach our mini water bottle gun to it. So, we will mark the sprayer at two locations with the help of a bold black marker.
The first mark is going to be on the top right edge of the sprayer, while the other mark will be right below it on the center line of the sprayer, as shown in the image above. We need to cut out the mark areas from the sprayer with the help of a paper cutter.

After cutting out the sprayer from the desired areas, it will look like the one in the picture shown above. Now, it is ready to be attached to our water bottle gun.
Now, remove the cap from the first bottle and fix the sprayer into the opening (head) of the bottle.
Now secure the arrangement with the help of a glue gun. For this purpose, you have to run multiple layers of glue gun all around the head of the bottle to make the settlement tight and secure.
Upon completion, the base of our mini water gun should look something like the one shown above.
Step6: Fix A Pipe From The Sprayer To The Bottle
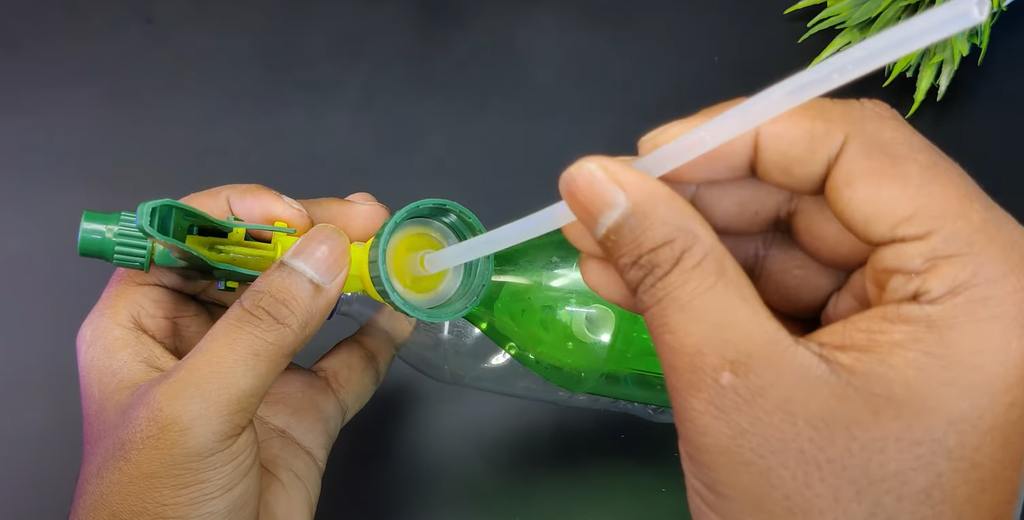
Now, you have to take a plastic straw and insert it from the bottom of the sprayer to the bottom of the first bottle.
Upon reaching the bottom of the sprayer, you will figure out a small hole inside its structure. Fit the plastic straw inside the hole, as shown in the picture above.
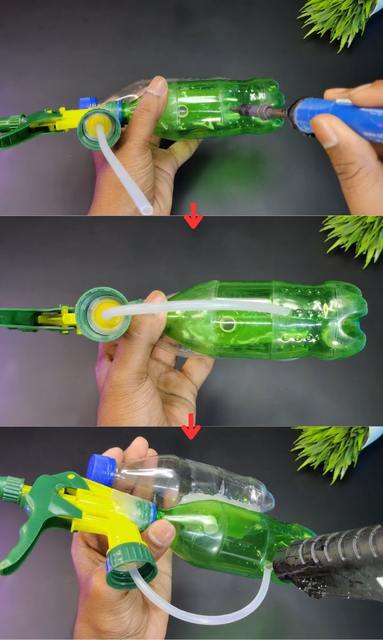
Now, with the help of a plastic driller, drill a small hole at the bottom of the first bottle. We have drilled this hole to connect the other end of the straw to the bottle.
Now, fix the open end of the plastic straw inside the hole that we drilled on the first bottle, as shown.
Now, fix this arrangement with the help of a glue gun. For this purpose, you have to run 1 to 2 layers of glue on the end of the straw that is connected to the bottom of the first bottle. Once you are done with this, you will get a structure similar to the one depicted in the picture above.
Step7: Paint The Mini Water Gun
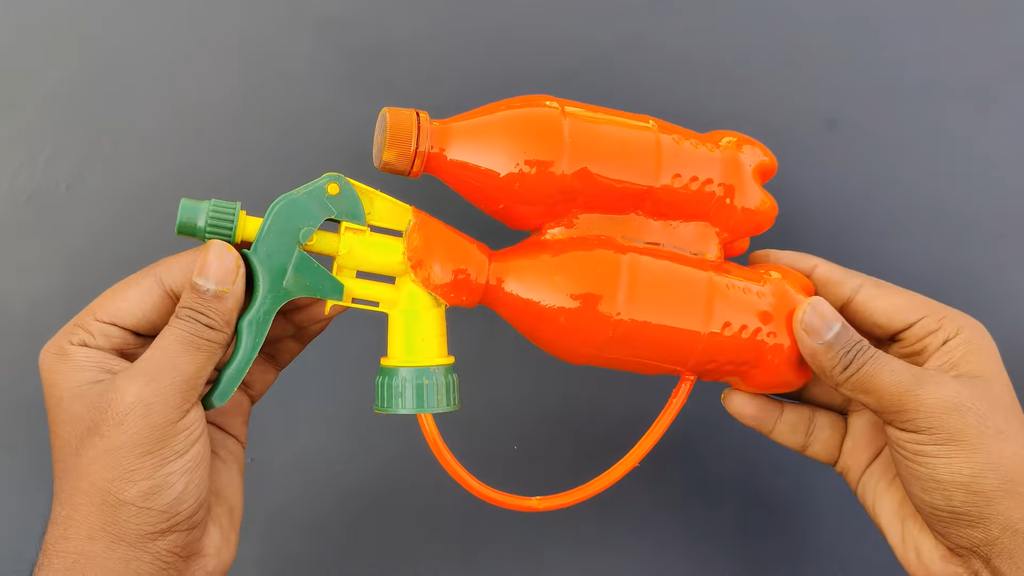
Now you are all done making your mini water gun, and it is ready to use for an amazing water fight. If you wish, you can make your water gun even more attractive by painting it with the help of spray paint.
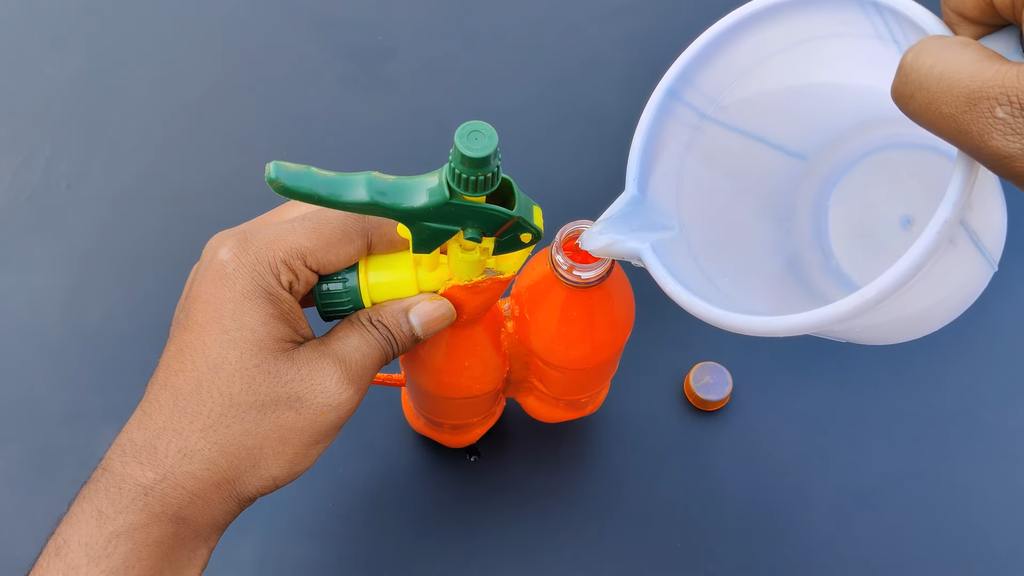
Now, to use the water gun, open the cap of the second bottle that is going to work as the water reservoir for us. You have to fill the water inside this bottle and then press the trigger on the sprayer to shoot the water out of your mini water gun.