

Clear slime is a fun and mesmerizing type of slime that allows you to see through it and add creative decorations like glitter, confetti, or small beads.
Unlike traditional slime, clear slime requires a bit more patience, but the results are well worth the effort. This guide will walk you through the step-by-step process of making clear slime, explore variations and Addressing common issues.
Why Make Clear Slime?
Clear slime offers a unique and visually appealing experience. Here are a few reasons why it’s worth trying:
Transparent Look: Perfect for creating crystal-clear slime or adding decorations.
Customizable: You can add glitter, charms, or color for a personalized touch.
Stress-Relieving: Playing with slime can be relaxing and fun for all ages.
Essential Ingredients for Clear Slime
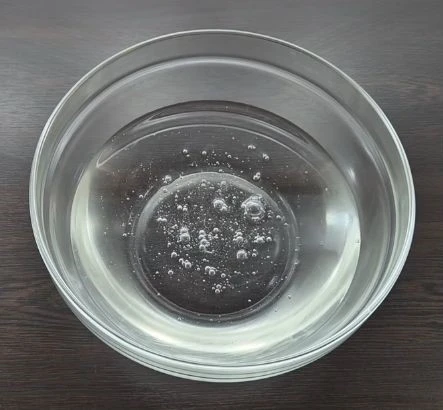
To make clear slime, you’ll need:
- 1/2 cup clear school glue
- 1/2 teaspoon baking soda
- 1 tablespoon contact lens solution (must contain boric acid and sodium borate)
- 1/4 cup water
- Mixing bowl and spoon
- Glitter, beads, or food coloring (optional)
Step-by-Step Clear Slime Recipe
- Prepare Your Workspace
Slime can get messy, so cover your surface with newspaper or a plastic mat. Wash your hands before starting to keep the slime clean.
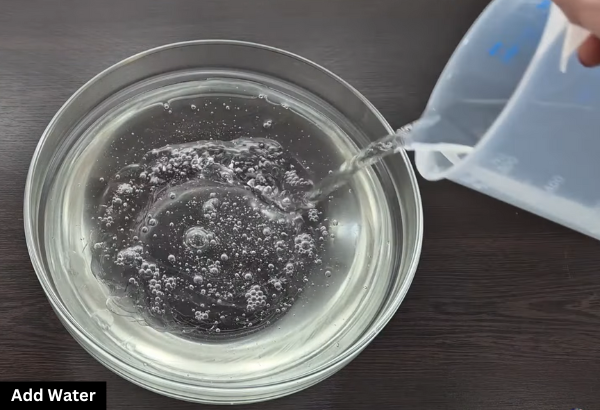
- Mix the Glue and Water
Pour 1/2 cup of clear glue into a mixing bowl. Add 1/4 cup of water and stir well. The water helps to loosen the glue for a better slime texture.
- Add Baking Soda
Stir in 1/2 teaspoon of baking soda. This helps thicken the slime and balance the pH.
- Add Contact Lens Solution
Slowly add 1 tablespoon of contact lens solution, stirring constantly. The mixture will start pulling away from the sides of the bowl.
OR
Additionally, you can make a slime activator using one cup of warm water and borax. Add half a teaspoon of borax to the warm water and mix well. Then, gradually add this solution to the glue mixture and mix thoroughly.
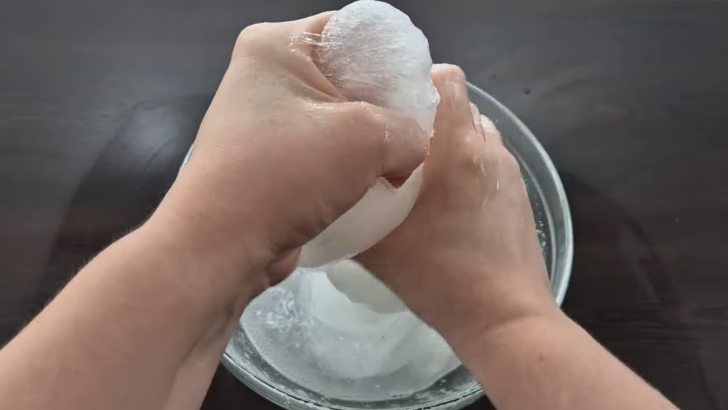
- Knead the Slime
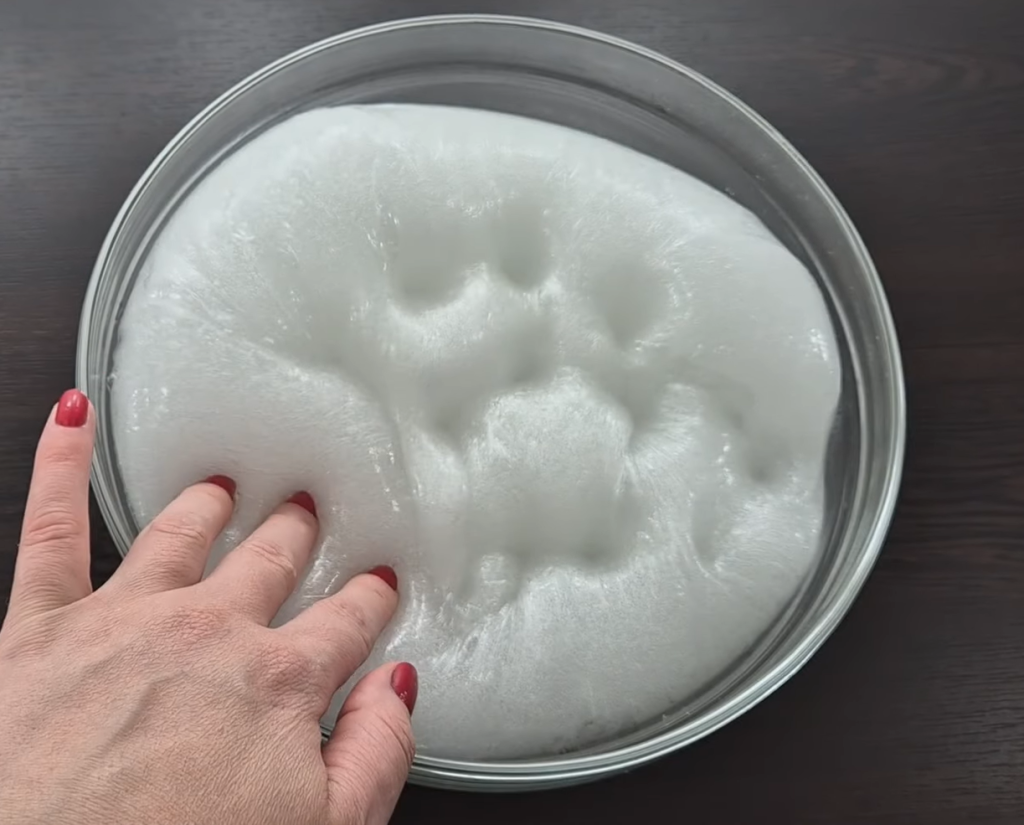
Once the slime starts forming, use your hands to knead it until it becomes stretchy and smooth. If it’s too sticky, add a few more drops of contact solution.
- Let the Slime Clear Up
Clear slime often appears cloudy due to air bubbles. Let it sit in an airtight container for 6 to 7 days to allow bubbles to rise and disappear, resulting in crystal-clear slime.
Clear Slime Variations
- Glitter Clear Slime
Mix in fine glitter before adding the contact solution for a sparkly effect.
- Color-Tinted Clear Slime
Add a drop of food coloring to achieve a colored transparent slime.
- Confetti or Bead Slime
Mix in small beads, sequins, or confetti for a unique texture and appearance.
- Glow-in-the-Dark Clear Slime
Add glow-in-the-dark paint or glow powder to the glue before mixing.
Addressing Common Slime Problems
- Slime is Too Sticky
Add more contact solution, a few drops at a time, until it reaches the desired consistency.
- Slime is Too Hard
Add a little water or lotion and knead until it softens.
- Slime is Not Clear
Let it sit in an airtight container for 24-48 hours to allow air bubbles to disappear.
Properly stored slime can last 1-2 weeks in an airtight container.
Not all contact solutions work. Ensure it contains boric acid and sodium borate for the best results.
Yes, when made correctly and used responsibly. Always wash hands after playing and avoid ingestion.
Final Thoughts
Making clear slime is a fun and rewarding DIY project that allows for endless creativity. Whether you want glittery, colorful, or glow-in-the-dark slime, the possibilities are endless. Try this recipe today and enjoy the satisfying, see-through fun of homemade clear slime!


