
Paper pinwheels are a fun and easy DIY craft that can be used for decorations, kids’ activities, or even as party favors.
They are simple to make and require only a few materials. In this guide, we’ll walk you through the step-by-step process of making beautiful paper pinwheels at home.
What You’ll Need
To make a paper pinwheel, gather the following materials:
- Square paper (origami paper or any decorative paper)
- Scissors
- Ruler
- Pencil
- Pushpin or thumbtack
- Small bead (optional, for smoother spinning)
- Drinking straw or wooden dowel
- Glue or tape
Step-by-Step Instructions
- Prepare the Paper
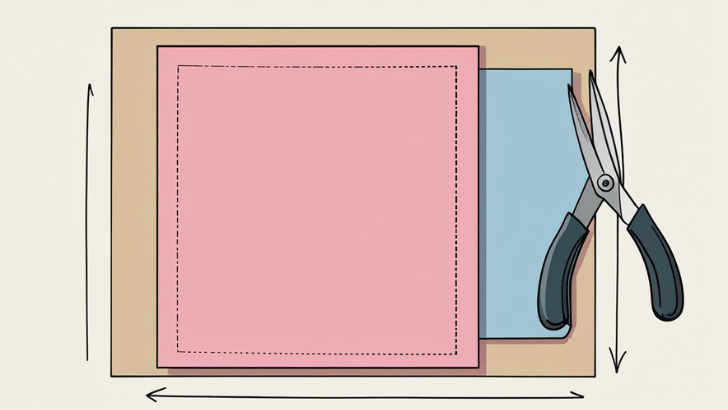
Start with a square piece of paper. If your paper is not already square, trim it to ensure all sides are equal.
- Mark the Cutting Lines

Use a ruler and pencil to draw two diagonal lines from corner to corner, forming an “X” on the paper.
- Cut Along the Lines
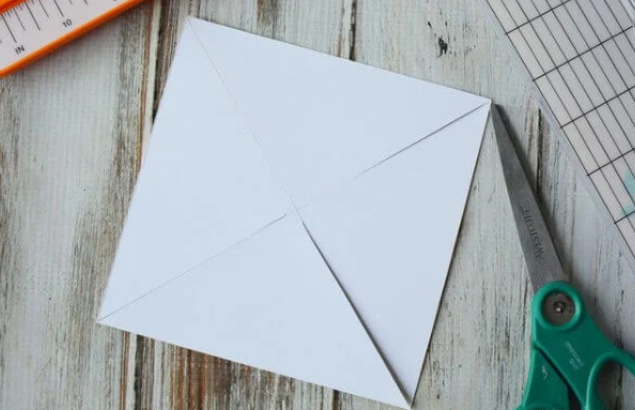
Carefully cut along the diagonal lines, stopping about half an inch from the center. Do not cut all the way through.
- Fold the Corners
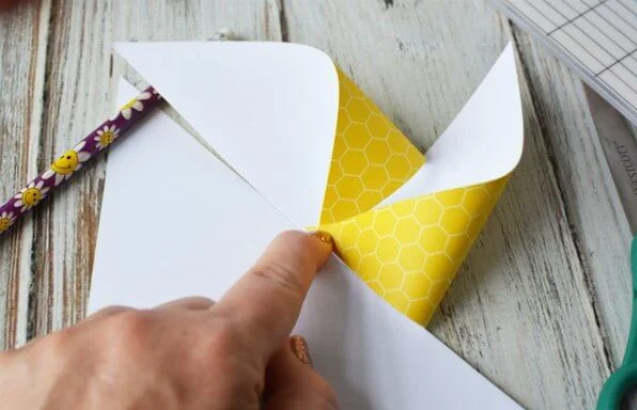
Take one corner of each triangular section and bring it towards the center, securing it with a small dab of glue or a pushpin. Repeat this for every alternate corner (four in total).
- Secure the Center
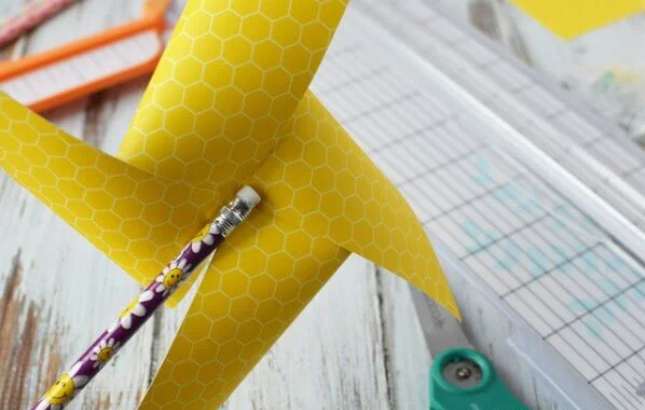
If using a pushpin, insert it through the center where all the folded corners meet. If adding a bead, place it between the paper and the pushpin to allow smooth rotation.
- Attach the Pinwheel to a Stick
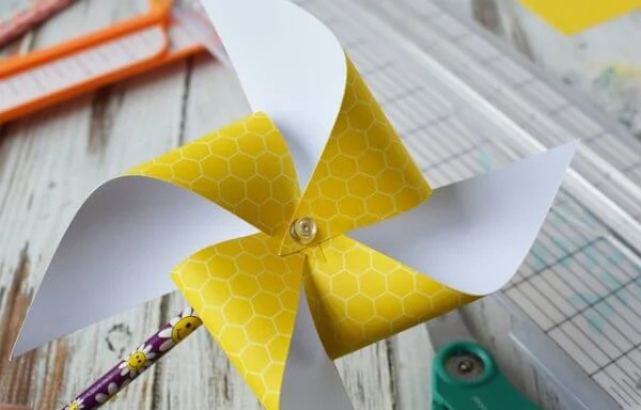
Push the pin through the top of a drinking straw or wooden dowel. Make sure it is not too tight so the pinwheel can spin freely.
- Test and Adjust
Gently blow on the pinwheel to see if it spins. If it’s too tight, loosen the pin slightly to allow movement.
Creative Variations
Double-Layered Pinwheel: Use two pieces of paper in different colors for a more dynamic look.
Patterned Paper: Try using scrapbook paper with fun designs to make decorative pinwheels.
Giant Pinwheels: Make larger pinwheels for outdoor decorations.
Final Thoughts
Making paper pinwheels is a simple yet enjoyable craft that can be customized for various occasions. Whether for party decorations or just a fun activity with kids, these pinwheels add a touch of whimsy and creativity to any setting. Try making a few today and enjoy the colorful, spinning fun!


