
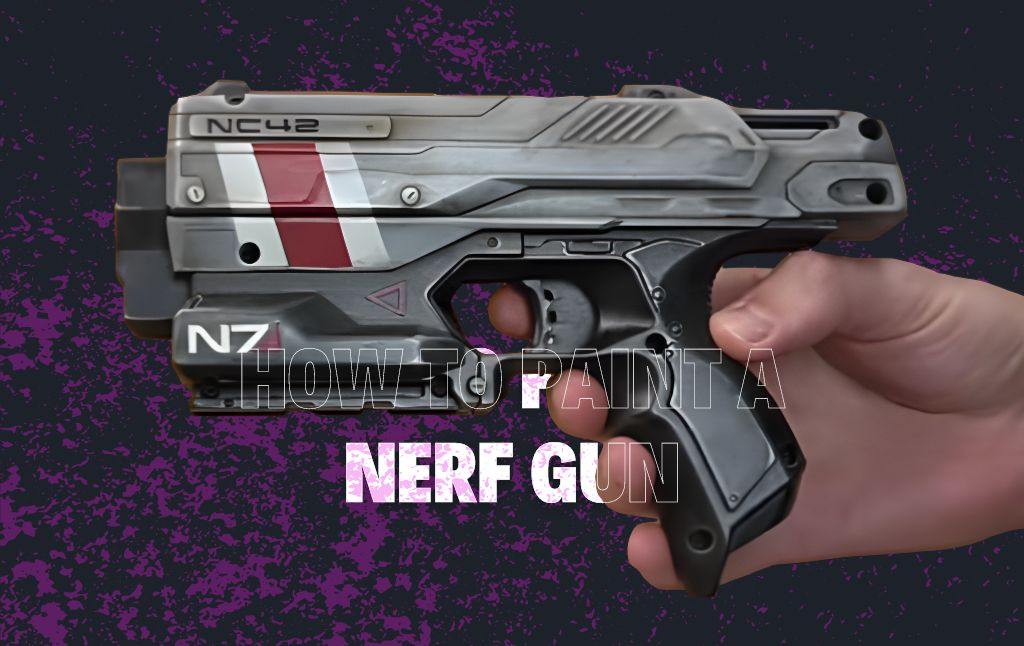
Nerf guns have become a popular toy among youngsters throughout the world. There are a lot of Nerf guns available in the market in almost every shape, size, and color possible, but it is indeed true that we cannot neglect our desire to have the perfect Nerf gun to show it off among our friends and siblings.
What most people expect is a Nerf gun full of colors and brightness. Have you ever wondered about having a Nerf gun in your desired colors? If yes, then it is no longer a thing to worry about as you are at the right place where we will guide you in quickly painting your Nerf gun at home.
Apart from this, if you want to give an attractive colour to the water gun you made yourself, then you can provide an excellent colour for your DIY project using this guide.
Painting A Nerf Gun At Home:
Painting a Nerf gun by yourself at home seems mesmerizing, but this surreal dream requires a lot of creativity and enthusiasm, as you are going to indulge in something very new and ingenious.
You will require the following materials to paint your boring Nerf gun into something realistic and admirable.
Materials Required:
- A nerf gun
- A metal file
- A 100-grit sandpaper
- A 1200-grit sandpaper
- Spray Paints Of Your Choice
- Airbrush
- Setting Spray/ Varnish
- Masking Tape
Steps To Follow:
One must follow the steps below to paint a Nerf gun with their favorite spray colors.
- Step1: Search For Color Combos That You Are Going To Use
The first step in coloring your Nerf gun is to look for the best color combo you want to paint it. There are a lot of color inspirations available over the web, from which you can get an idea of the colors in which you want your Nerf gun to be painted.
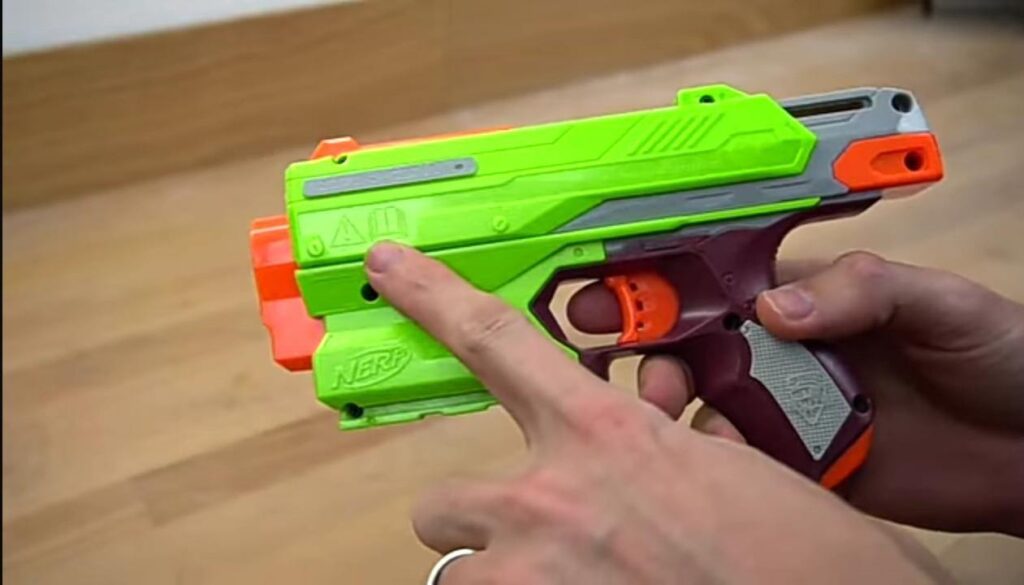
- Step2: Get A Nerf Gun

The next thing you must do is get a Nerf gun of your choice. Don’t worry about the color, as the initial color of the Nerf gun has nothing to do with the color combination we will give it. We will paint this Nerf gun in the colors of our choice and imagination.
- Step3: Remove The Logos And Rough Shapes To Even The Surface
In order to paint the Nerf gun, we need an absolutely clean surface, as an uneven or rough surface is difficult to paint properly. As you can see in the picture shown above, there are many rough surfaces on the Nerf gun, which we are going to remove using a metal file.
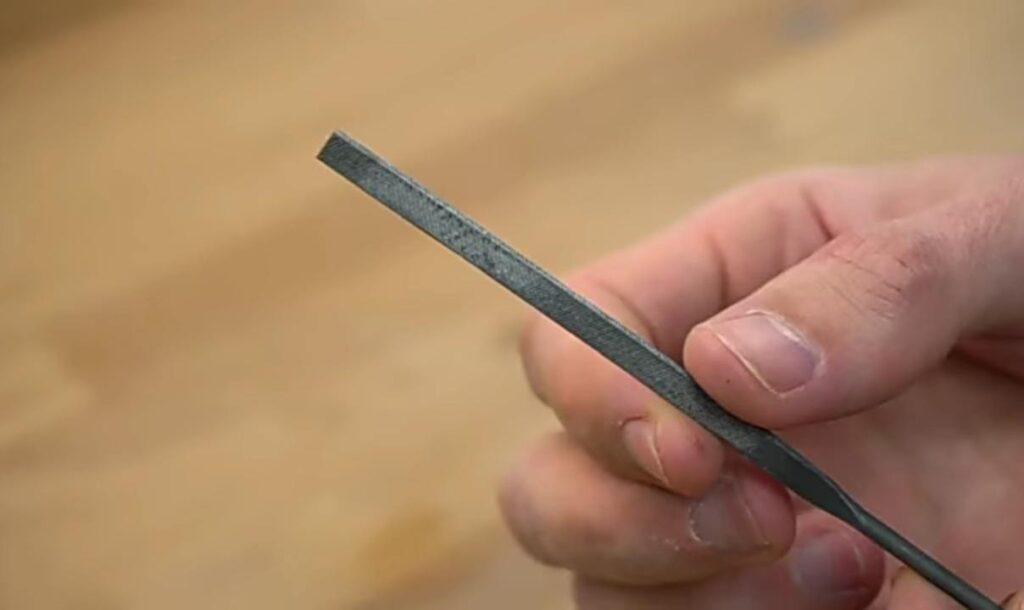
With the help of a metal file, we are going to scrub the rough surfaces of the Nerf gun until they are completely gone and removed from its surface.
With the help of the metal file, we have to remove all the rough areas, logos, and safety icons from the surface of the Nerf gun to make it appear as if they were never there.
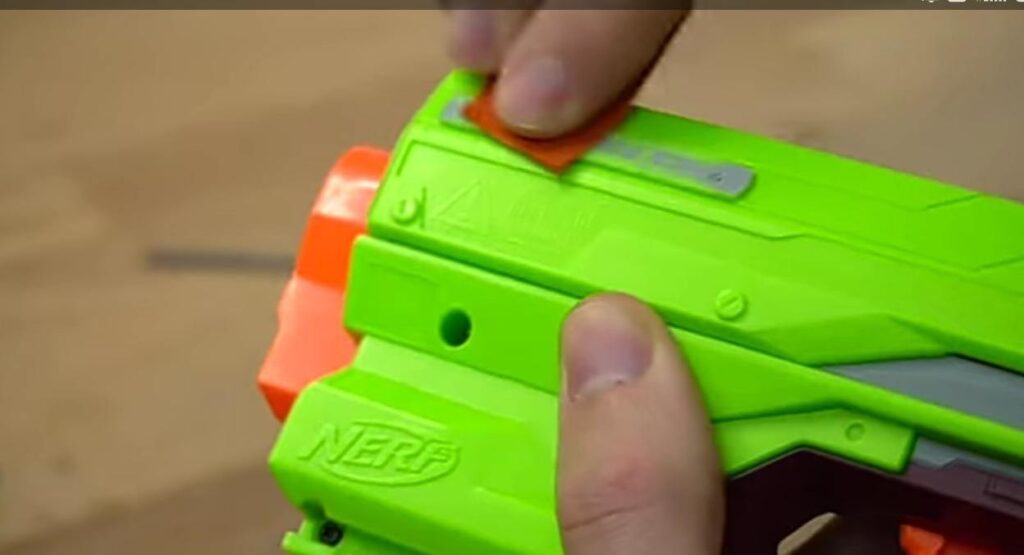
You can also use a piece of Sandpaper for this purpose. The use of Sandpaper makes the process much easier, and the icons are removed in a much better way.
All you have to do is get 100 grit of Sandpaper and rub it all around the uneven surface of the Nerf gun. After you finish it, you can give it a final touch with 1200-grit Sandpaper to make the surface smoother.
After you are done with the body of the Nerf gun, make sure to also remove the logo from the handle. You can remove the logo by following the same process that you followed to remove the icons and prescriptions from the gun’s body.
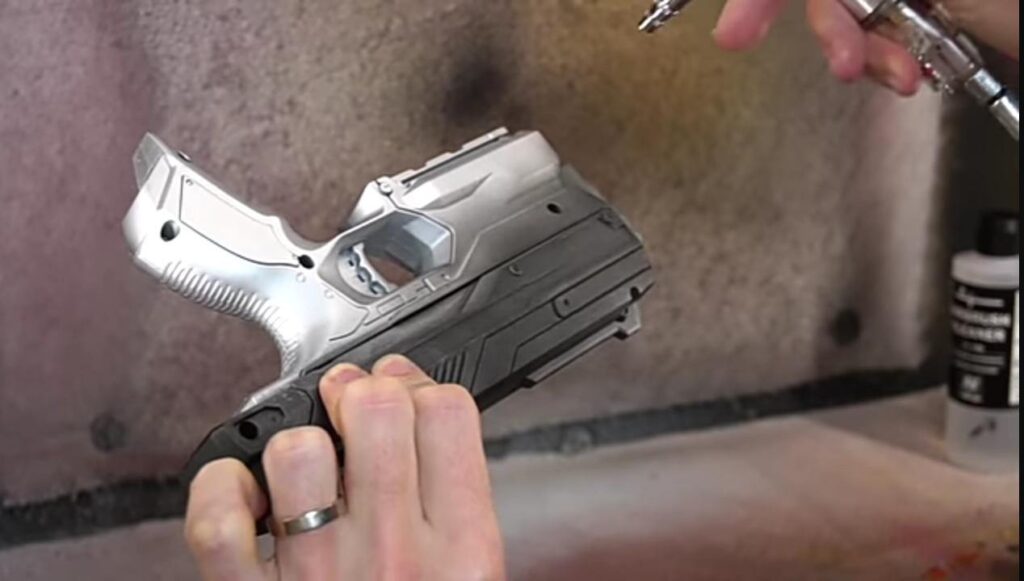
- Step4: Apply A Coat Of Black Surface Primer On The Nerf Gun
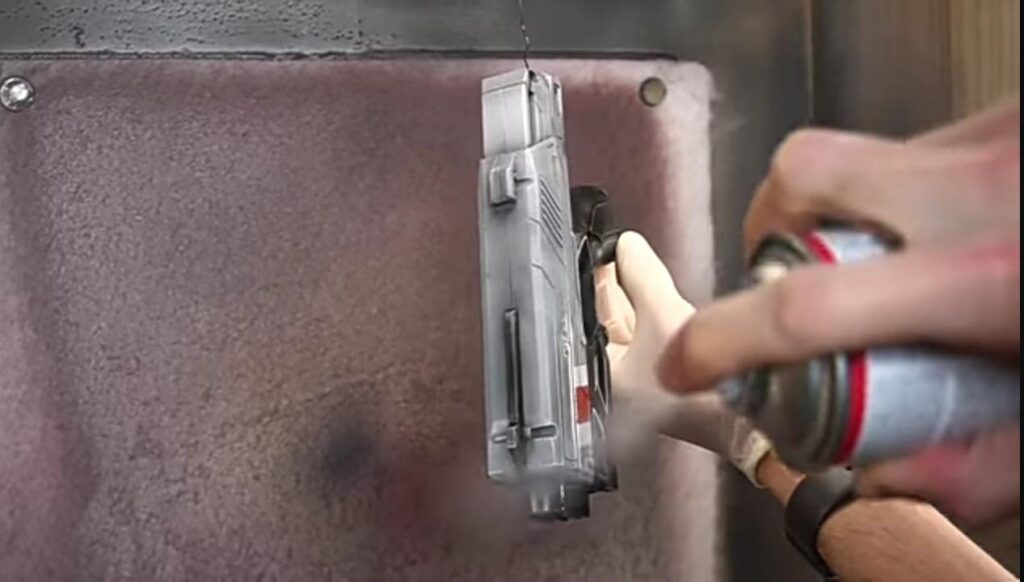
Before applying any spray paint to the Nerf gun, it is better to first coat it with a layer of black surface primer. Applying primer to the gun allows the paint colors to stay better on the gun and makes painting your Nerf gun an easier task.
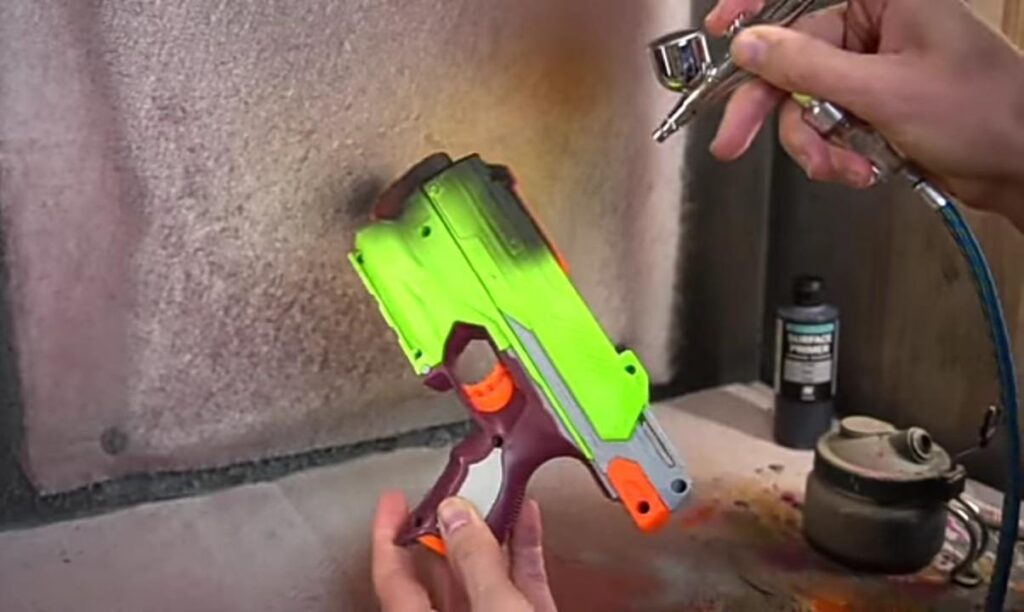
The black primer should be applied to the entire body, including the handle, of your Nerf gun. As shown in the picture above, you can use an airbrush to apply the primer.
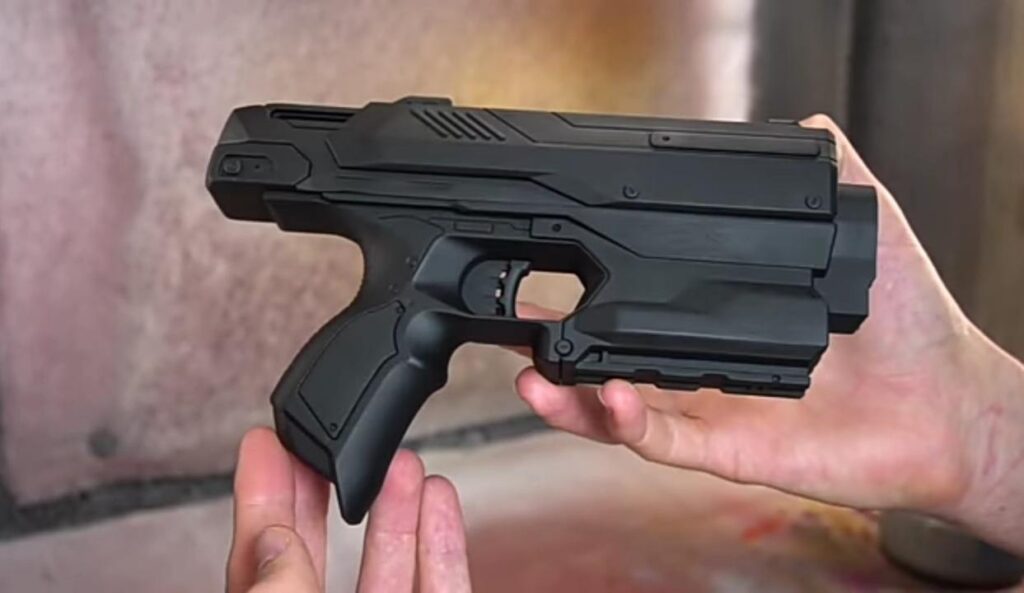
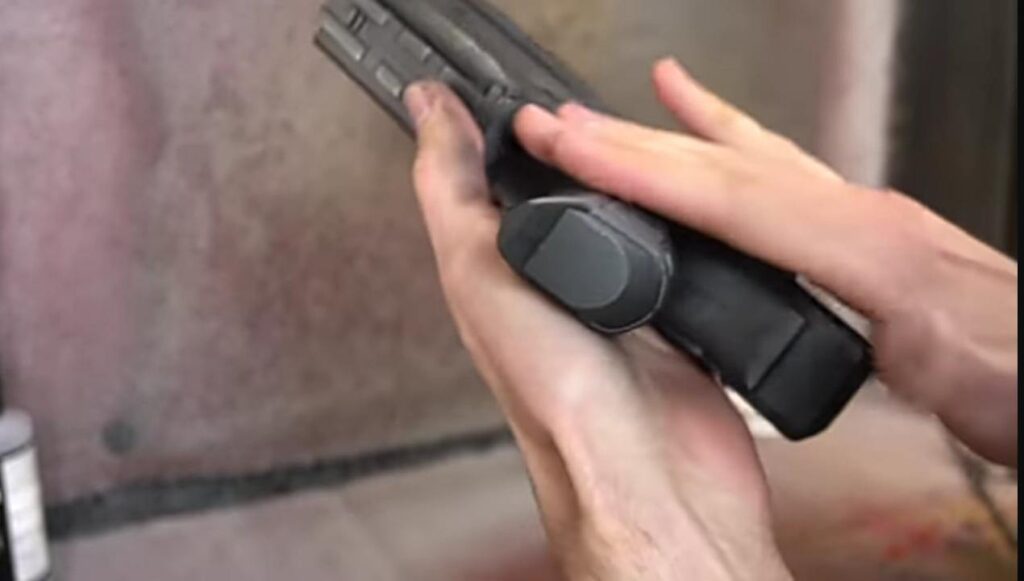
After applying the base coat, which is the primer, your Nerf gun should look like the one shown above.
Make sure that you also cover your Nerf gun interiors and functionality with the black primer. If you find it difficult to discover the internal mechanism of your Nerf gun easily, then you may have to disassemble the entire thing to get every part covered with primer and paint.
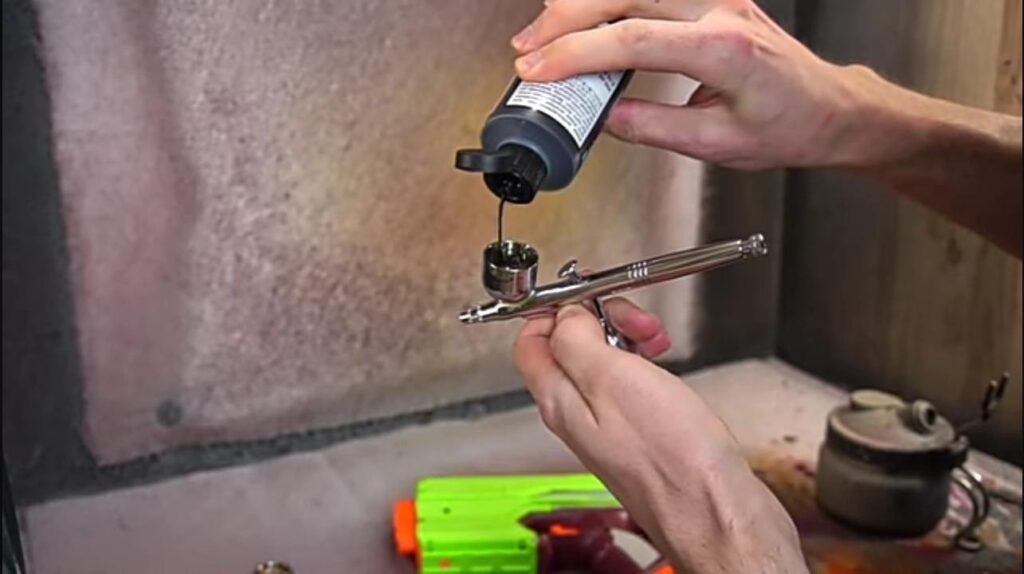
- Step5: Paint The Gun
The next step in the series is the painting part. You can now paint the Nerf gun in your favorite colors. Here, we have selected a shade of silver and black for our Nerf gun.
Start spraying with an airbrush all throughout the body of the Nerf gun, and make sure to cover the area you do not want to paint with a particular color while using that color on the gun.
Here, we are trying to give our Nerf gun a non-perfect and used look because the more it looks used, the more adventurous and enjoyable it is to play with it, as it gives a realistic experience.
For this purpose, we applied a few drops of silver metallic color to our fingers and rubbed them all around our Nerf gun in an unskilled manner.
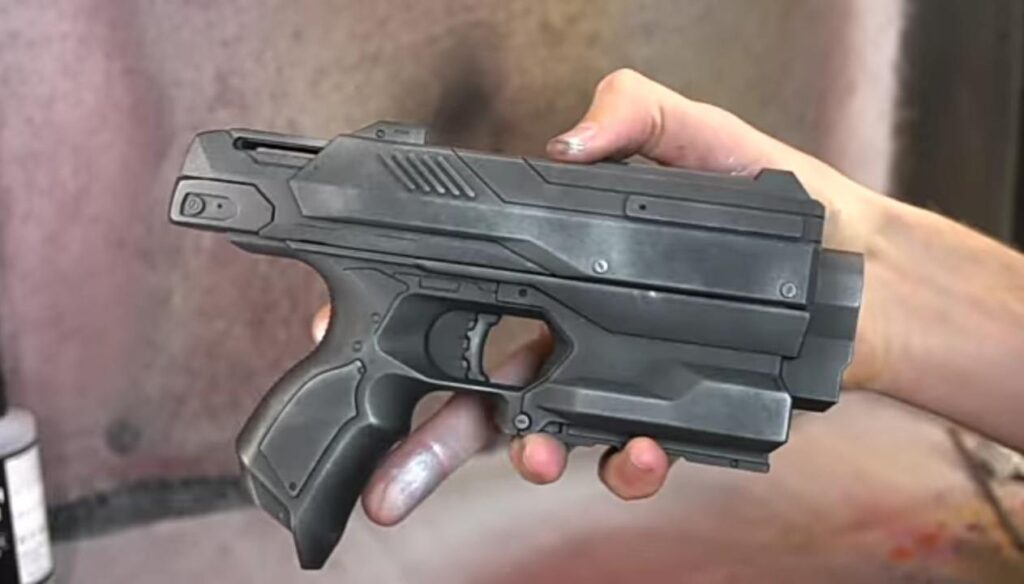
You can now compare the look of a perfectly black Nerf toy with the one shown above, which is slightly dusty and looks natural. That is precisely how your Nerf gun should look after you have applied the base coat of your favorite color to it.
- Step6: Start Using Your Favorite Colors On Your Nerf Gun
In the next step, the Nerf gun is perfectly ready to be segregated by a multitude of colors on itself. You can use various colors ranging from jet black to a subtle pastel.
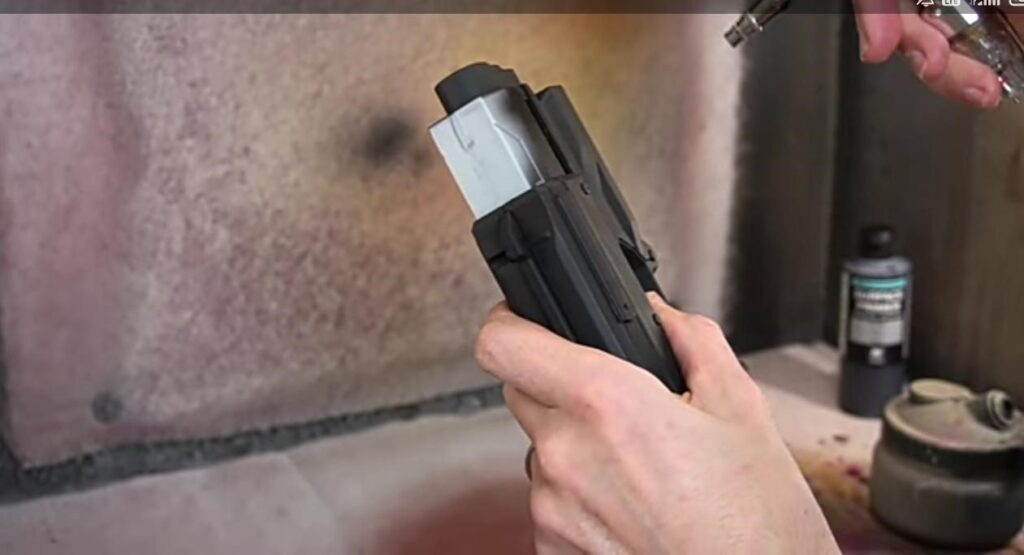
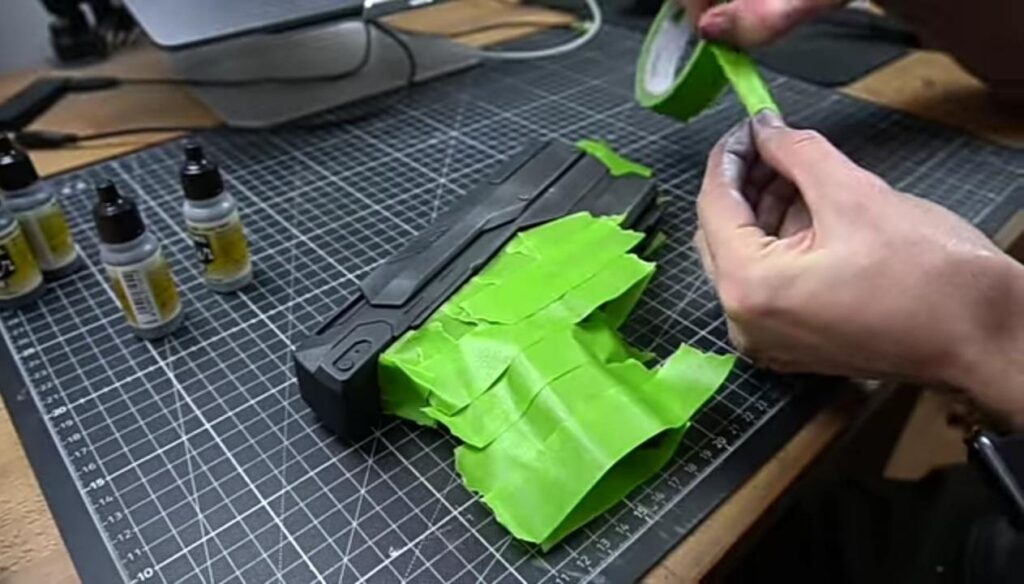
Just remember to cover the areas on your Nerf gun with tape that is to be protected from the coat of a particular color.
Like in the picture shown above, we have covered half of the body of the Nerf gun with tape so that the colors do not mix and match while painting its upper body.
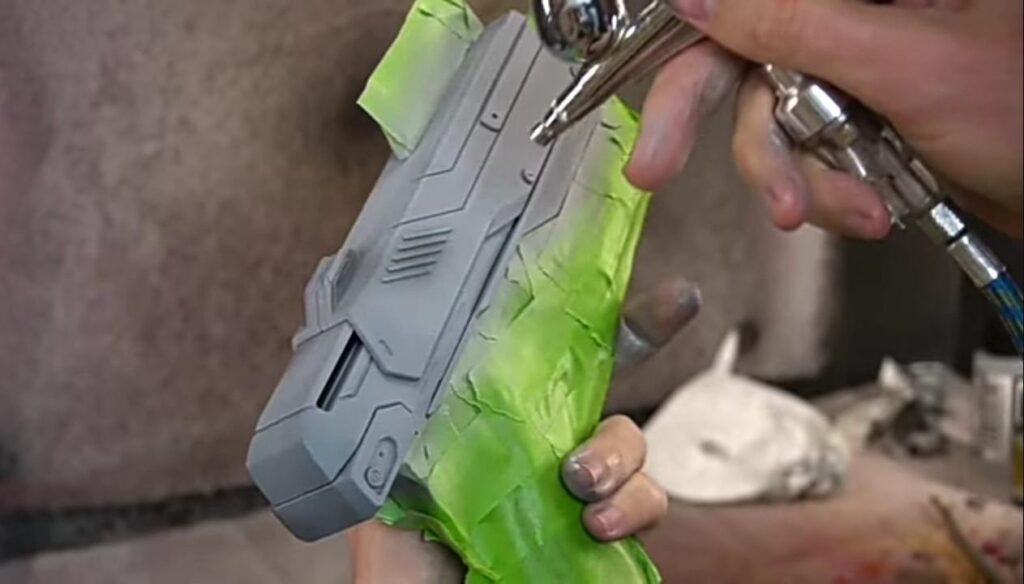
After you have covered the part that will remain untouched while coloring another part of the Nerf gun, you can start by applying the color of your choice to the rest of the Nerf gun using an airbrush.
We have also made a logo on the extreme right corner of the Nerf gun. For this purpose, we have just covered the rest of the area around this portion of the Nerf gun and then started brushing with an airbrush over the required area with red and white colors.
You can also create a simple logo or design by following the similar technique of wrapping the Nerf gun with cello tape and painting the areas that you require to be painted.
- Step7: Use Setting Spray/Varnish
When you are satisfied with your Nerf gun’s appearance, you must spray it with varnish to secure the work you have done.
Last but not least, we also made a logo on the Nerf gun by writing some letters on a piece of masking tape and cutting them out nicely.
After that, we placed the tape firmly over the area on the Nerf gun where we wanted the logo to be painted. With white paint, we covered the letters to create a bright logo on the Nerf gun.
- Step8: Add A Little More Detailings Of Your Choice And A Final Coat Of Spray Varnish
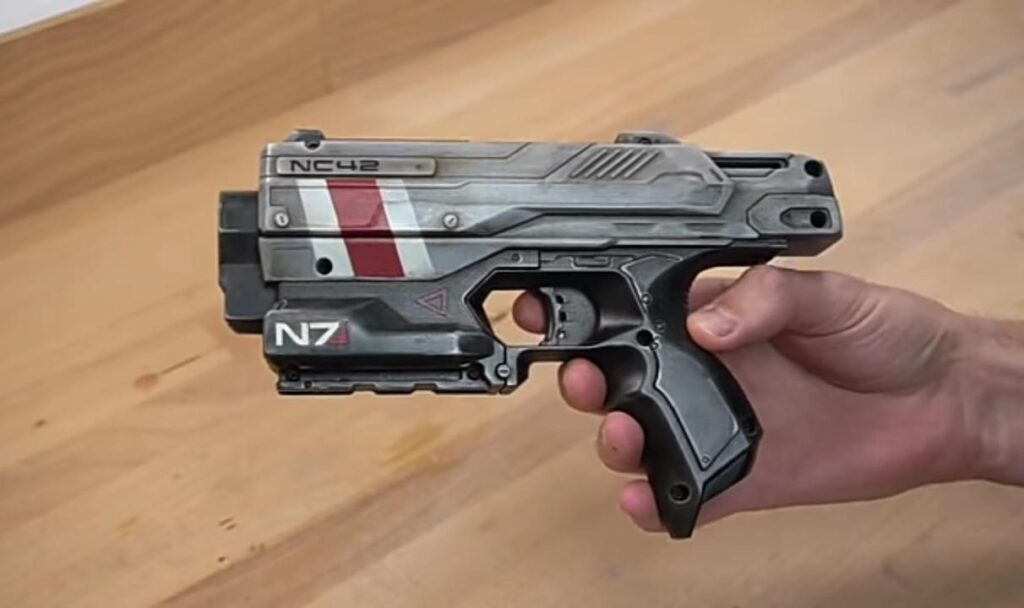
To give a final touch to your Nerf gun, you can add more detailing to it to make it look more realistic and attractive. Once you are satisfied with what you have got, you are all set to apply a final coat of spray varnish on your Nerf toy and enjoy flexing it among your friends.


