
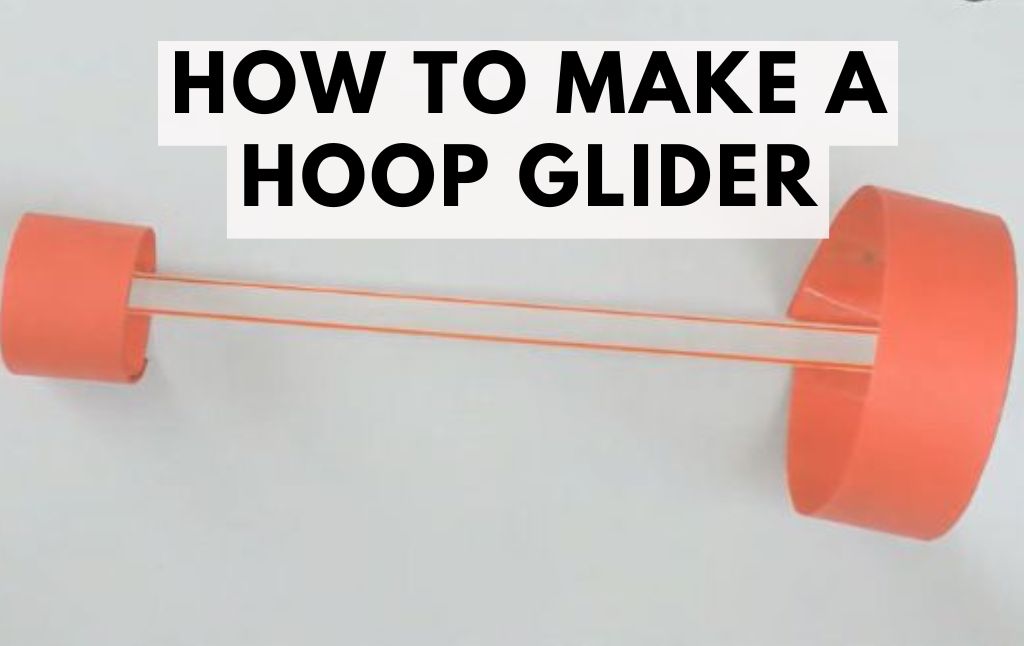
A hoop glider is a fun and easy-to-make flying craft that works similarly to a paper airplane but with a unique twist! Instead of wings, it uses paper hoops to create lift and stability.
This simple DIY project is a fantastic way to introduce kids to basic aerodynamics while having a blast experimenting with different designs. Let’s get started!
Materials Needed
- Straws (plastic or paper)
- Paper (lightweight cardstock or printer paper)
- Scissors
- Tape
- Ruler
- Pencil
Step-by-Step Instructions
Step 1: Preparing the Paper Strips

Cut two strips of paper:
One strip should be 2 cm wide and 15 cm long.
The other strip should be 2 cm wide and 20 cm long.
These strips will form the hoops that help the glider fly.
Step 2: Making the Hoops
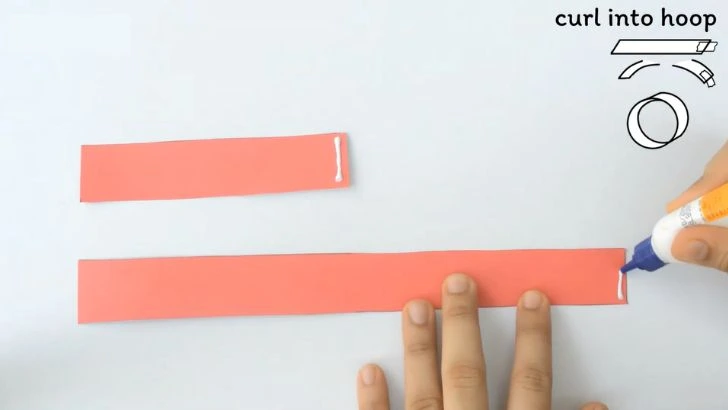
Take each strip and tape or glur the ends together to form two loops (or hoops).
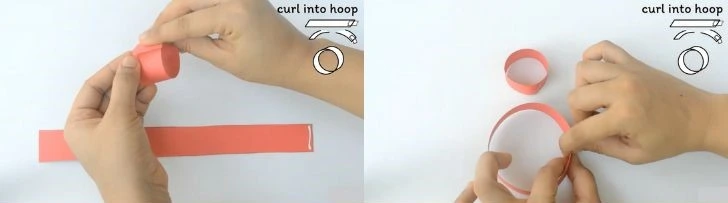
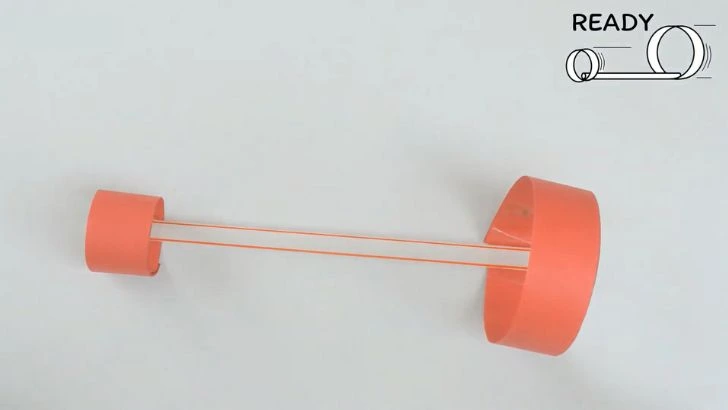
The smaller hoop (15 cm strip) will be the front ring, and the larger hoop (20 cm strip) will be the back ring.
Step 3: Attaching the Hoops to the Straw
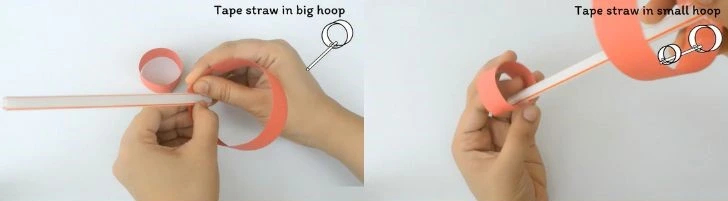
Take a straw and tape the smaller hoop to one end.
Tape the larger hoop to the other end of the straw.
Ensure the hoops are aligned in a straight line with the straw for proper balance and stability.
How to Fly Your Hoop Glider
Hold the straw at the front (near the smaller hoop).
Give it a gentle but firm forward toss.
Watch as your hoop glider soars smoothly through the air!
Experimenting with Design Variations
Once you’ve mastered the basic hoop glider, try experimenting with different variations to see how they affect the flight!
Change the size of the hoops – Try making both hoops the same size or switching their positions.
Add more hoops – Test if additional hoops improve or hinder flight.
Use different materials – Try using heavier or lighter paper to see how weight affects distance.
Alter the straw length – Use a longer or shorter straw to test its impact on stability.
Try different shapes – Instead of round hoops, fold the strips into squares and observe the changes in flight.
The Science Behind the Hoop Glider
Unlike traditional paper airplanes, a hoop glider relies on air resistance and stability created by the rings.
The larger hoop at the back helps maintain balance and prevents flipping, while the smaller hoop at the front helps guide airflow smoothly around the glider.
This setup reduces drag and creates a more controlled flight path, making it a fascinating lesson in aerodynamics.
Final Thoughts
Hoop gliders are a simple yet exciting way to explore the principles of flight. With just a few materials and some creativity, you can design your own unique flying machine.
Whether for a science project, a fun afternoon activity, or a friendly competition, hoop gliders are sure to provide endless entertainment!
Happy flying! ✈️


