
A Crossbow DIY project that can be made with the help of stationery available in the school or home.
It is very easy, and even a child can make it by following the steps given below. This project can be a source of entertainment for your child during school holidays, where he will be happy to make a mini crossbow.
So let’s see below how to make this crossbow. Stay till the end of this blog and follow all the given steps step by step.
Materials Required:
1.) Four pencils
2.) Four rubber bands, one of them should be of a slightly wider size
3.) One Bic Cristal ball pen head cover
4.) One slightly longer size rubber band
5.) Bic Cristal ball pen refill
6.) 1 inch cello tape
Step 1: Making the Structure of the Crossbow Using Pencils
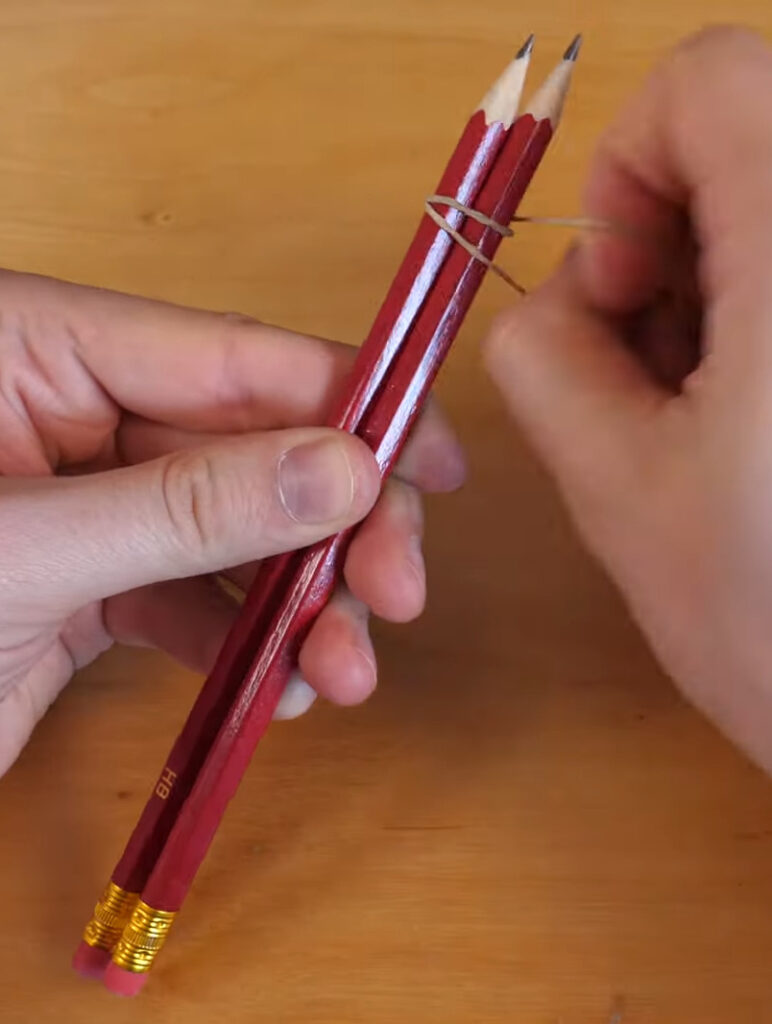
First of all, take two pencils and join them together with the help of small rubber bands.
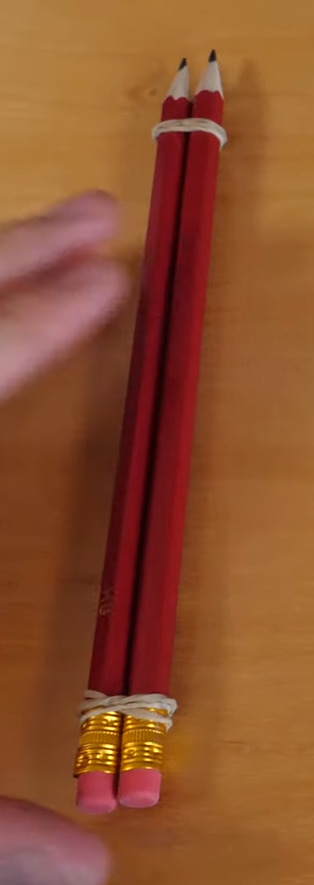
To join two pencils together, you have to tightly round one rubber band on each corner of the pencil. You have to make at least three rounds of rubber band on the corner of the pencil with the help of fingers.
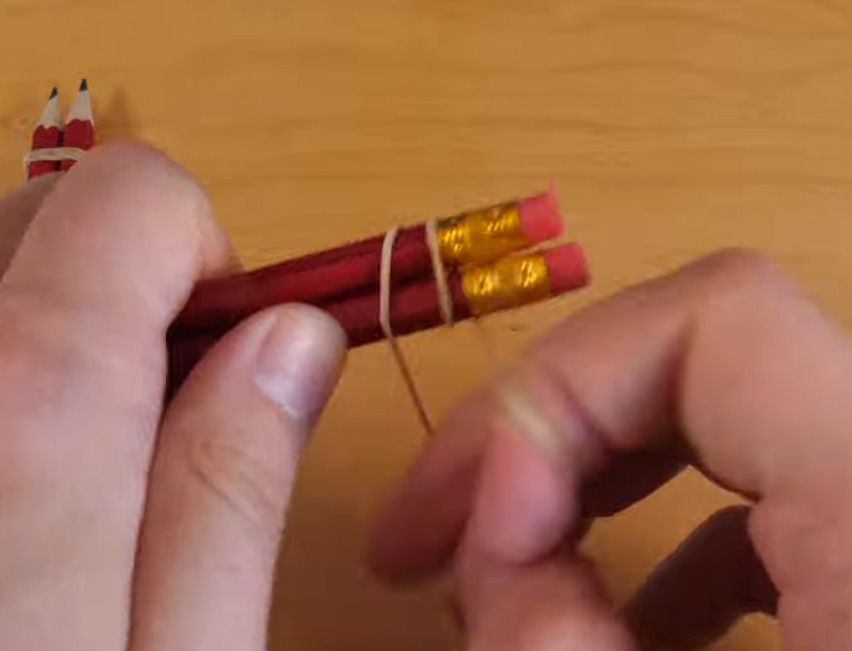
Now take the other two pencils and join one of its edges with the help of a small rubber band like we did with the first pair of pencils.

The other corner, we are talking about the pointed corner of the pencil; if you have peeled the pencil, give it two rounds with the help of a slightly wider size rubber band.
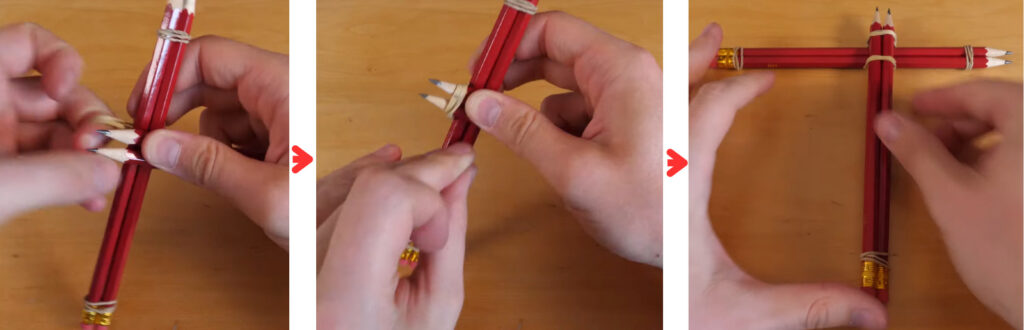
Now, position this pair of pencils in the middle of the other pair from the top. Then, take the wider-sized rubber band from the bottom of both pairs of pencils, move it forward, and secure it on the corner of the other pair of pencils.
Step 2: Build a Fire mechanism of Crossbow
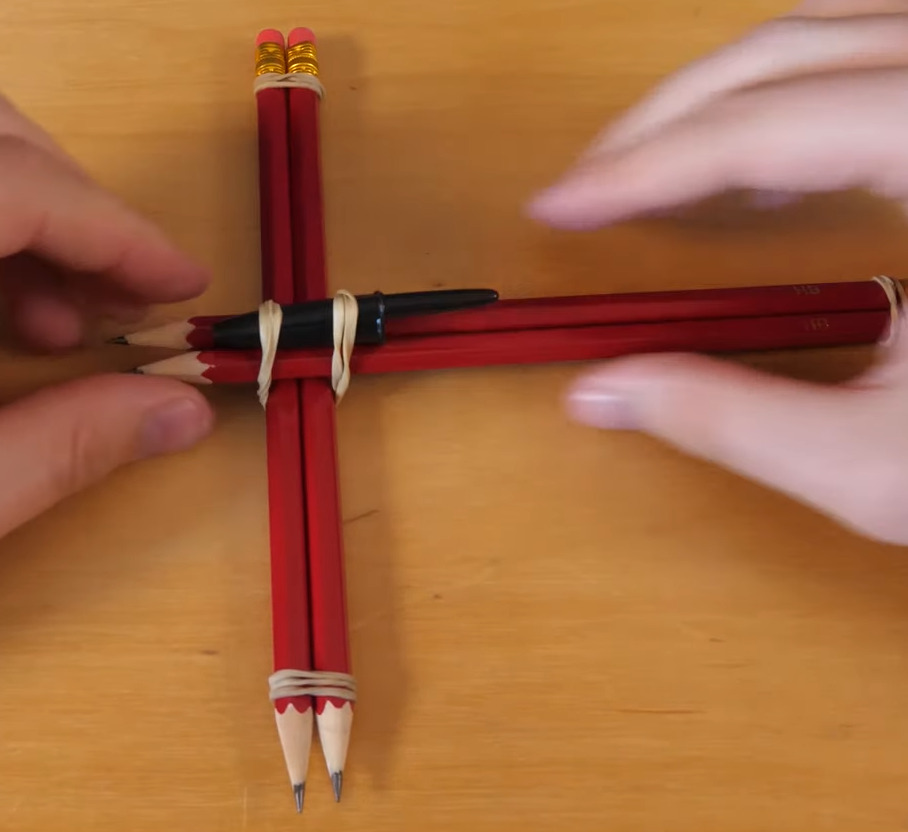
Take the Bic Cristal ball pen head cover and slightly lift the wider-sized rubber band on the upper center of the Crossbow. Fix the head cover in it, making sure the front part of the head cover faces forward.
If the front side of the head cover is closed, then open it with the help of scissor so that the ballpoint pen refill can easily go forward from the crossbow.
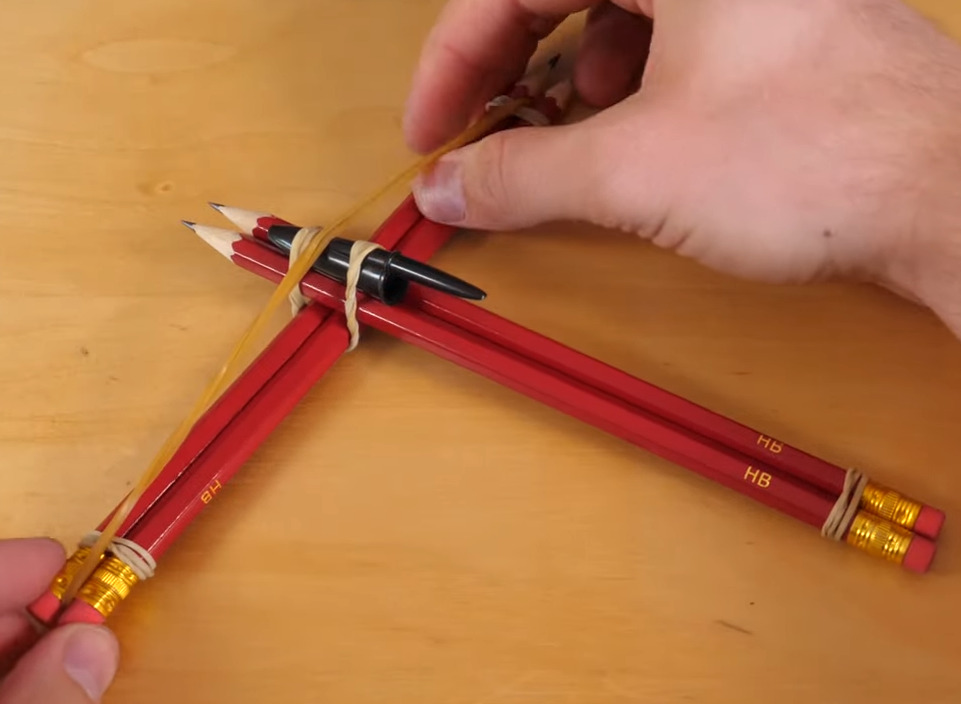
Now fix the longer-size rubber band on the arms of the crossbow.
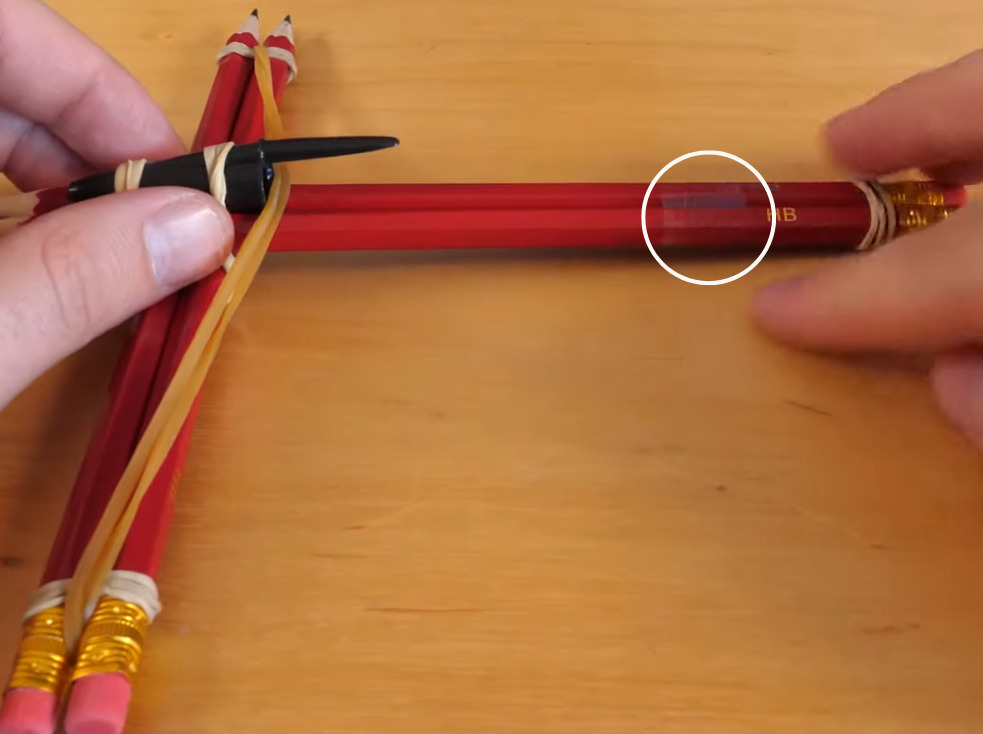
Now take a small piece of cellotape and stick it on the upper part of the back of the crossbow.
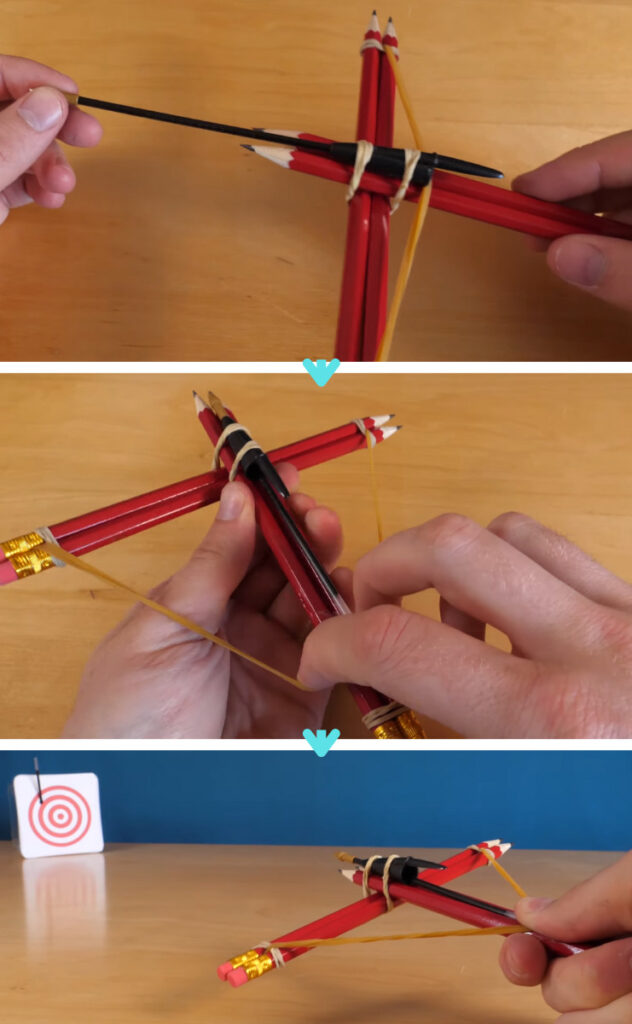
Insert the ball pen refill through the front of the pen’s head cover, and use the rubber band that we fixed on the Crossbow’s arms as a trigger. With the help of your two fingers, pull the rubber band back towards the refill, aim at your target, and release the rubber band.


