
Making a paper airplane that soars through the air and covers long distances is a fun and exciting challenge.
Whether you’re aiming for a personal record or competing in a contest, the key lies in the right design and folding techniques. In this guide, we’ll show you how to make a competition-winning paper airplane that can fly over 100 feet!
Materials Needed
- One standard 8.5 x 11-inch sheet of paper
- A flat surface for folding
- Optional: Tape for securing the folds
Step-by-Step Instructions
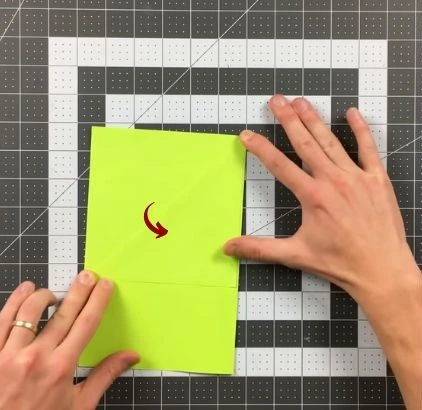
Step 1: Fold the Paper in Half
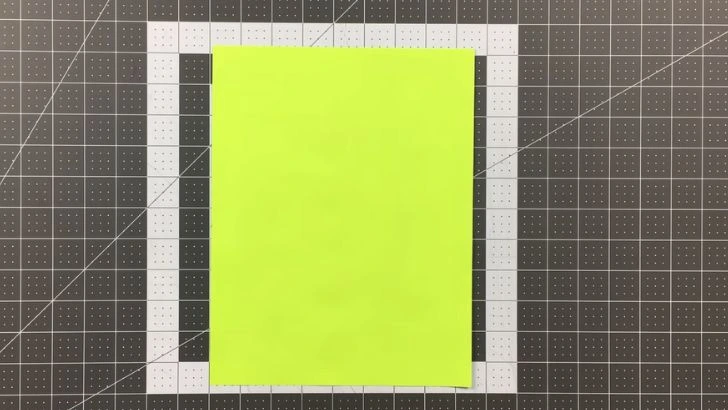
Take your 8.5 x 11-inch sheet of paper.
Fold it in half lengthwise, aligning the top edge with the bottom edge.
Crease the fold well, then unfold it to create a center guideline.
Step 2: Create the First Triangle Folds
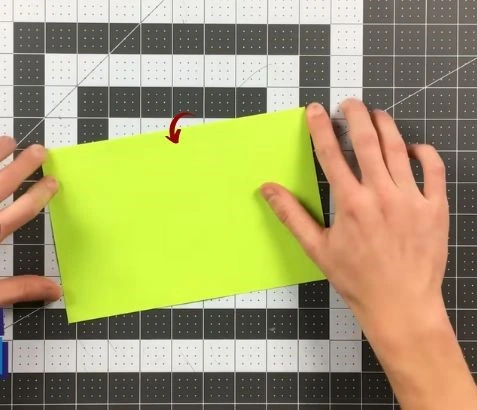
Rotate the paper so that one of the short edges is facing you.
Fold the top-left corner down to meet the center crease, leaving a small gap near the edge.
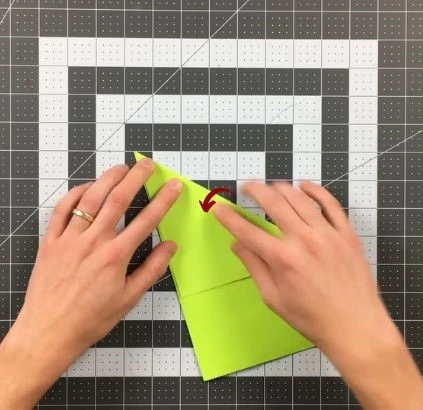
Flip the paper over and repeat the same fold on the other side, ensuring symmetry.
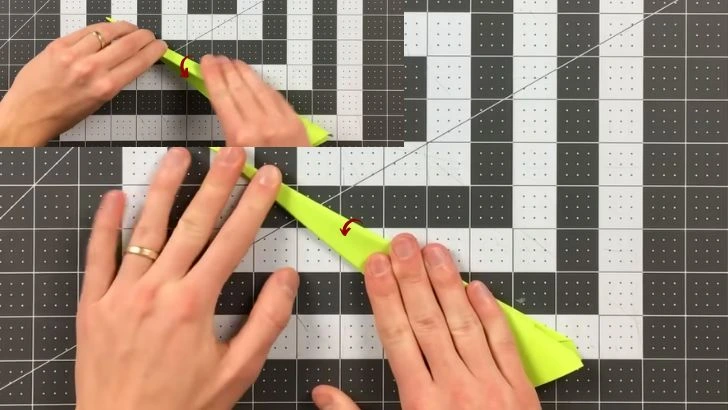
Step 3: Make the Secondary Triangle Folds
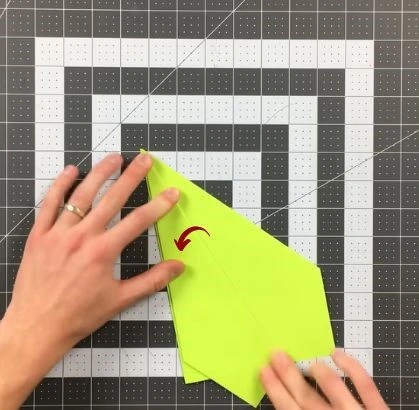
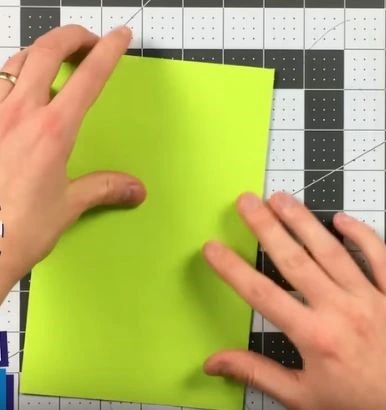
Fold the newly created edges again toward the center crease, leaving a small gap.

Flip the paper and repeat on the other side.
These folds help to streamline the airplane for a smoother flight.
Step 4: Fold the Wings
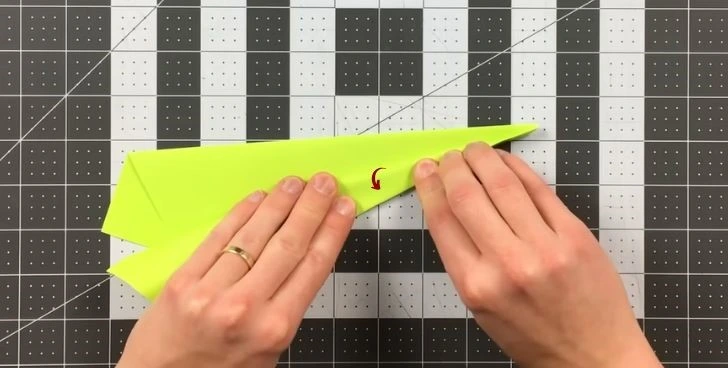
Open the paper slightly and fold it in half along the original crease.
Now, fold down the wings, aligning them with the bottom edge.
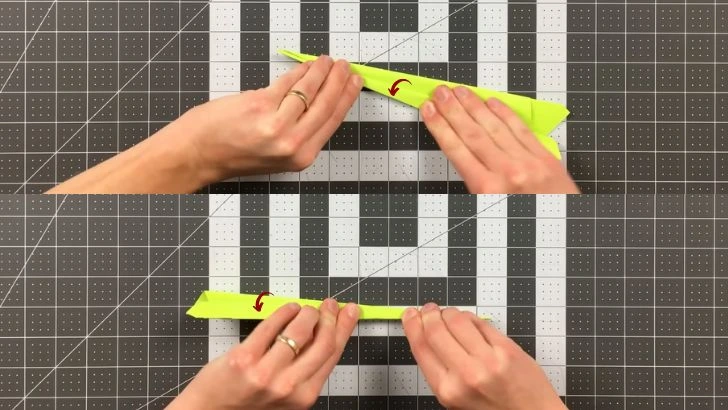
Flip the plane over and fold the other wing to match.
Step 5: Secure the Layers
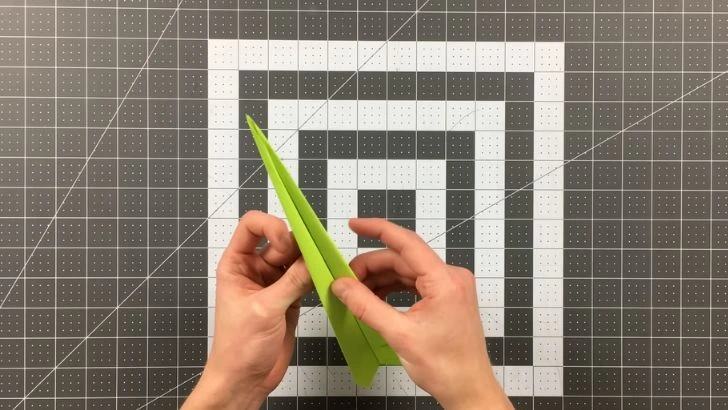
Use a small piece of tape near the nose and back of the airplane to keep the folds intact.
This helps to improve aerodynamics and flight stability.
How to Throw Your Paper Airplane for Maximum Distance
Hold the plane near the middle to maintain balance.
Aim slightly upward and throw it with a smooth, firm motion.
Experiment with different angles and speeds to find the best flight path.
Additional Tips for Better Performance
Use lightweight but sturdy paper to reduce drag.
Make sure all folds are crisp and symmetrical for a balanced flight.
Adjust the wing angles slightly if the plane veers off course.
Conclusion
With the right technique and a little practice, you can create a paper airplane that flies impressive distances. Try out different designs and modifications to see what works best for you. Happy flying!


