
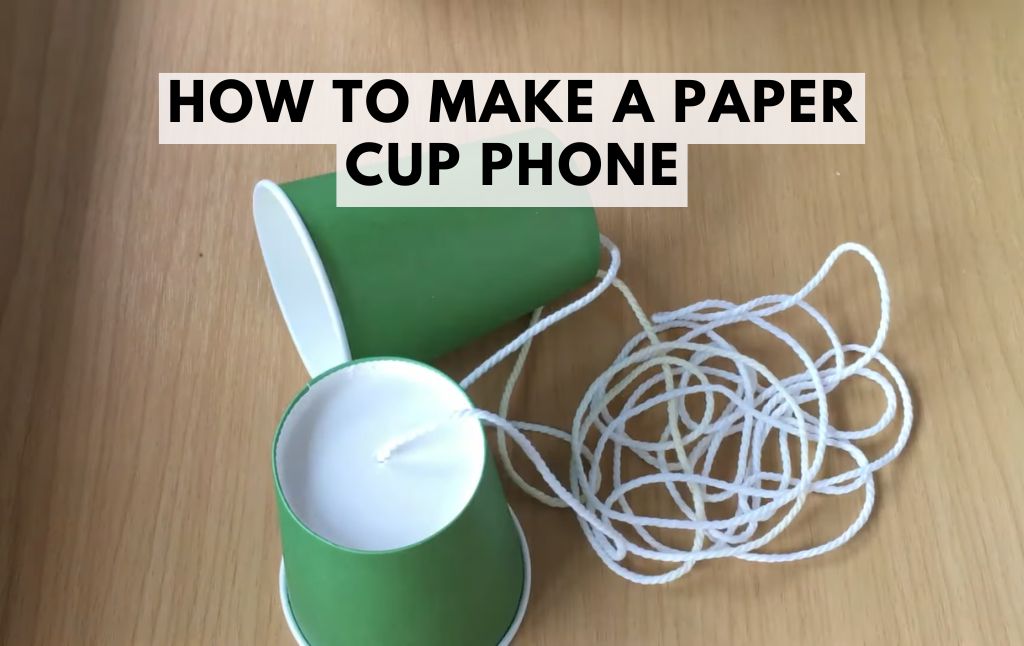
STEM activities are a fantastic way to engage kids in learning while having fun. One classic experiment that teaches the basics of sound transmission is the paper cup phone. This simple yet fascinating activity demonstrates how sound waves travel through a solid medium, making it a perfect project for curious minds.
Materials Needed
- 2 paper cups (sturdy ones work best)
- 20 feet of string (yarn, twine, or fishing line)
- Sharpened pencil (to make holes)
- 2 paper clips (optional, to secure the string)
Step-by-Step Instructions
Step 1: Prepare the Cups
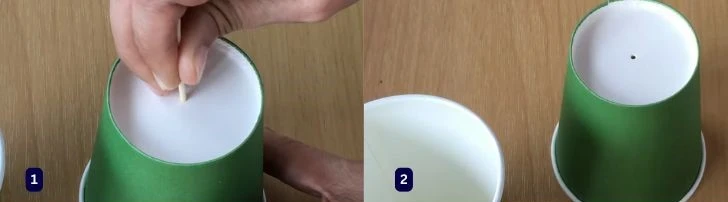
Using a sharpened pencil, carefully poke a small hole in the bottom of each paper cup. The hole should be just big enough for the string to pass through but not too large, as a snug fit will help with sound transmission.
Step 2: Thread the String
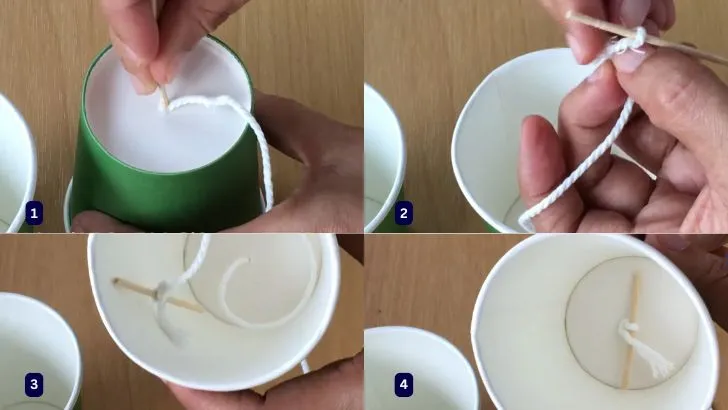
Take one end of the string and thread it through the hole of the first cup. Pull it through until a few inches extend into the cup. Tie a knot at the end of the string inside the cup to prevent it from slipping out. If the knot is too small and the string keeps pulling through, tie it to a paper clip or toothpick for added security.
Repeat the process with the second cup on the other end of the string. Secure the knot inside the cup in the same way.
Step 3: Stretch the String
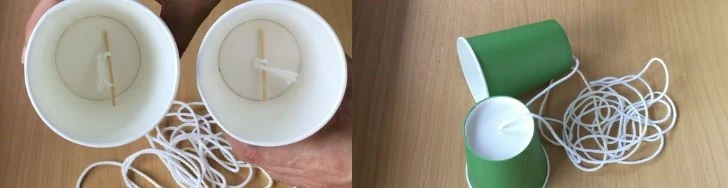
Now that your paper cup phone is assembled, you and a friend can test it out! Stand far enough apart so the string is fully stretched but not too tight. The string must remain taut for the sound waves to travel effectively. If the string is slack or touching other surfaces, the phone will not work as well.
Step 4: Talk and Listen
One person should hold their cup to their ear while the other speaks softly into their cup. The listener should be able to hear the words as they travel through the string. Try whispering or even singing into the cup to see how the sound changes.
Why Does the Paper Cup Phone Work?
Sound waves travel through different mediums—air, solids, and liquids. When you speak into the cup, your voice creates vibrations in the air inside it. These vibrations transfer to the string, moving along its length while the string remains tight. When they reach the second cup, they create vibrations in the air inside it, allowing the listener to hear the sound.
Because solids, like the string in this experiment, carry sound waves more effectively than air, the whisper can be heard more clearly over a greater distance than if you were to whisper normally.
Experiment Further!
Take your paper cup phone experiment to the next level by testing different variables:
- Try a longer string. Does the phone still work at 40 feet? How about 60 feet?
- Use different materials. Test plastic cups, tin cans, or different types of string. Which combination works best?
- Replace the string with wire. Does this improve or weaken sound transmission?
These simple variations allow children to apply scientific reasoning and critical thinking skills, making the experiment even more educational.
Final Thoughts
Making a paper cup phone is an enjoyable and insightful way to explore the principles of sound. It’s a fantastic STEM activity that encourages hands-on learning and problem-solving. Whether at home, in a classroom, or during a fun science experiment session, this classic project is sure to spark curiosity and excitement.
So grab some cups, string, and a friend, and start experimenting today!


