
Want to make a fun, squishy stress ball but don’t have a balloon? No problem! You can create a stress-relieving toy using silicone, cornstarch, and pillow stuffing.
This easy DIY craft is mess-free, customizable, and a great alternative to traditional balloon stress balls. Follow these simple steps to make your own stress ball at home.
Materials Needed
- Silicone (caulking silicone works best)
- Cornstarch
- Pillow stuffing
- Acrylic paint (optional, for color)
- A flat working surface
- Scissors
Step-by-Step Instructions
Step 1: Prepare Your Work Surface
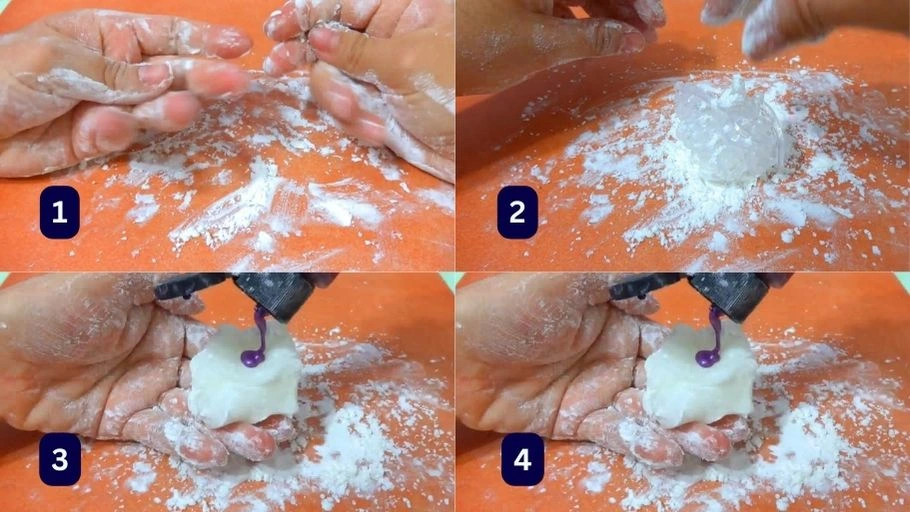
Sprinkle some cornstarch onto your working surface and hands to prevent the silicone from sticking.
Squeeze out silicone onto the cornstarch, estimating how much you will need for one stress ball.
Step 2: Mix the Silicone and Cornstarch
Lightly sprinkle cornstarch over the silicone to help with handling.
Knead and mix the silicone with the cornstarch until it forms a dough-like consistency.
Add a small amount of acrylic paint if you want to add color to your stress ball.
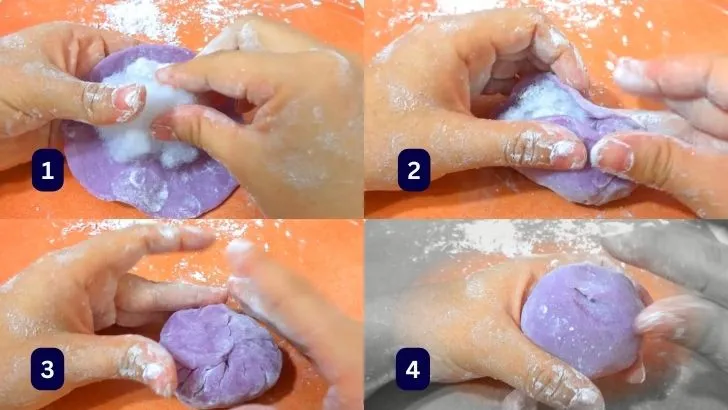
Step 3: Create the Ball Shape
Flatten the silicone mixture with your fingers to about palm size.
Place a small amount of pillow stuffing in the center.
Carefully fold and seal the edges together, wrapping the silicone around the stuffing like a dumpling.
Step 4: Shape and Smooth
Gently shape the stress ball into a round form.
If any tears appear, pinch them closed with your fingers.
Continue smoothing and adjusting until the shape is even.
Step 5: Let It Dry
Allow the stress ball to fully dry for several hours or overnight.
Once dry, gently test its squishiness!
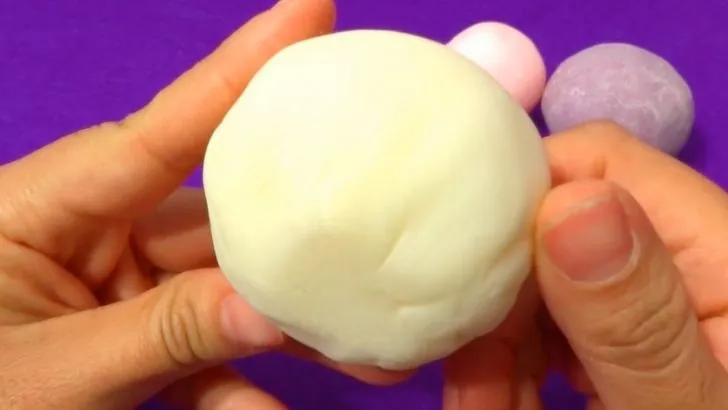
Enjoy Your DIY Stress Ball!
Your homemade stress ball is now ready to use! Squeeze it, squish it, and relieve tension whenever needed.
Bonus Tips:
Add glitter or beads for extra texture.
Experiment with different colors by mixing various acrylic paints.
Store your stress ball in a cool, dry place for longevity.
Enjoy making your own unique stress balls without the need for balloons! 🎨✨


