
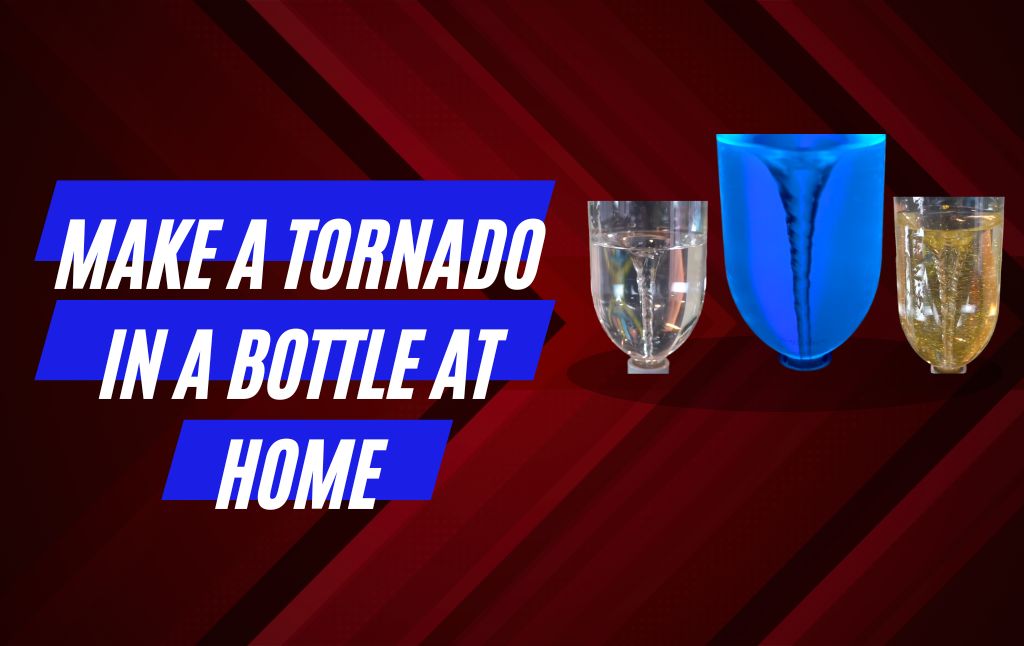
So many people like to make DIY projects at home, and one of them is Tornado in a Bottle. For this, you will not need many items, so let us understand step by step how to make it. If you want to create a self-running vortex in a jar with the help of magnets, then this is also possible.
Materials Required:
1.) Screw Cap Plastic Cold Drink Bottle, 2 Litrer Capacity (two Bottles)
2.) 1-Inch PVC Pipe Coupling 1 (one piece)
3.) Hot Glue Gun
4.) Gold Glitter
5.) Tonic Water
6.) Blacklight
7.) Sand Paper (one piece)
Step 1: A tornado tube device needs to be made by connecting two bottles together
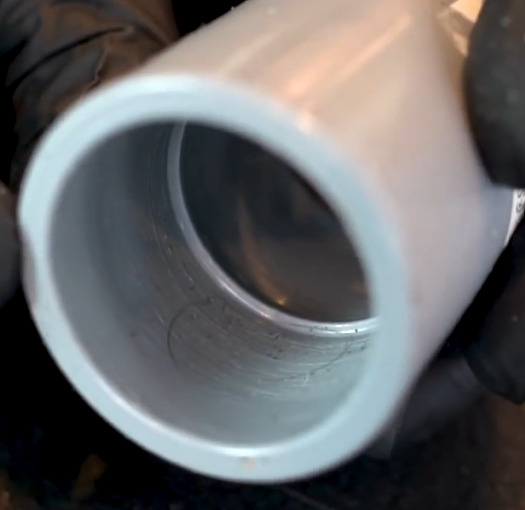
Insert sandpaper into both internal parts of the PVC pipe coupling using your fingers, and gently rub it to create a rough surface. This will help ensure that the plastic bottle cap adheres securely to the pipe coupling when you apply glue.
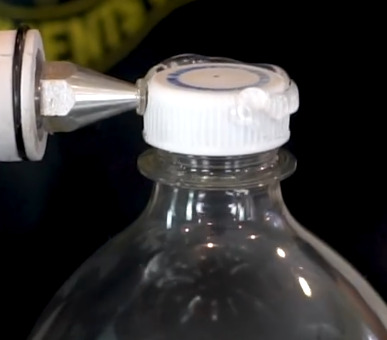
Now take a plastic bottle; its cap should be attached. Now apply glue around the cap with the help of a hot glue gun.

Take the pipe coupling and fit it on the cap of the bottle; the cap of the bottle should reach the middle of the coupling.
Now, with the help of the glue gun, spread it well around the cap in the internal part of the coupling and apply a few millimeter-thick layers of glue on the bottle cap.
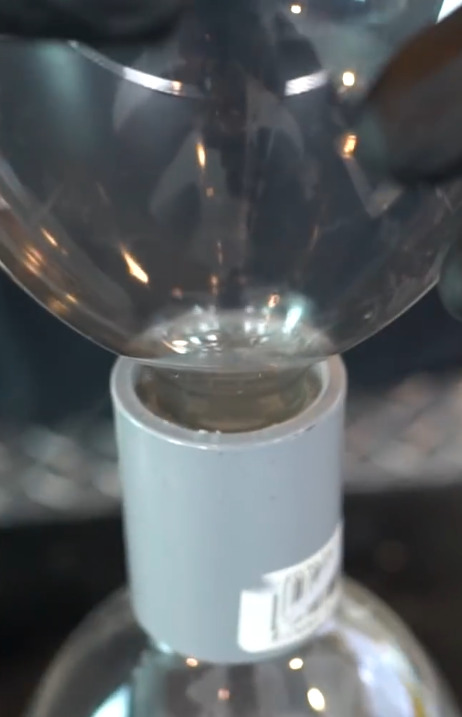
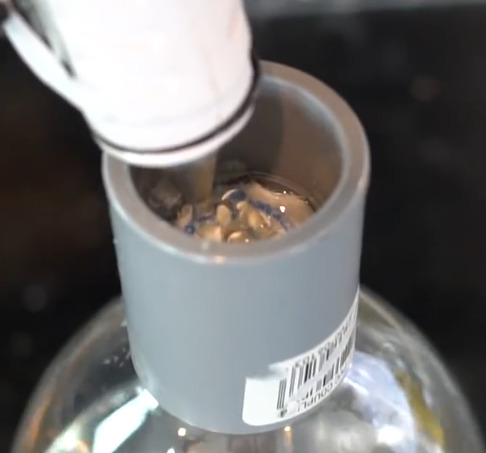
Now fit the other bottle with the cap on the coupling and push the bottle down a little.
Now leave it like this for some time so that the tornado tube device coupling can be set properly.
Now separate both the bottles from the tornado tube device coupling by twisting them. In this way, both the bottle caps will remain inside the coupling.
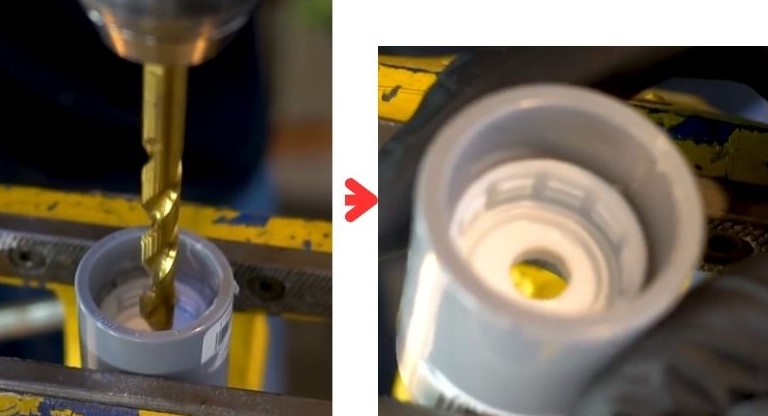
Now, to pass water from one bottle to another with the help of coupling, we have to make a hole through the center of the bottle cap fixed inside the coupling.
For this, use a 3/8-inch drill bit in the drill machine, fix the coupling, and create a hole in the center of the cap.
Step 2: Now it’s time to create a tornado inside the bottle
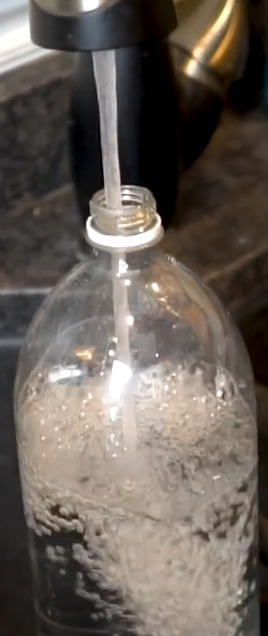
Now fill a cold drink bottle with water up to two-thirds of water and then attach the tornado tube device coupling to that bottle.
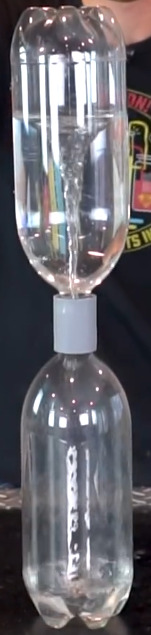
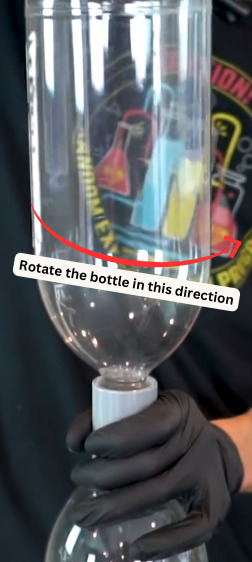
Attach the coupling to the second bottle and turn it upside down while shaking it in a quick circular motion.
You will see a tornado forming inside the water in the upper bottle.
Step 3: Experiment with the water in the bottle to make the vortex even cooler
Add glitter to bottled water
You can add glitter to make the tornado inside the bottle more cool. Open the mouth of the bottle filled with water and add a little glitter to it.
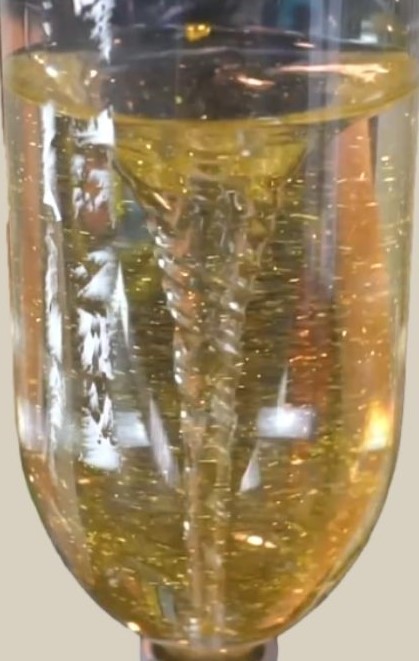
After adding the glitter, attach the coupling and put the other bottle on top after securing it with the coupling, shake the bottle filled with water a little so that the glitter mixes well in the water.
After this, you have to create a tornado inside the bottle by circularly rotating the bottle.
Try Tonic water instead of water
You can also add Tonic water instead of water. Tonic water is a sweetened beverage that contains quinine.
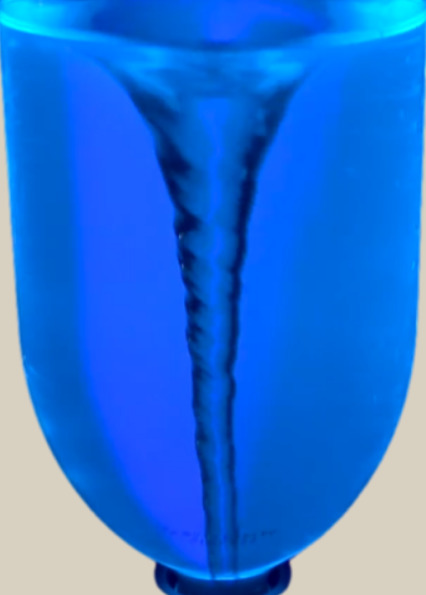
Due to quinine, the Tonic water inside the bottle will start glowing in the dark due to the black light.
You have to create a water vortex inside the bottle and make the black light glow on the side of the bottle. Keep in mind that the room should be dark while doing this.


