
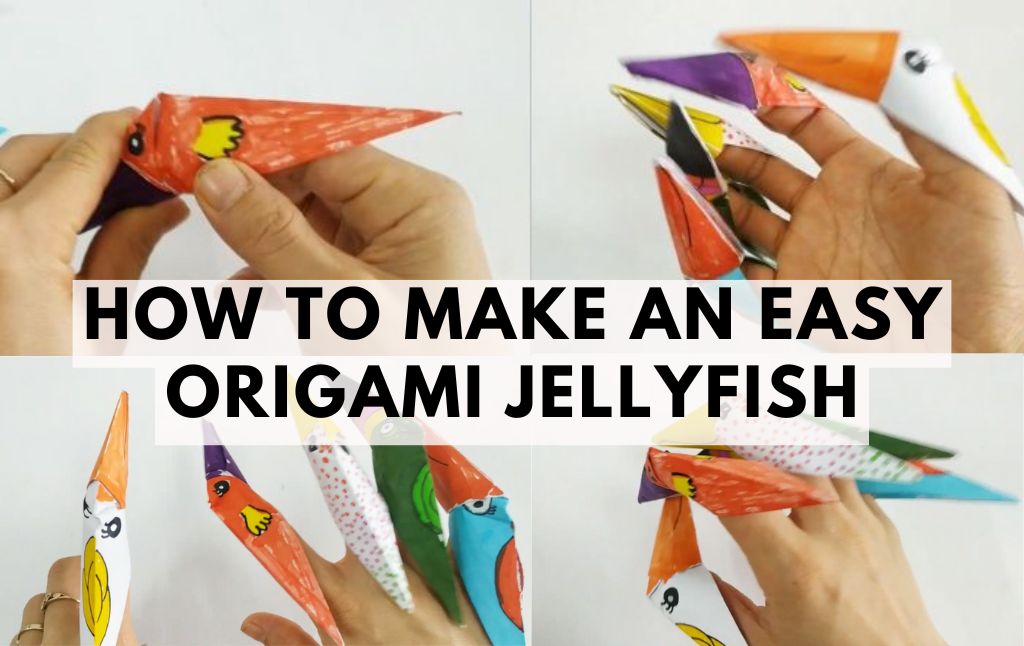
Origami is a fun and creative way to recycle paper while making something playful. One of the easiest and most enjoyable origami projects is a bird finger puppet!
With just a few folds, you can create your own paper bird that can sit on your finger. This guide will take you through each step to make your own origami bird finger puppet.
Materials Needed
- A square piece of paper (recycled or new)
- Scissors (if you need to make a square from an A4 sheet)
- Markers or colored pens (for decorating)
- Glue (optional, for adding extra decorations)
Step 1: Preparing the Square Paper
If you are starting with an A4 sheet, you can turn it into a square by following these steps:
Fold the A4 sheet in half lengthwise. Take one corner and bring it up to the opposite edge to form a triangle. Cut off the extra rectangular section to get a perfect square.
Once you have your square paper, unfold it and lay it flat.
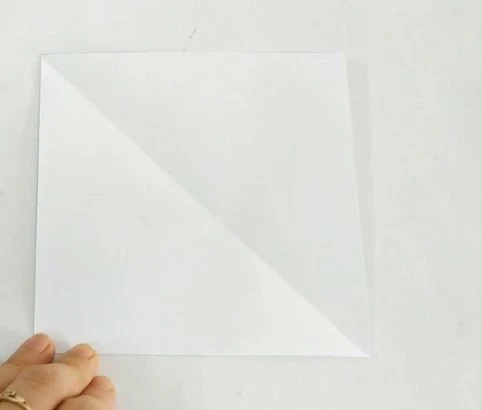
Step 2: Creating the Kite Shape
Fold the square diagonally in half to create a triangle.
Open it back up so that you can see the diagonal crease.
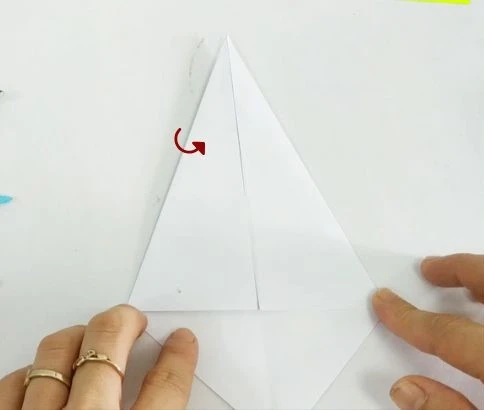
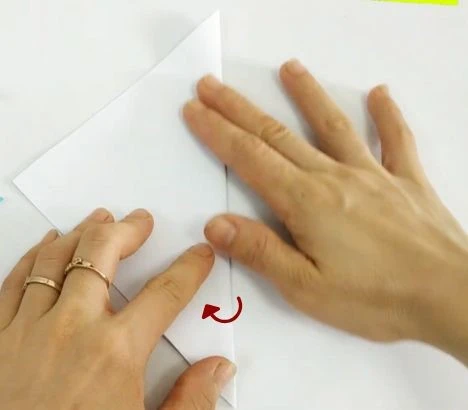
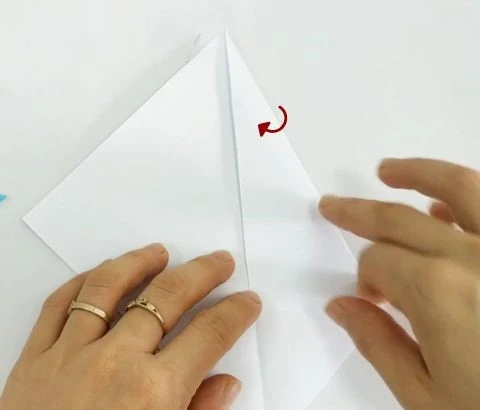
Bring one flat edge of the square to align with this diagonal crease to form a kite shape.
Repeat with the other side so you now have a symmetrical kite shape.
Step 3: Forming the Puppet Shape
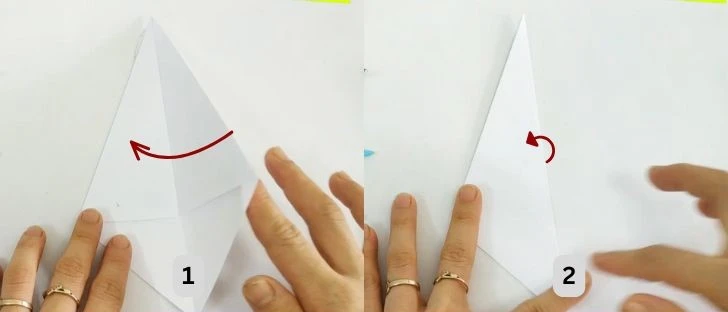
Fold the paper along the diagonal again so that your kite folds are inside.
You will now have one long edge and two shorter ones.
Step 4: Shaping the Bird
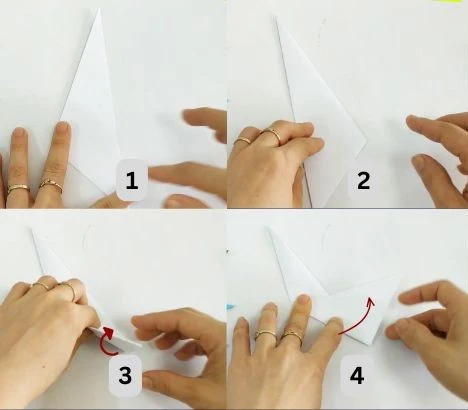
Fold the bottom edge down and then fold it back up, following the crease marks shown in the previous step.
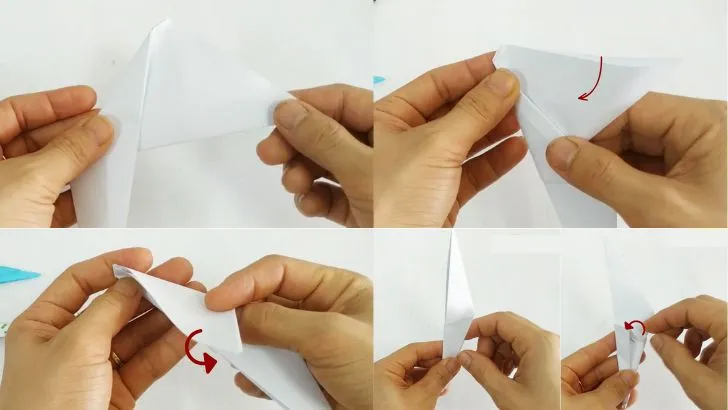
Wrap the paper around itself and tuck in the edges to secure the shape.
Flip it over to the neater side where the folds are not visible.
Step 5: Decorating Your Origami Jellyfish
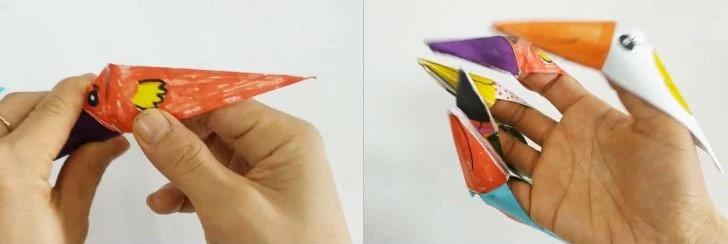
Now it’s time to bring your bird to life! Use your markers, colored pens, or additional paper cutouts to decorate your bird:
- Draw eyes and a beak to give your bird character.
- Add feathers or patterns using colored paper or markers.
- Try different paper colors to create a variety of birds.
Additional Tips
If you want your bird to face the other direction, simply fold the paper in the opposite way.
Use lightweight paper for better folds.
Make multiple birds in different colors and sizes for a fun collection.
Final Thoughts
Origami bird finger puppets are a simple and creative way to enjoy paper folding. Whether you use recycled paper or colorful craft paper, this project is a great way to express creativity. Have fun experimenting with different designs and colors to make your own unique origami birds!
Happy folding!


