
Looking for a fun and educational craft project? A Balloon Airplane with Propeller is a fantastic DIY activity that combines creativity with basic aerodynamics.
This exciting project allows kids to learn about how air pressure and propulsion work while watching their handmade airplane soar into the sky!
Materials Needed
- 5 colored straws
- 1 cork
- Sandpaper
- 1 plastic cup with a lid
- Marker pen
- Tape
- Scissors
- Knife
- 2 balloons
Step-by-Step Instructions
Step 1: Create the Propeller base
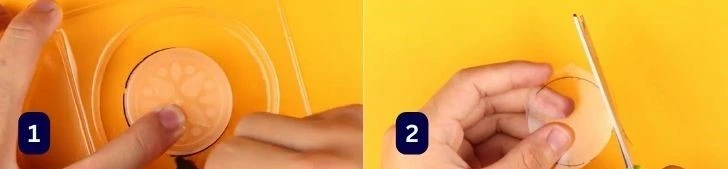
Take the plastic cap and mark its measurement on the plastic sheet and cut it after taking the measurement.
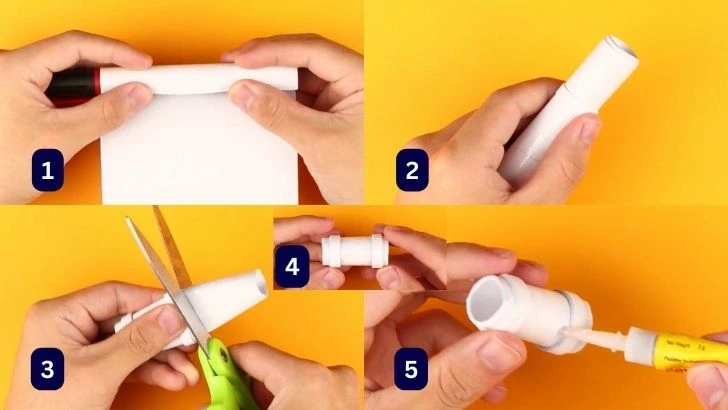
Now take a paper sheet and wrap it on the marker paper and remove the marker, now make this paper straw by making a round small paper strip on it and secure it with the help of cellotape.
Now cut the paper straw into smaller pieces with the help of scissors and secure the round paper strip with glue.
Step 3: Assemble the Propeller
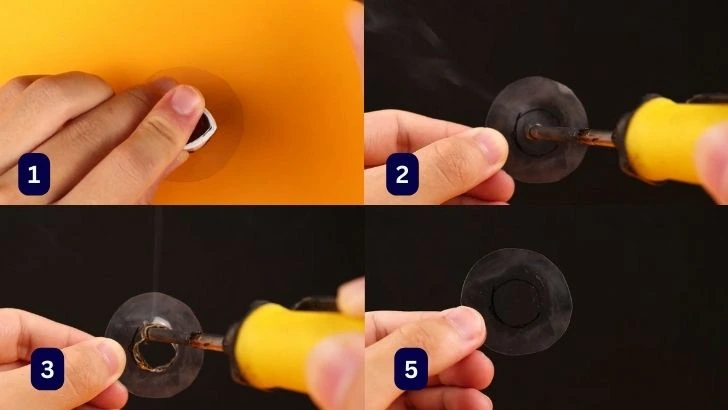
Mark the cap of the paper straw on the plastic round sheet and make a hole in the marked mark with the help of a hot iron.
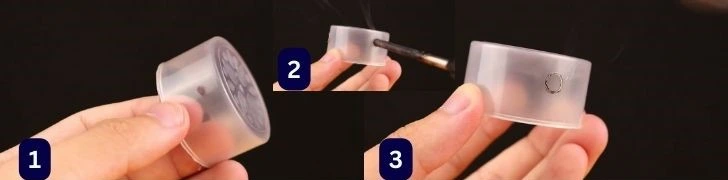
Now take the plastic cap and mark it on its edges at three equal parts and make holes with the help of an iron rod.
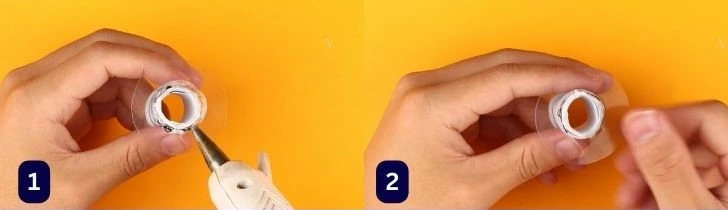
Insert one side of the paper straw into the paper round plastic sheet and secure it with the help of glue gun.
Step 4: Prepare the Airplane Base

Apply glue to the round edges of the plastic cap using a glue gun and stick the assembly of plastic round sheet and paper straw to the opening of the cap.

Now take three straws and if the straw is too long then cut it a little.
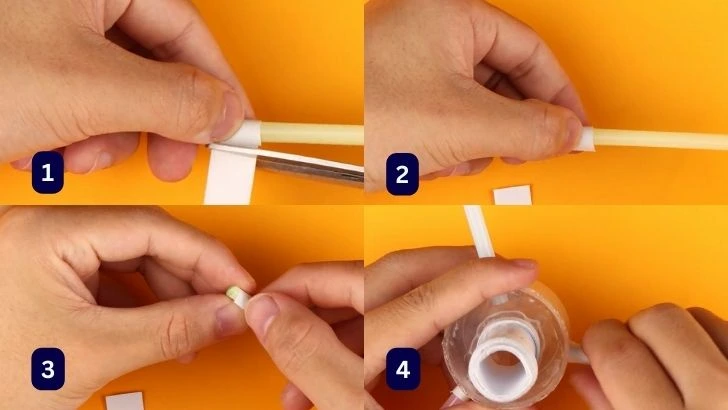
Now round a piece of paper on one end of all three straws and secure it with the help of tape and insert these three straws one by one in the hole made in the plastic cap and secure the plastic straw propeller blade with the help of glue gun.
Step 5: Prepare the Propeller Blades
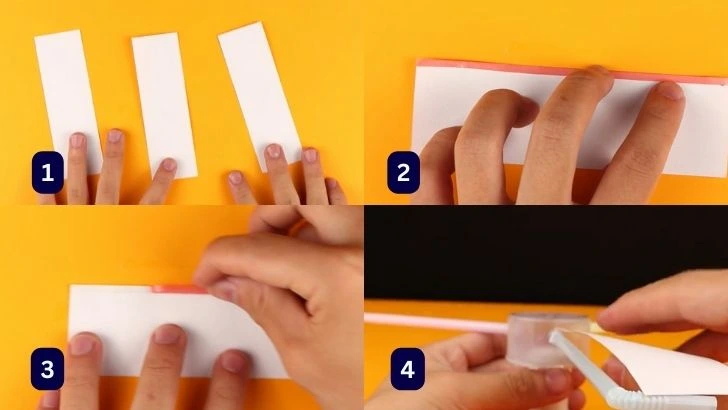
Now cut three paper strips of equal size whose length should be equal to the length of the plastic straw propeller blade.
And paste these three paper strips on the plastic straw propeller blade with the help of stick tape or glue.
Step 5: Inflate the Balloon for Flight
Inflate the balloon and place it over the center hole in the cup lid.
Let go and watch your airplane soar into the sky!
How It Works
This project introduces kids to air pressure and propulsion:
The inflated balloon stores potential energy in the form of compressed air.
When the balloon is released, the air rushes out, creating thrust, which propels the airplane forward.
The propeller blades help stabilize and guide the motion of the plane.
Fun Variations & Challenges
Experiment with Different Balloon Sizes: Test how different amounts of air affect flight distance.
Adjust the Propeller Shape: Try different angles and lengths for the straw blades to see what flies best.
Decorate Your Plane: Use stickers, paint, or markers to personalize your airplane before launch.
Measure Flight Distance: Record how far your plane travels and try to improve your design for longer flights!
Safety Tips
Use scissors and knives with adult supervision.
Do not aim the airplane at people or pets.
Use soft landing surfaces like grass or carpet for indoor flights.
Final Thoughts
Building a Balloon Airplane with Propeller is a fun and educational way to explore aerodynamics and engineering.
It’s an exciting hands-on project that encourages creativity and problem-solving. Try making one today and enjoy the thrill of launching your own balloon-powered airplane! ✈️🎈
Happy crafting and flying! 🚀


