
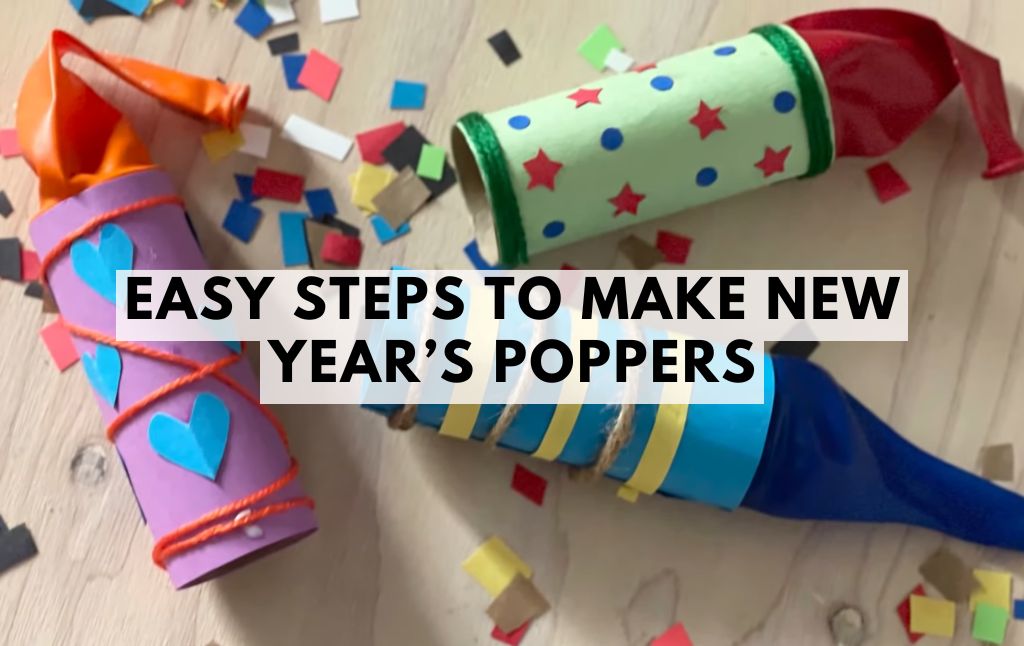
New Year’s Eve is a time for joy, celebration, and, of course, a little sparkle! What better way to ring in the New Year than with homemade New Year’s poppers?
These easy-to-make party poppers are not only fun to craft but also create a delightful explosion of confetti to add excitement to your countdown.
Whether you’re hosting a big party or celebrating at home with family, these DIY confetti poppers are a perfect way to welcome the new year with a bang!
Materials You Will Need
To make these festive poppers, gather the following supplies:
- 1 balloon (black or any color of your choice)
- 1 toilet paper roll
- Black paper
- Glitter paper
- Glue tape
- Tape
- Tacky glue
- Confetti (store-bought or homemade)
- Scissors
- Star punch (1-inch size) (optional for decoration)
Step-by-Step Instructions
Step 1: Prepare the Balloon
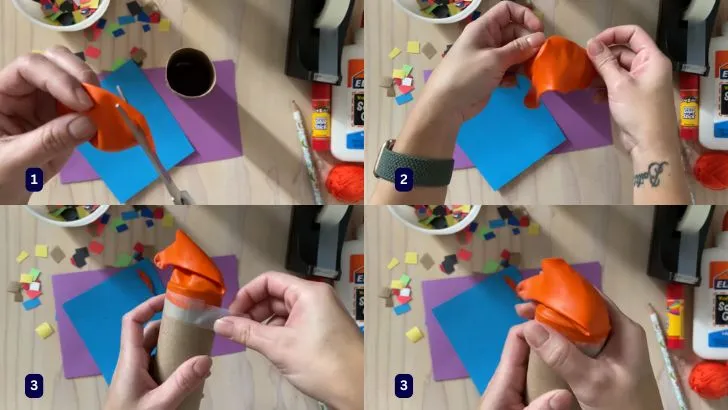
- Tie a knot at the end of a deflated balloon.
- Cut off about 1/2 an inch from the top part of the balloon.
- Stretch the open end of the balloon over one end of the toilet paper roll.
- Secure it in place by taping around the edges to prevent it from slipping.
Step 2: Decorate the Paper Roll
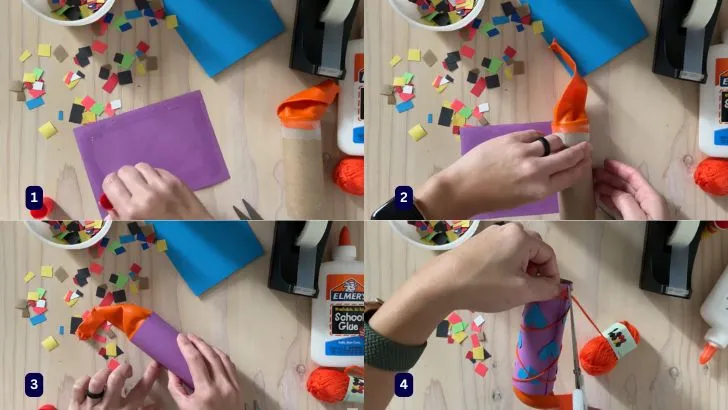
- Cut a strip of coloured paper (about 3/8 inch wide) and wrap it around the top edge of the toilet paper roll.
- Use glue tape, tacky glue, or regular tape to attach it securely.
- Cut a piece of glitter paper to fit around the toilet paper roll (about 6 inches long and 4 inches tall).
- Attach the glitter paper, centering it so that the coloured balloon and coloured strip show evenly at the top and bottom.
Step 3: Add Decorative Elements
- Use a star punch to cut out stars from black and silver glitter paper.
- Apply a thin layer of tacky glue to the back of the stars.
- Attach the stars to the paper roll and press down gently until they adhere.
- Repeat this step, adding stars all around the roll for a festive touch.
Step 4: Load the Popper with Confetti
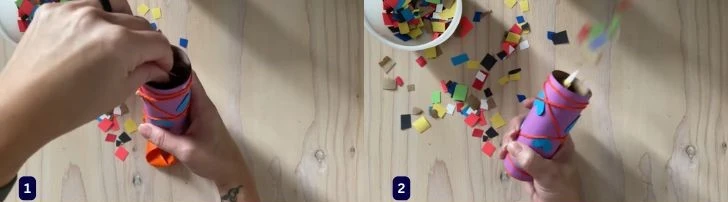
- Add about 2 tablespoons of confetti into the open top of the paper roll.
- Hold the popper upright to prevent the confetti from spilling.
Step 5: Pop and Celebrate!
- Grab the knotted end of the balloon.
- Pull it down gently and let go.
- Watch as the confetti bursts into the air, adding excitement to your New Year’s Eve celebration!
Helpful Tips for Perfect Poppers
- Use thinner paper for easier wrapping around the curved surface.
- For stronger paper (like scrapbook paper), use tacky glue and hold it in place until it dries.
- Want to transport ready-to-use poppers? Cover the top with plastic wrap or tissue paper and secure it with a rubber band to keep the confetti inside until it’s time to pop.
Choosing the Best Confetti
The type of confetti you use can make a difference:
- Tube confetti is shiny but may be difficult to clean.
- Star-shaped or themed confetti adds an extra festive touch.
- Tissue paper confetti is lightweight and easier to clean.
- Biodegradable confetti is great if you’re celebrating outdoors.
Creative Decoration Ideas
Make your DIY New Year’s poppers unique by trying different designs:
- Use star stickers for a quick decorative touch.
- Cut out glitter paper shapes like circles and stars.
- Add sequins or rhinestone stickers for extra sparkle.
- Attach fireworks-themed stickers for a fun effect.
- Draw fireworks or stars using glitter pens on black paper.
- Simply wrap New Year’s-themed scrapbook paper around the roll.
Final Thoughts
Making DIY New Year’s poppers is a simple yet exciting craft that adds fun and festivity to your celebration. These poppers are easy to make, customizable, and a joy to use. Whether you go for classic gold, silver, and black or bright rainbow hues, they will bring an extra sparkle to your New Year’s Eve.
Get creative, have fun, and ring in the New Year with a pop! 🎉🥳


