
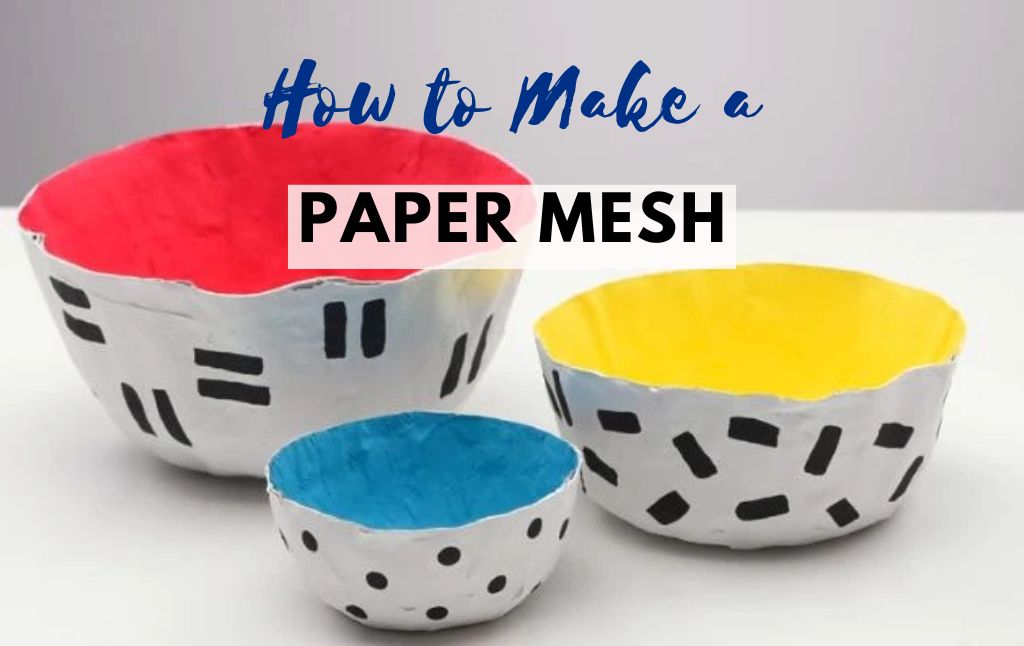
Paper mâché is a fun and versatile craft that allows you to create sculptures, decorations, and various art projects with just paper and glue.
This guide will take you through the entire process of making paper mâché, from materials to techniques, helping you create stunning crafts easily at home.
Materials Needed
Before you start, gather the following materials:
- Newspaper or tissue paper
- Flour or white glue
- Water
- A mixing bowl
- A whisk or spoon for mixing
- A paintbrush (optional)
- Balloons, cardboard, or wireframe for the base structure
- Acrylic paint (optional, for decoration)
Step-by-Step Guide to Making Paper Mesh
Step 1: Prepare the Paper

Tear newspaper or tissue paper into small strips. Avoid using scissors, as torn edges help the paper stick better.
Step 2: Make the Paste

There are two common methods for making paper mâché paste:
Flour and Water Paste: Mix 1 part flour with 2 parts water in a bowl. Stir well until the mixture is smooth.
Glue and Water Paste: Mix equal parts white glue and water for a stronger adhesive.
Step 3: Prepare Your Base Structure
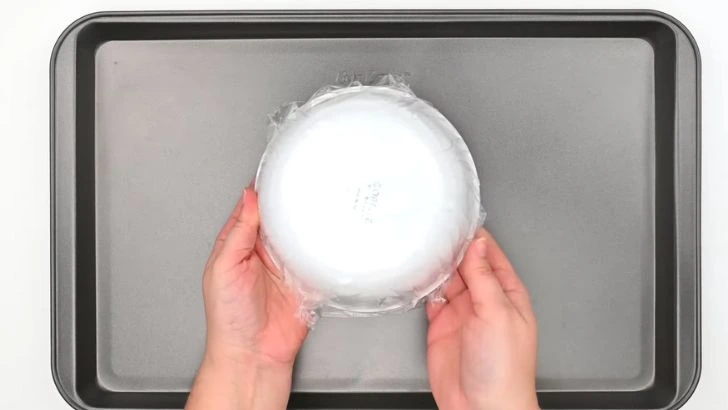
Use balloons, bowl, cardboard, or wireframes as the foundation for your paper mâché project. The base provides shape and stability.
Step 4: Apply the Paper Mesh
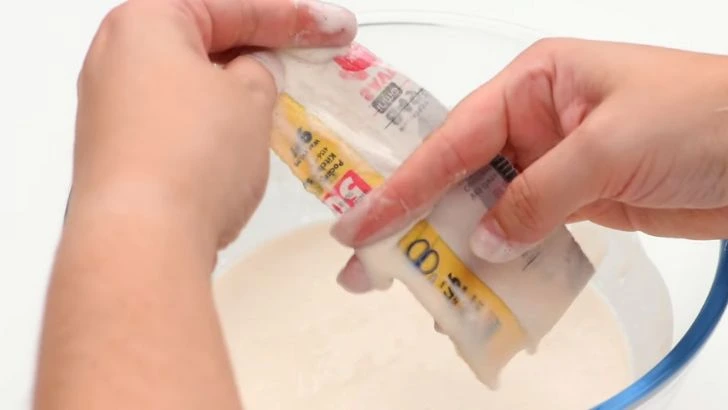
Dip the paper strips into the paste, ensuring they are fully coated but not dripping.
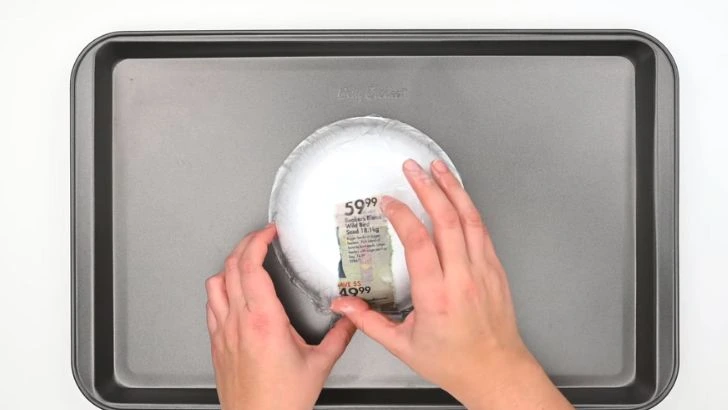
Lay the strips over your base, overlapping them to create a strong structure.
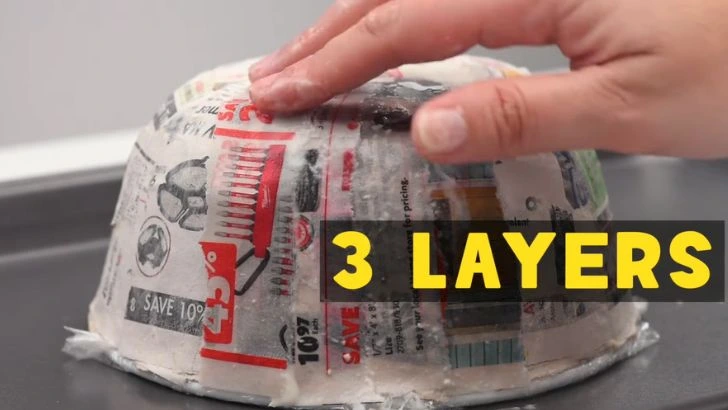
Repeat the process, adding 2-3 layers for durability.
Step 5: Let It Dry
Place your project in a well-ventilated area and let it dry for 24 hours. Ensure each layer dries before adding another for the best results.
Step 6: Paint and Decorate
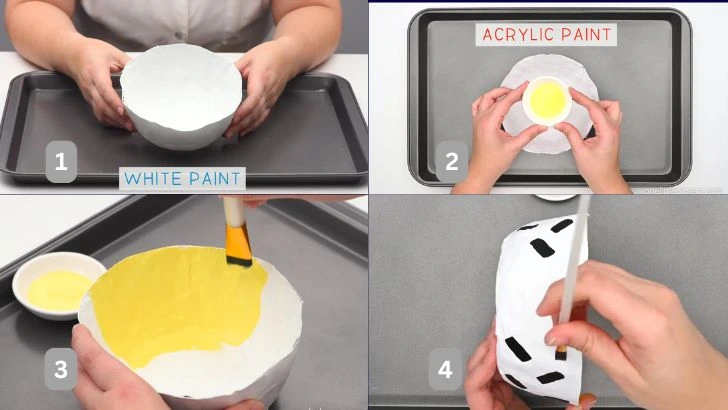
Once dry, use acrylic paints to add color. You can also use markers, glitter, or fabric for extra creativity.
Creative Paper Mesh Project Ideas
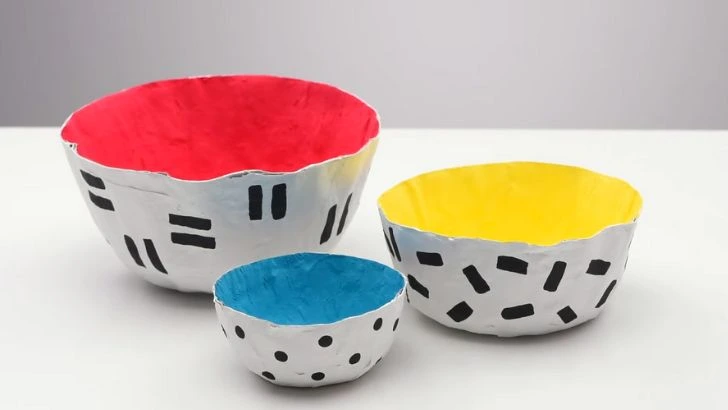
- Decorative bowls
- Animal sculptures
- Paper mâché masks
- Piñatas
- Holiday ornaments
Tips for Best Results
- Use thin layers of paper to avoid lumps.
- Let each layer dry before adding another.
- Store leftover paste in an airtight container.
Conclusion
Paper mâché is an easy and enjoyable craft that anyone can try. With simple materials and a little patience, you can create fantastic art projects. Get creative and start making your paper mâché masterpiece today!


