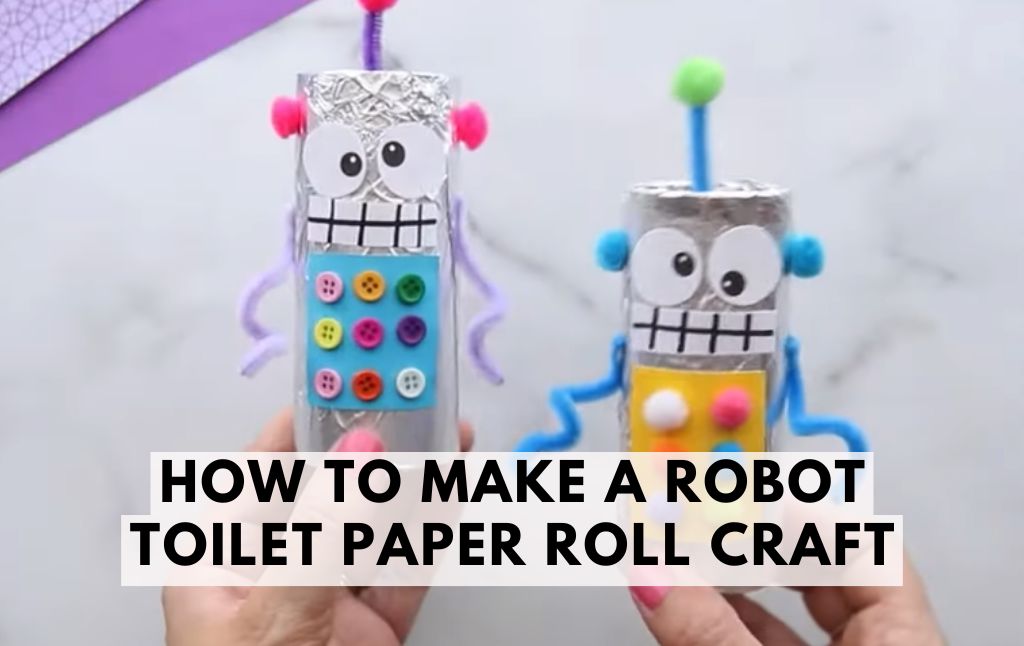
If your kids love crafting and robots, this Robot Toilet Paper Roll Craft is the perfect activity! Not only is it fun and easy, but it also promotes creativity, fine motor skills, and the importance of reusing materials.
Using simple household items and basic craft supplies, kids can design their own unique robots while learning about recycling and imaginative play.
Why We Love This Craft
We love crafting with recycled materials like toilet paper rolls because it teaches kids about reducing waste and being creative with everyday objects.
This craft is ideal for preschoolers, kindergarteners, and elementary-age children. Plus, the finished robots make great props for pretend play, storytelling, and puppet shows!
Supplies You’ll Need
Before you get started, gather these materials, most of which can be found at home or a local craft store:
- Toilet paper rolls
- Aluminum foil (to wrap the robot)
- Pipe cleaners (for arms and antennae)
- Mini pom poms (for ears and decorations)
- Mini buttons (to decorate the robot’s body)
- Construction paper (blue, yellow, and white for body parts)
- Googly eyes or printed eyeball templates
- Glue (liquid glue or a hot glue gun)
- Sharpie marker (for the mouth details)
- Popsicle stick (to turn it into a puppet, optional)
Step-by-Step Instructions
Follow these simple steps to create your very own robot toilet paper roll craft:
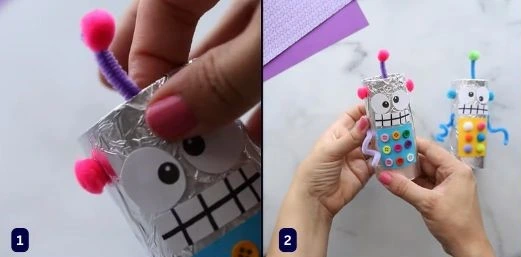
Step 1: Wrap the Body
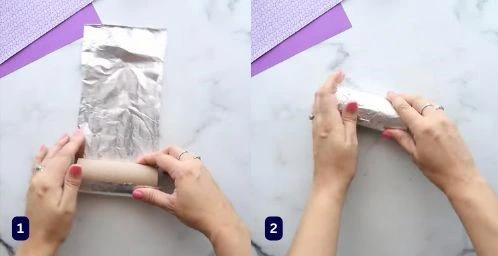
Begin by wrapping the toilet paper roll with aluminum foil to give it a shiny, metallic robot look. Secure the foil with glue or tape.
Step 2: Create the Belly Panel

Cut two different pieces of construction paper:
Square piece from blue paper
Rectangle piece from yellow paper
Attach mini buttons to the square piece and pom poms to the rectangle piece using glue. These will serve as the robot’s control panel.
Step 3: Make the Face
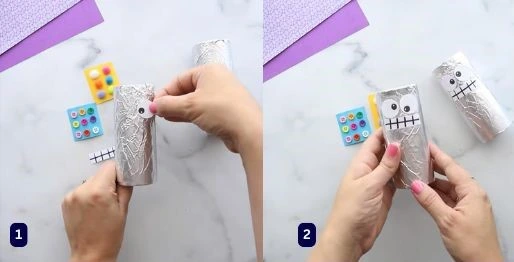
Attach googly eyes or use an eyeball template.
Cut a thin strip of white paper and use a Sharpie to draw a grid-like pattern for the robot’s mouth. Glue it below the eyes.
Step 4: Add Arms and Ears
Take two pipe cleaners and attach them to the sides of the toilet roll to make arms. You can twist them to add a fun, squiggly effect!
Glue a pom pom on each side of the top to act as the robot’s ears.
Step 5: Add the Antennae
Attach a small pipe cleaner to the top of the robot’s head and glue a pom pom at the tip. This serves as the robot’s antenna!
Step 6: Optional Puppet Feature
For extra fun, glue a popsicle stick inside the toilet roll so kids can use their robots as puppets!
Creative Variations
Use different colors of construction paper and pipe cleaners to customize each robot.
Add stickers, glitter, or felt for extra texture.
Instead of aluminum foil, paint the toilet paper roll for a colorful robot effect.
Why This Craft is Awesome
This simple and engaging craft encourages:
Creativity – Kids can design their own robot styles.
Fine motor skills – Cutting, gluing, and twisting pipe cleaners help with hand coordination.
Recycling awareness – Learning to reuse household items for fun crafts!
This craft is perfect for home, classrooms, or weekend playdates. It’s quick to make, fun to decorate, and provides hours of entertainment as kids bring their robots to life through pretend play.
Have fun making your very own Toilet Paper Roll Robot! 🤖✨
More Fun Crafts:
If you enjoyed this craft, check out other toilet paper roll projects like:
Easy Steps: How to Make Toilet Roll Ninjas – A Fun DIY Craft for Kids!
Simple Bernoulli Principle Experiment for Kids
How to Make Anti-stress Crunchy Ball
How to Make a Helicopter with Paper