Sensory bottles are an attractive decoration piece and relaxing illusionary craft piece. These bottles tend to make you feel relaxed and comforted.
They have a specific type of liquid and some solid sparkles or glitter, giving them a visually magical appearance.
A sensory bottle is used to decorate homes, offices, or parties. Still, nowadays, parents also show their infants and toddlers a sensory bottle to develop their sense of sight. These bottles hold soothing magic to the eyes and look straight out of a fairy tale.
While most people buy sensory bottles from the markets, you’ll feel overwhelmed to discover that making one is a straightforward task at home.
You can even involve your small kids in this activity and enjoy a fun moment with them while making a sensory bottle for yourselves like Squirt Gun Painting.
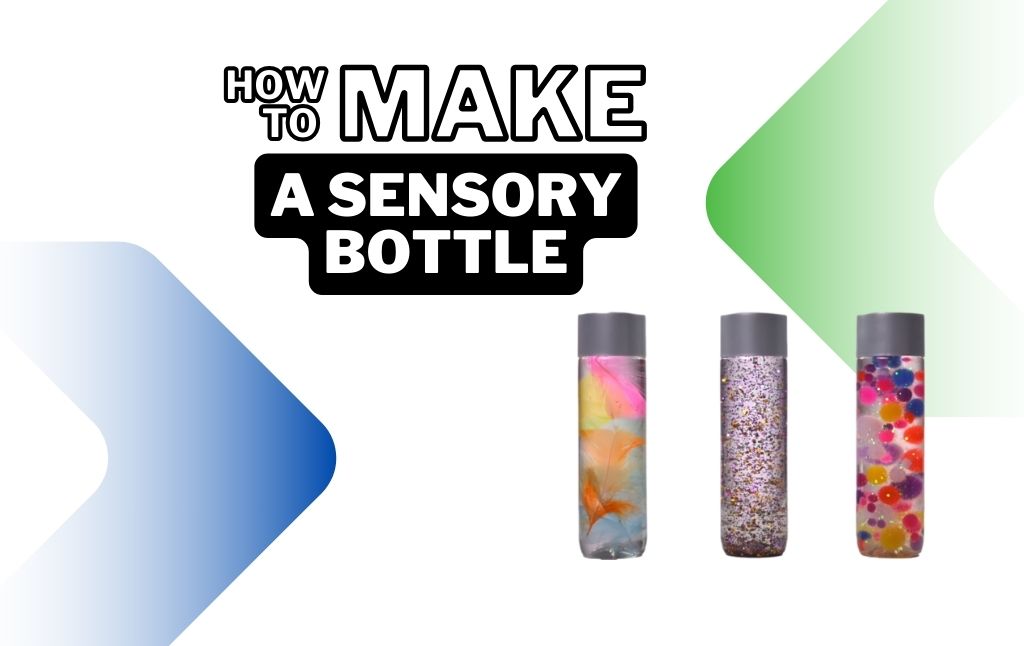
Making A Sensory Bottle:
You can make a sensory bottle at home with minimal products and even less effort. This blog will discuss how to make a sensory bottle at home.
Materials Required:
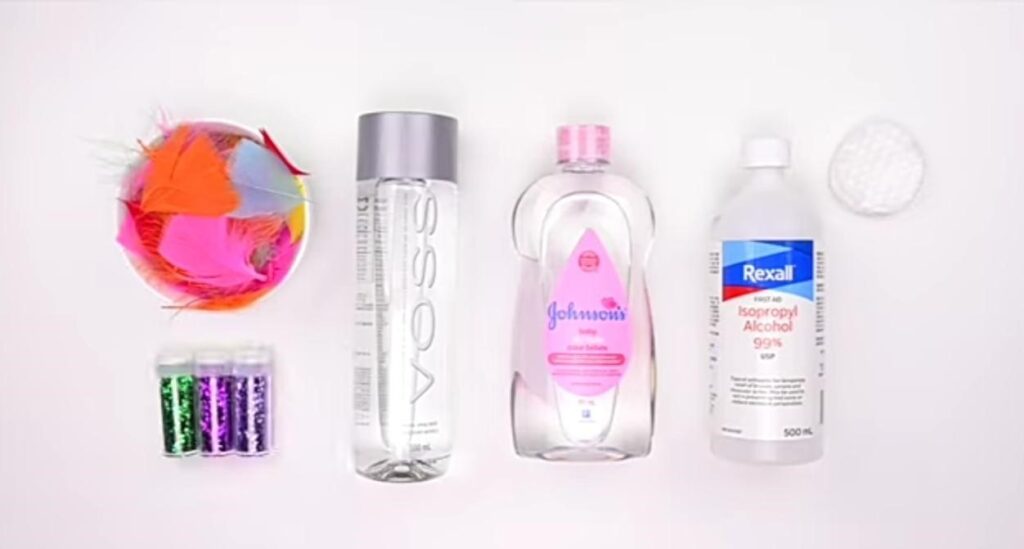
- A Transparent Plastic Bottle
- Rexall Isopropyl Alcohol
- Johnson’s Baby Oil
- Some Artificial Feathers
- Some Glitters
- A Piece Of Cotton
Step 1: Remove The Labellings From The Plastic Bottle
Take any plastic bottle of your choice. Make sure it is transparent to reflect the effect of the glitters we will add to it. Here, we have taken a 1-liter plastic bottle in a perfectly cylindrical shape to make our sensory bottle look more attractive.
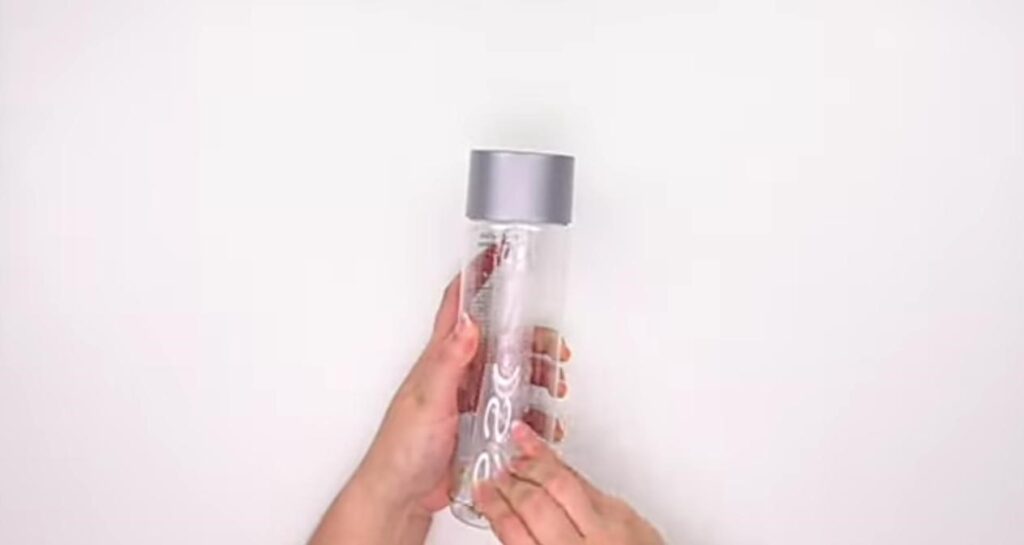
You can take a plastic bottle of almost any shape and size.
Now, the first step is to remove all the labelings and stickers from the area of the plastic bottle to make sure that it has a clean and smooth surface.
Step 2: Clean The Bottle With Rexall
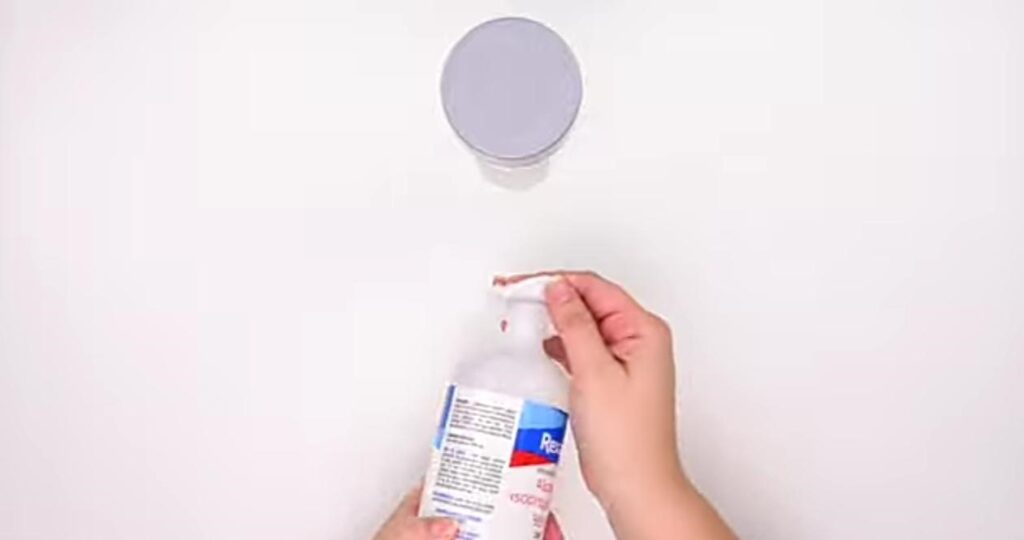
The next step is to clean the plastic bottle with the help of Rexall Isopropyl Alcohol liquid. For this purpose, take some liquid from a cotton pad and clean the bottle thoroughly.
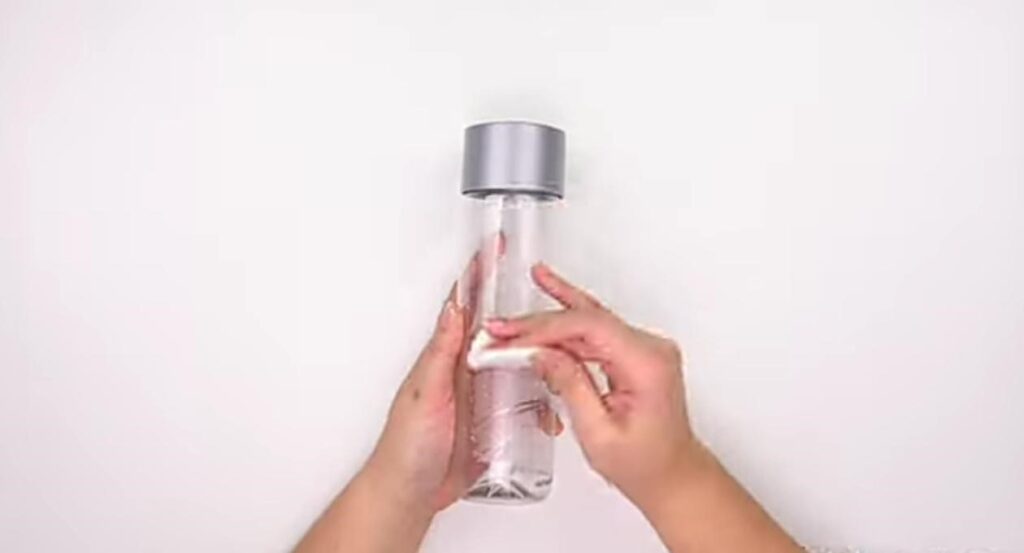
We are doing this step to ensure that the stickiness caused by the labeling and stickers on the bottle’s surface is cleaned correctly and that we have a smooth base for making our sensory bottles.
Step 3: Pour Johnson’s Baby Oil Into The Plastic Bottle
In the next step, we will pour an entire 500 ml bottle of Johnson’s Baby Oil into the plastic bottle.
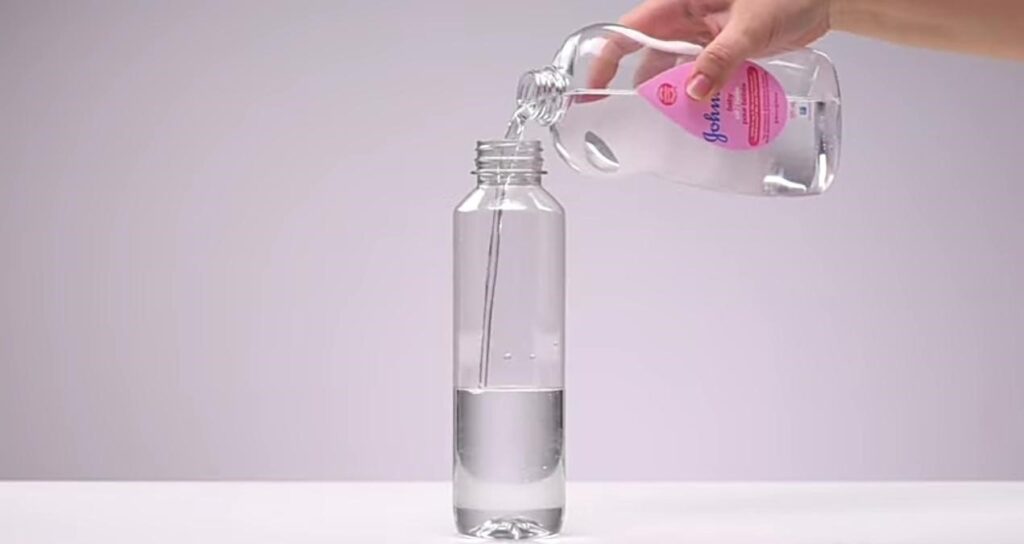
This oil’s lightweight and smooth consistency will give us a perfect liquid base for making our sensory bottles.
Step 4: Add Glitters Of Your Choice
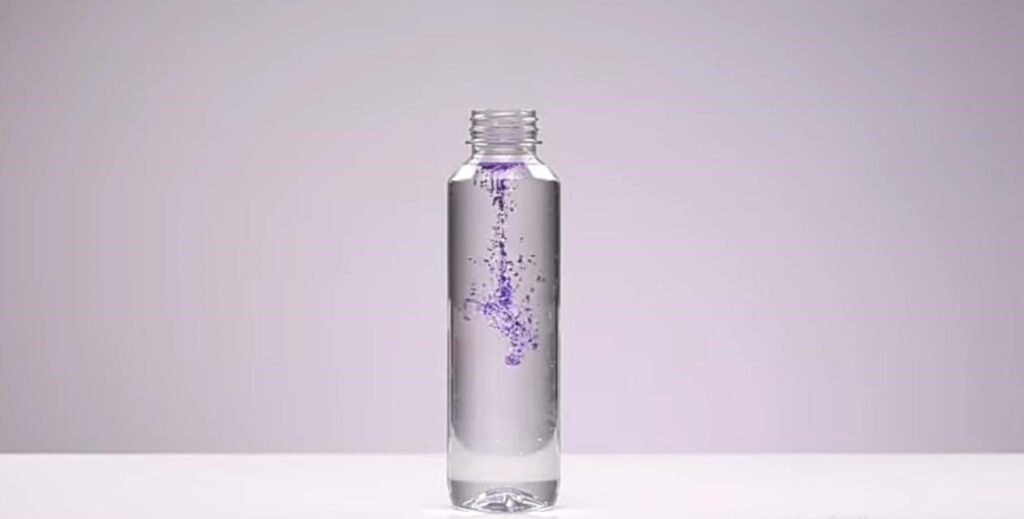
Now, once you have added the liquid base inside the bottle, the next thing is to add your favorite glitters or other decorations that you wish to see in your sensory bottle.
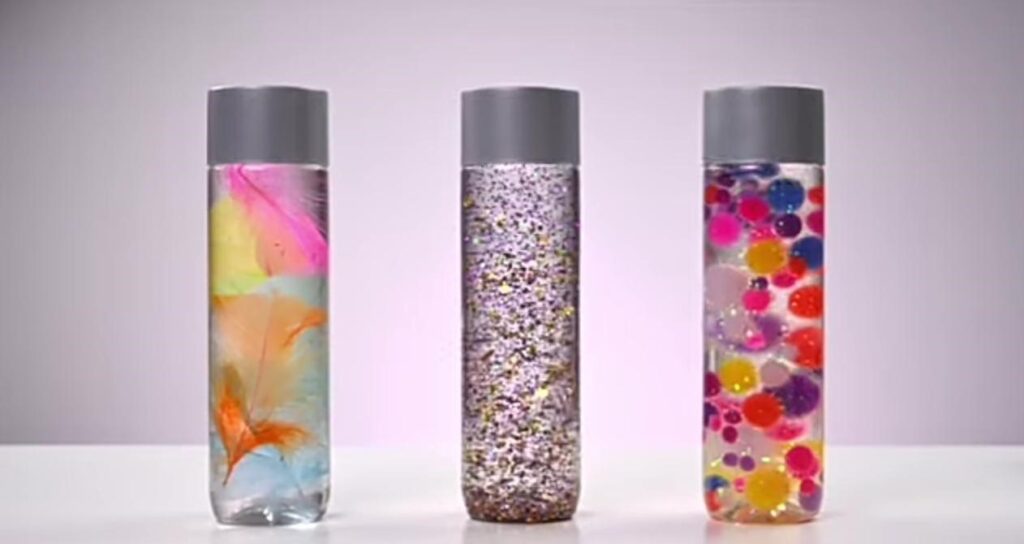
Here, we have added some purple and silver glitter inside our sensory bottle. Make sure that you do not add too much glitter inside the bottle. AA pinch of 2 to 3 glitter colors would be enough.
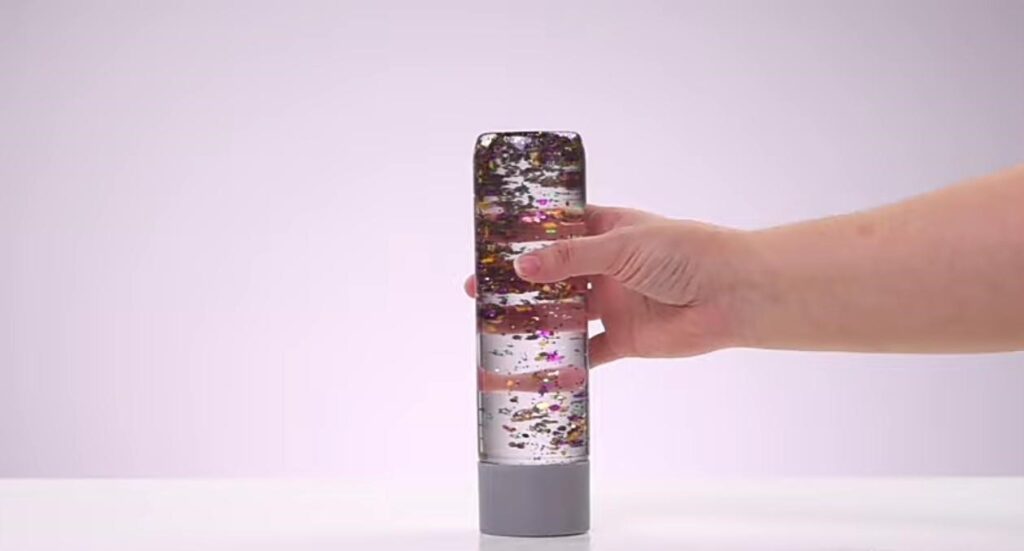
After you add the glitter, you will see the entire glitter sitting at the bottom of the bottle. Once you are done with adding the glitters, turn the bottle upside down to see the magic a sensory bottle holds in itself.
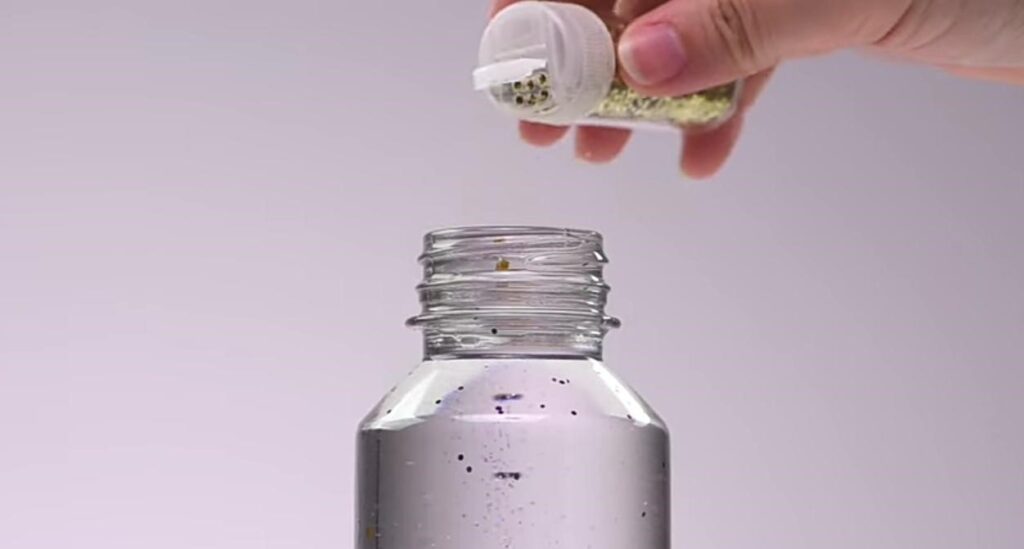
Step 5: Try Other Decorations
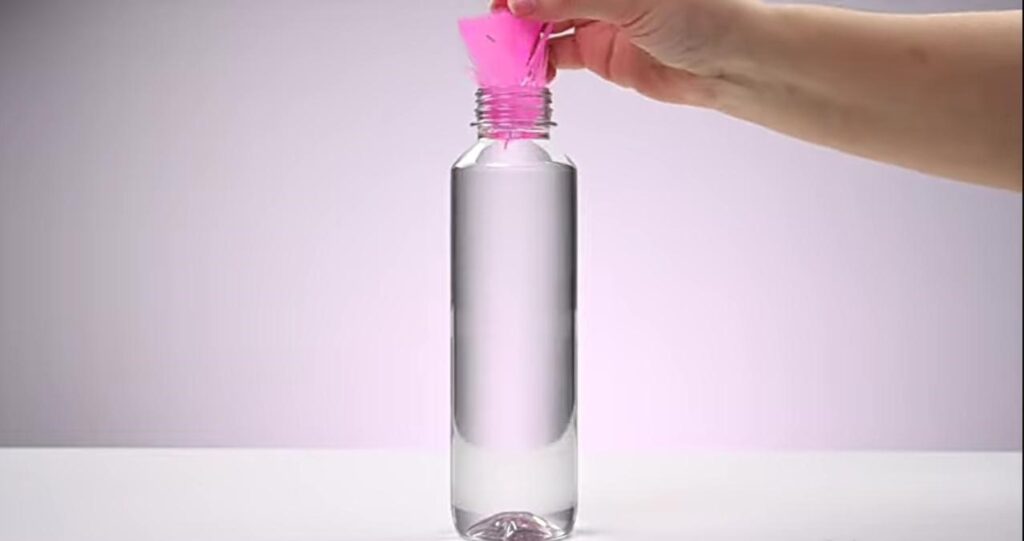
You can also make a sensory bottle with feathers. Just add some colorful feathers from the top of the bottle and settle them with the help of a wooden toothpick or a stick.
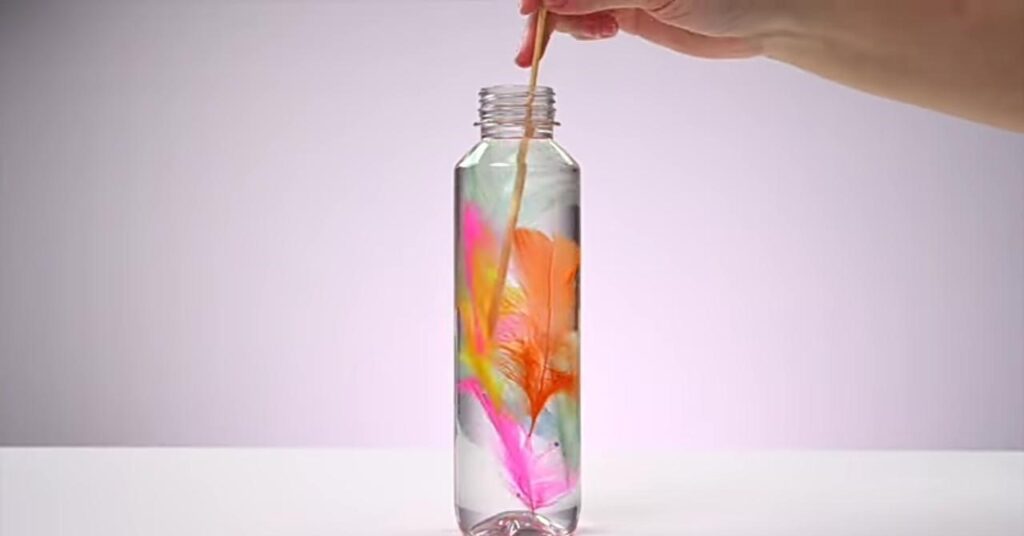
Once you have fixed the feathers, turn the bottle upside down, and you can decorate your sensory bottles in almost any corner of your house.
Conclusion:
A sensory bottle is a great decoration for your interiors and workplace. Making a sensory bottle is an easy and exciting thing to do in your free time, and it will make you feel calm to see your self-made successful piece of home decor.
Since it is not very difficult, you can leave it up to your kids to do this fun activity and make the best use of some of the waste products at home.