
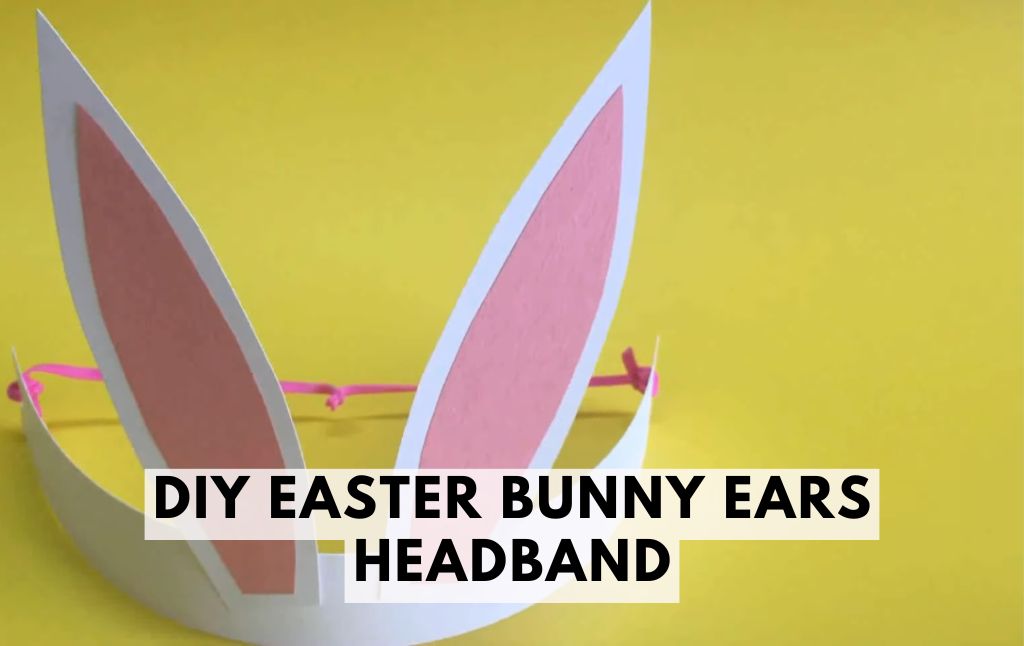
An Adorable and Easy Easter Rabbit Craft for Kids!
Looking for a fun and festive craft that will bring some extra hoppiness to your Easter celebration? Try this DIY Easter Bunny Ears Headband — it’s simple, super cute, and perfect for kids of all ages!
Whether you’re prepping for an Easter egg hunt, school party, or just want a playful activity to do at home, this Easter rabbit craft is a winner. No fancy tools required — just a few household supplies and lots of imagination.
What You’ll Need:
- White construction paper or cardstock
- Pink paper (or color your own!)
- Scissors
- Glue stick or tape
- Stapler (optional but helpful)
- Pencil
- Ruler (optional)
Let’s Get Crafting!
Step 1: Make the Headband Base

Cut a strip of white paper about 2–3 inches wide and long enough to wrap around your child’s head. You may need to cut two strips and staple or tape them together for a better fit.
Tip: Use cardstock if you want the headband to be sturdier.
Step 2: Create the Bunny Ears

On another piece of white paper, draw two large bunny ears. These should be tall and slightly pointy at the top. Cut them out with scissors.
Then, using your pink paper (or coloring it in), cut two smaller ear shapes to be the inner part of the bunny ears. Glue these onto the larger white ears.
Step 3: Attach the Ears
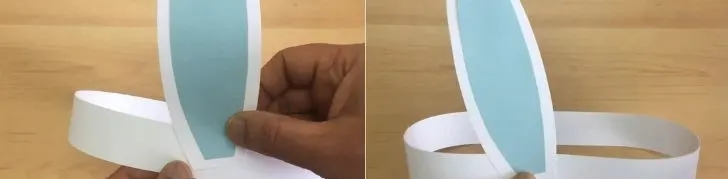
Glue or tape the bunny ears to the inside of the headband base, so the ears pop up when worn. You can also fold the bottom of the ear slightly before attaching, to give them more dimension.
Optional: Let the ears flop by attaching them loosely or curl them outward for a silly twist!
Step 4: Decorate (Optional but Fun!)
Get creative! Add glitter, stickers, or even draw on cute designs like polka dots or pastel stripes. Let kids personalize their bunny ears however they like.
Fun Variations:
Floppy-Eared Bunny: Make longer ears and bend them halfway for a droopy-eared look.
Rainbow Bunny: Use colorful paper or markers to make a rainbow bunny version!
Fluffy Version: Glue cotton balls to the base or outline of the ears for extra fluffiness.
Bunny Crown: Add more strips of paper and bunny-themed decorations to turn your headband into a festive crown.
Don’t Forget:
Once your bunny ears are done, pop them on and take some adorable photos. They’re perfect for:
Easter morning snapshots
Class parties
Family get-togethers
Easter egg hunts
You’ll have memories — and pictures — to treasure for years to come!
Why We Love This Easter Bunny Craft:
Super easy and budget-friendly
Great for preschoolers, toddlers, and older kids
Perfect Easter activity at home, in classrooms, or at parties
Encourages creativity and hands-on play
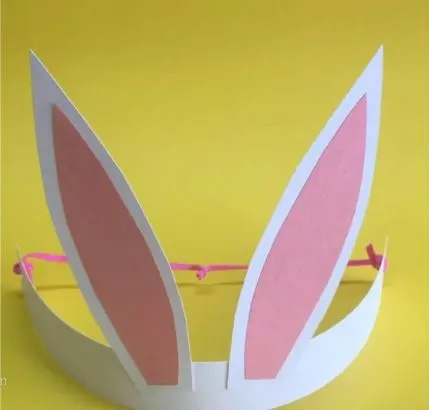
Final Thoughts:
This DIY Bunny Ears Headband is the perfect way to hop into the Easter spirit! Whether your child is pretending to be the Easter Bunny or just having fun dressing up, this simple craft is a sure way to spark joy.
So grab your scissors and glue, and let the bunny fun begin!
Happy Easter and happy crafting!
For more Easter fun and creative craft ideas, check out the rest of our DIY holiday projects!
Adorable Bunny Paper Chain Craft for Easter
The Easiest Easter Bunny Craft Using Unmatched Socks
Toilet Roll Easter Bunnies – Adorable DIY Craft for Kids & Parents
Easter Paper Plate Crafts for Kids – DIY Bunny Baskets & Rocking Rabbits!
Easy and Fun Easter Crafts for Kids – DIY Potato Stamp Easter Eggs!
How to Make Beautiful Shaving Cream Eggs
How to Make Popsicle Stick Easter Bunny
Balloon Air Pressure Experiment for Kids – A Mind-Blowing Science Activity!
Making Flying Tea Bag Ghosts: A Spooky & Fun Science Experiment


