
Are you looking for a wonderful, low prep activity that gets everyone, young and old, thinking about gratitude this Thanksgiving?
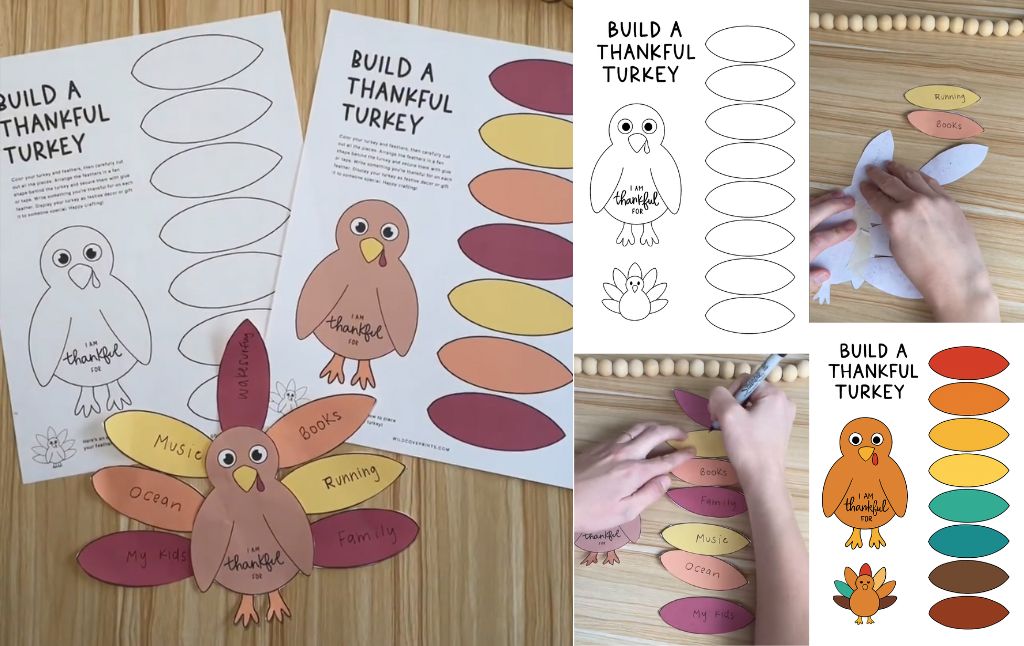
This Build a Thankful Turkey craft is the perfect combination of creativity and heartfelt reflection. It serves as an adorable decoration or a thoughtful keepsake.
Using a simple printable (available in both pre colored and coloring page versions), you can easily guide kids and family members through creating their own gratitude turkey. Here is your step by step guide to this new holiday tradition.
Step 1: Prepare and Choose Your Template
The great thing about this activity is the flexibility of the printable template you used.
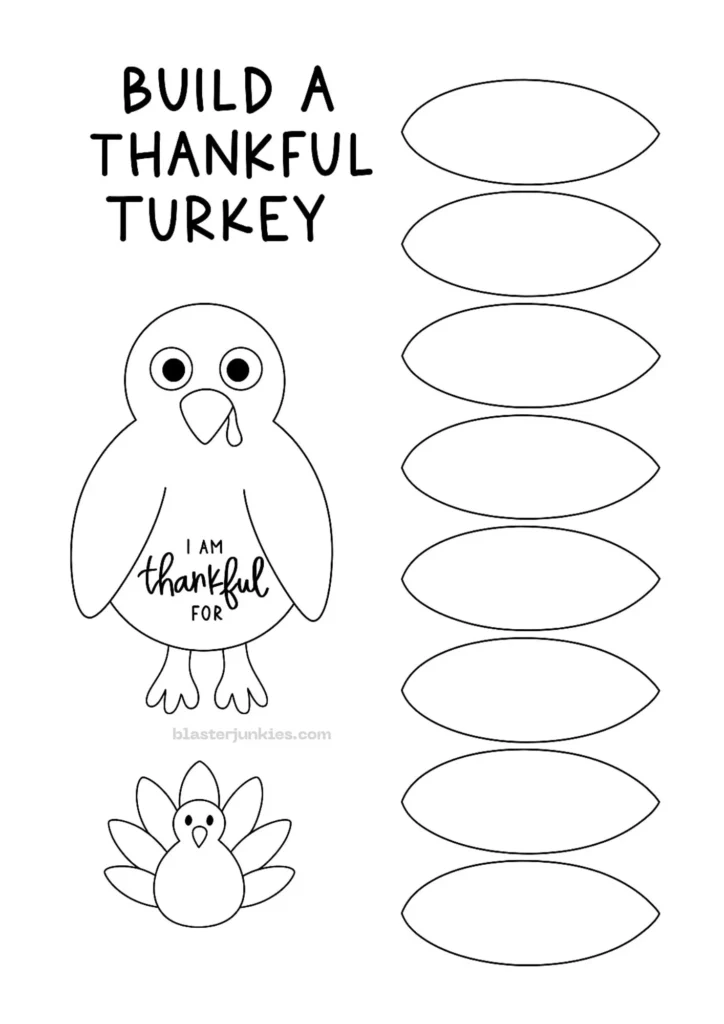
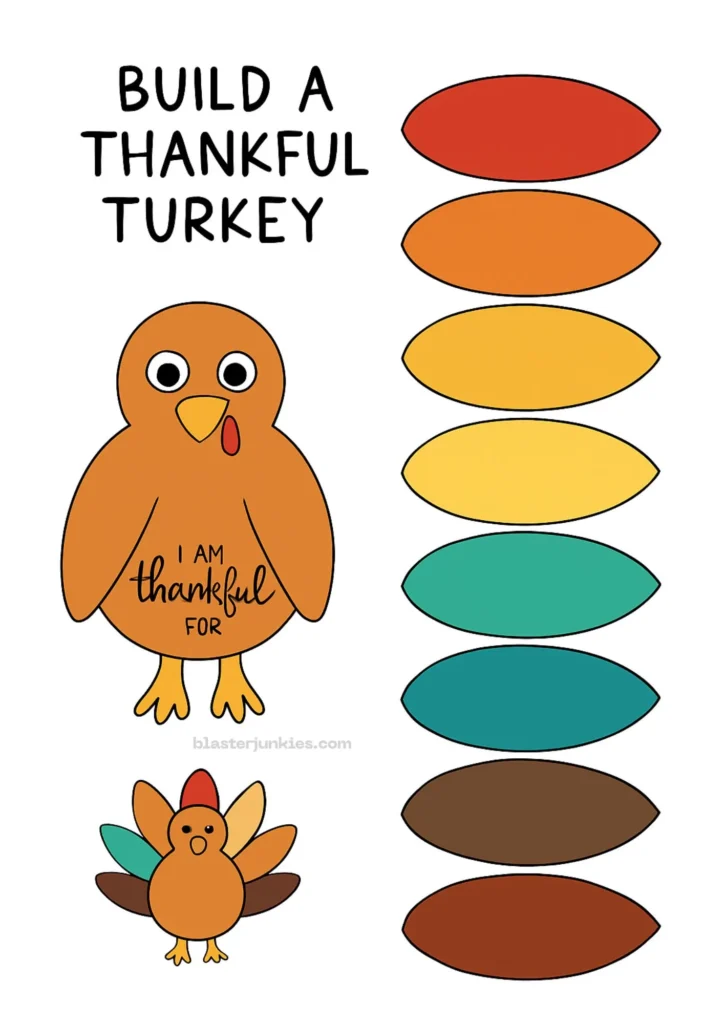
Download and Print: Download the “Build a Thankful Turkey” template. It’s available in two formats:
- Pre Colored: Perfect for younger children or if you are short on time.
- Coloring Page: Ideal for older kids who want to customize the turkey’s colors themselves.
Gather Supplies: All you need are sharp scissors, a strong adhesive (glue or tape), and a pen or marker.
Cut the Pieces: Carefully cut out the main turkey body and the seven separate feather shapes. Cutting along the outer lines ensures a neat final project.
Step 2: Customizing the Feathers with Gratitude
This is the core, meaningful part of the project the gratitude reflection!
The Prompt: Explain to your crafters that each feather will represent something they are genuinely thankful for. The turkey body itself already has the prompt: “I am thankful for…”
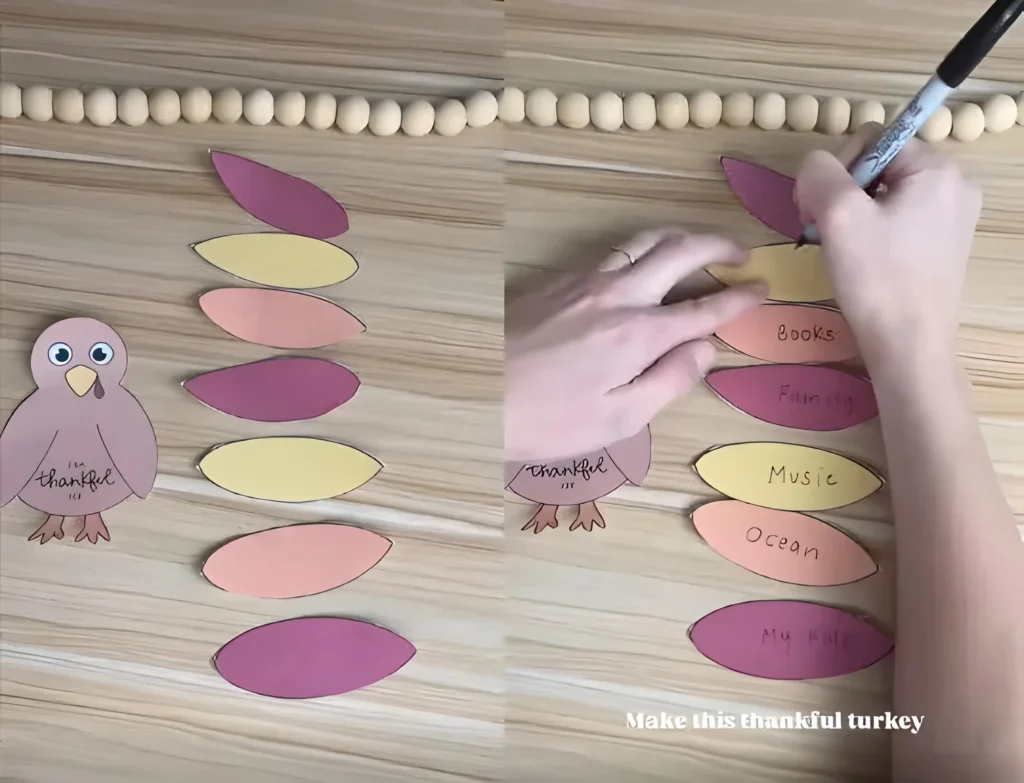
Write the Blessings: Using a marker or pen, have each person write one thing they are thankful for on each of the seven feathers.
Encourage a wide variety of answers, from big concepts (“Family,” “Health”) to small joys (“Music,” “Books,” “Ocean,” or even “Wakesurfing,” as you demonstrated!).
Encourage Reflection: Take a moment to discuss the items written down. This simple act turns the craft into a valuable lesson in appreciation.
Step 3: Assembling the Thankful Turkey
Now it’s time to bring your grateful bird to life!
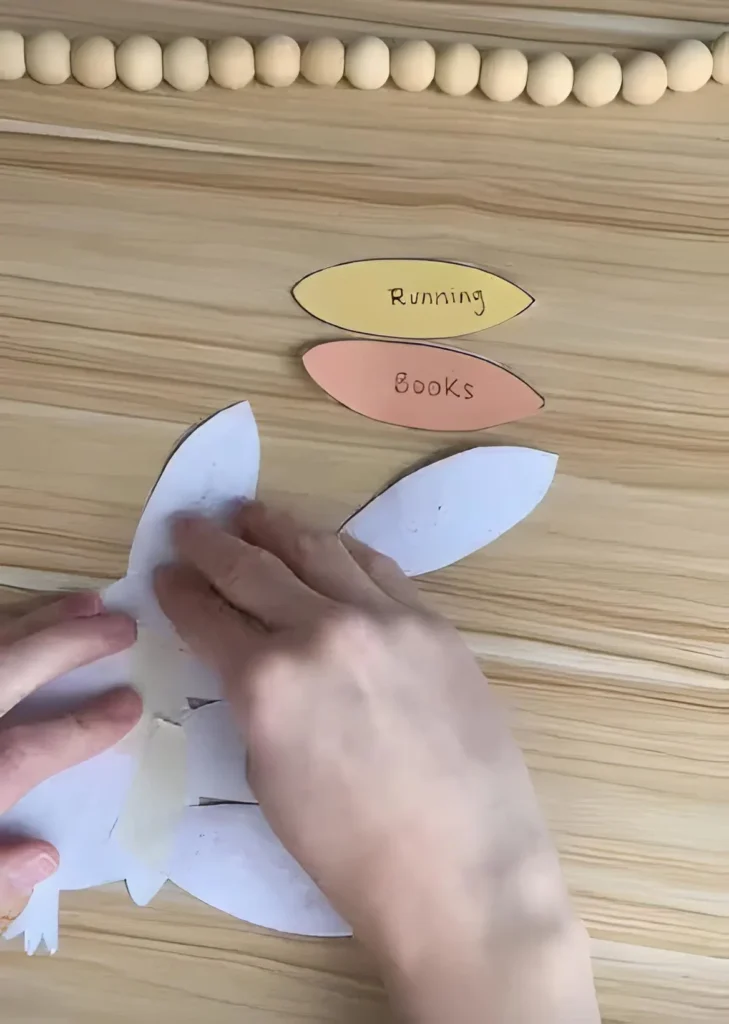
Arrange the Feathers: Lay the turkey body down. Arrange the seven feathers around the back of the turkey in a fan shape.
You want the feathers to overlap slightly and spread out wide so they are all visible.
Secure the Feathers: Once you are happy with the placement (often starting with the bottom feathers and working up), use tape or glue to secure them to the back of the turkey body.
Using a piece of tape across the center of the arranged fan, as you showed in the video, is a fast and effective way to secure the entire fan at once.
Check the Placement: Flip the turkey over. All your thankful thoughts should fan out beautifully behind the little bird!
Step 4: Displaying and Gifting Your Turkey
You now have a beautiful, personalized Thanksgiving decoration!

Table Centerpiece: Place the completed turkeys on the kids’ table, a mantel, or an entryway table as a festive and meaningful decoration.
Gratitude Cards: These turkeys also make wonderful gifts! They are perfect for sending to grandparents or loved ones who aren’t celebrating with you, offering a tangible record of the family’s gratitude.
Yearly Tradition: Save one turkey each year to compare how your family’s list of thankful items grows and changes over time.
This project is not only fun and easy, but it ensures that the heart of Thanksgiving gratitude is the center of your holiday crafting!
The Ultimate Thanksgiving Craft: A Step by Step Guide to Making a Textured Turkey
How to Craft the Ultimate DIY Exploding Love Card
Creative Junk Journal Spreads from a Weekend Getaway
25 Captivating Ideas to Elevate Your Junk Journal Spreads
10 Interactive Junk Journal Ideas to Bring Your Pages to Life
How to Craft Your Own Glowing Ghostface Lamp
How to Make Your Own Glow in the Dark Ghost Window Clings
How to Make Gorgeous Melted Crayon Ornaments
Create Stunning DIY String Lanterns


