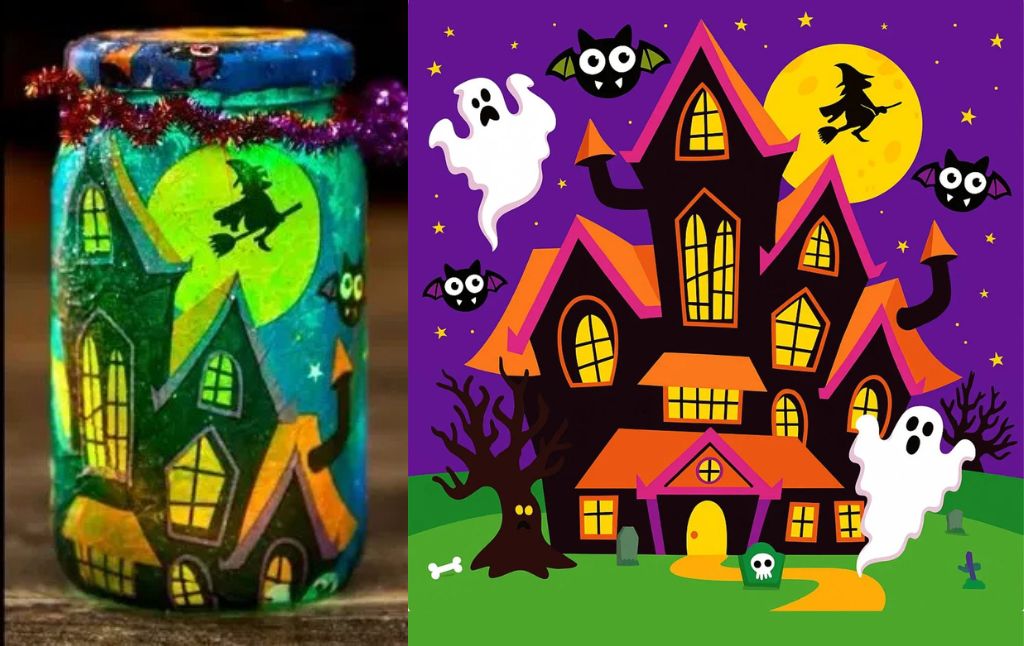
Looking to add a touch of handmade magic to your Halloween décor? Transform a simple glass jar into a mesmerizing, glowing lantern that will cast an enchanting, spooky light on any room.
This craft is perfect for a cozy afternoon and results in a stunning decoration you can use year after year.
Ready to get creative? Let’s begin!
What You’ll Need:
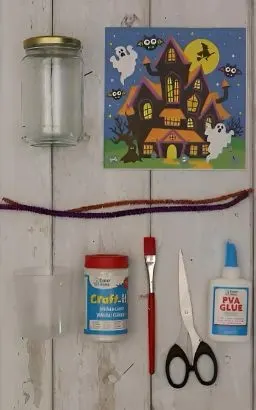
- A clean, empty glass jar with a lid
- A Halloween themed paper napkin
- PVA glue
- Iridescent or white glitter
- A small pot or cup for mixing
- A paintbrush
- Scissors
- Sparkly pipe cleaners in Halloween colors (e.g., orange, purple)
- A battery-operated LED tea light
Step-by-Step Instructions
Step 1: Prepare Your Napkin
First, take your Halloween napkin and carefully separate the layers. Most decorative napkins are made of 2 or 3 layers (plies).
You only want the top, thin layer with the printed design on it. Gently peel the plain white layers away and set them aside.
This is the secret to getting a smooth, translucent finish that allows the light to shine through beautifully!
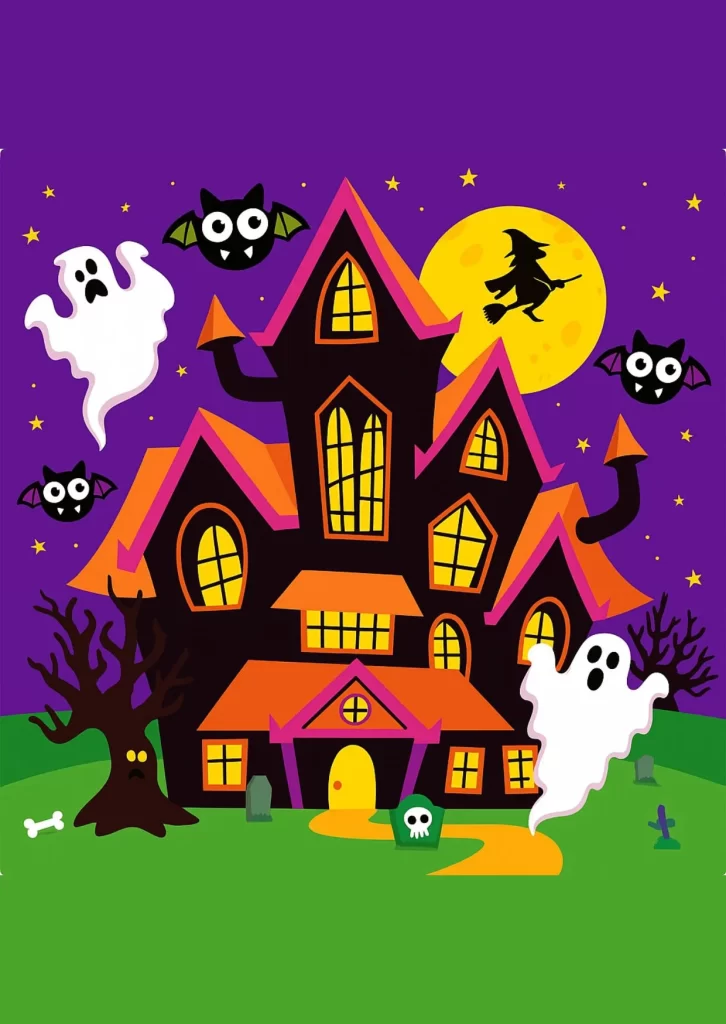
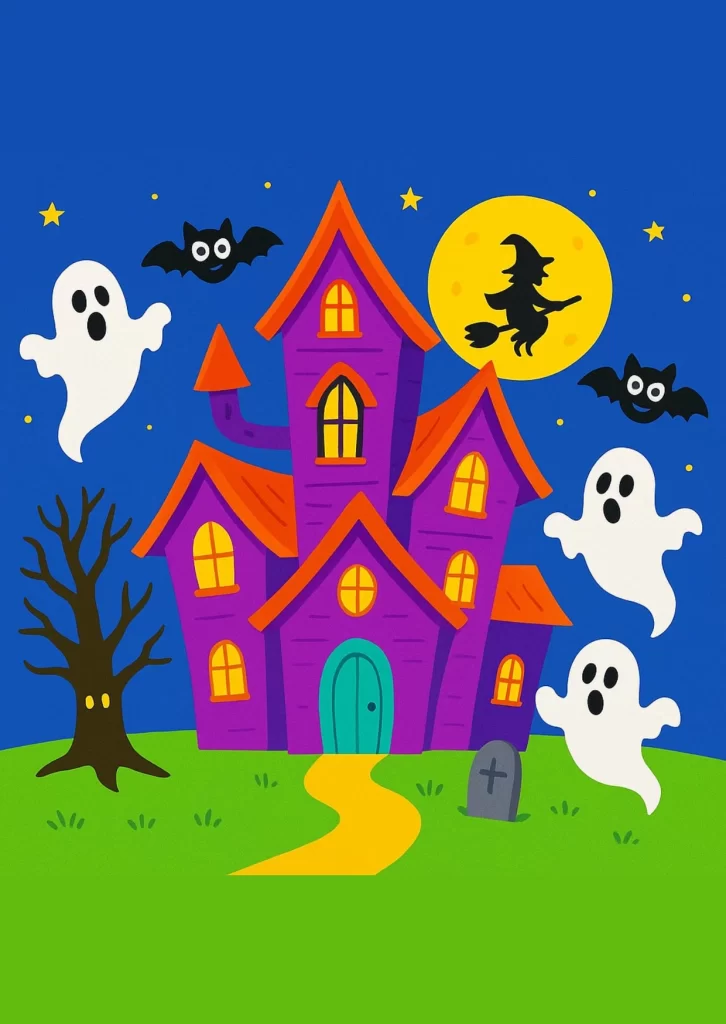
Alternatively, you can make your own Halloween napkin printouts using our A2 size printouts.
Step 2: Create Your Glittery Glue
In your small mixing pot, squeeze a generous amount of PVA glue. Add a good sprinkle of iridescent glitter and mix it thoroughly with your paintbrush.
You’re creating a magical, sparkly decoupage medium that will both stick the napkin down and give your lantern a shimmering finish.
Step 3: Decorate the Jar
Using your paintbrush, apply a thin, even coat of your glittery glue all over the outside of the glass jar.
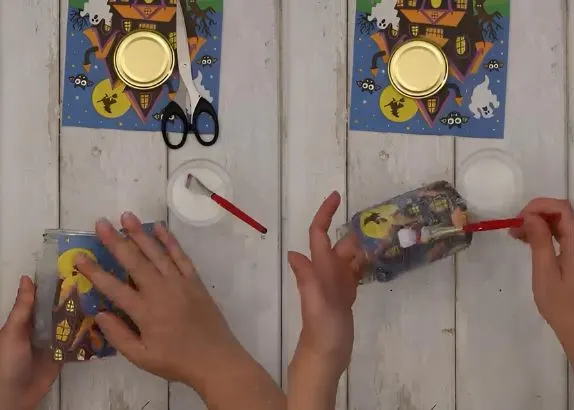
Next, take your printed napkin layer and carefully wrap it around the jar, smoothing it down gently with your fingers or the brush.
Don’t worry about small wrinkles; they add to the spooky, textured look! Once the napkin is in place, paint another layer of your glittery glue over the entire surface to seal it. Be gentle to avoid tearing the delicate paper.
Step 4: Add Extra Sparkle
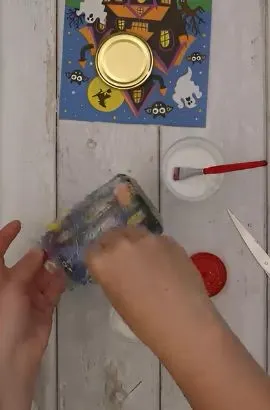
While the top coat of glue is still wet, sprinkle some more glitter directly onto the jar for an extra sparkly effect. The glue will catch the glitter, creating a dazzling, frosty finish when it dries.
Step 5: Don’t Forget the Lid!
Now, let’s decorate the lid. Cut a piece of your remaining napkin into a circle that fits the top of the jar lid.
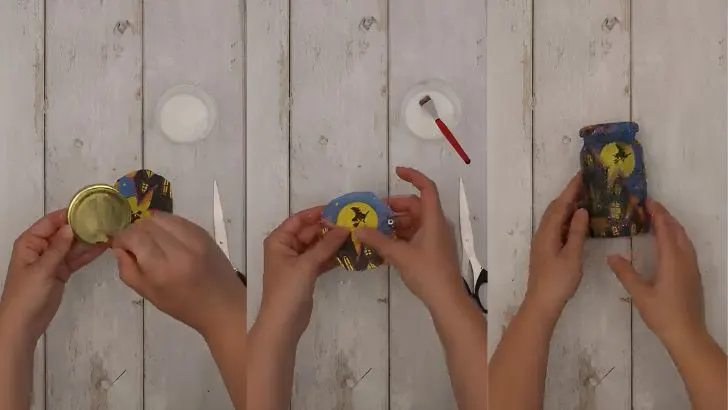
Apply a coat of your glittery glue to the lid, press the napkin circle on top, and seal it with another coat of glue, just like you did with the jar. Finish it off with another sprinkle of glitter while it’s still wet.
Step 6: Add a Festive Trim
Take two different colored sparkly pipe cleaners and twist them together to create one multi colored, festive trim.
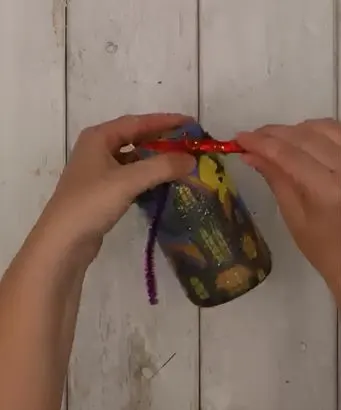
Wrap this twisted pipe cleaner around the rim of the jar, just below the lid, and twist the ends together to secure it in place.
Step 7: Bring it to Life!
Once your jar and lid are completely dry, all that’s left is to add the magic. Pop a battery operated LED tea light inside, screw on your decorated lid, and turn off the lights.
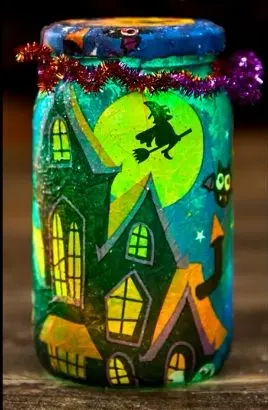
Watch as your haunted house scene comes to life with a spooky, enchanting glow!
There you have it! Your very own haunted house lantern is complete. Place it on a windowsill, mantelpiece, or as a spooky centerpiece for your Halloween party. Happy crafting
2 Spooky & Easy DIY Glowing Jars for Halloween
5 Creative No Carve Pumpkin Painting Ideas for a Spooktacular Halloween!
3 Spooktacular and Creative Pumpkin Carving Ideas for Halloween
3 Whimsical Autumn Leaf Crafts to Make with Kids
3 Fun and Easy Fall Tree Crafts for Kids (with Free Printable!)
Explore the Parts of an Apple with This Fun Felt Craft (Free Printable!)
A Fun and Personalized Apple Name Craft for Kids
3 Fun and Easy Apple-Themed Activities for Kids (with Free Printables!)
Capture the Beauty of Autumn with These DIY Clay Leaf Bowls