
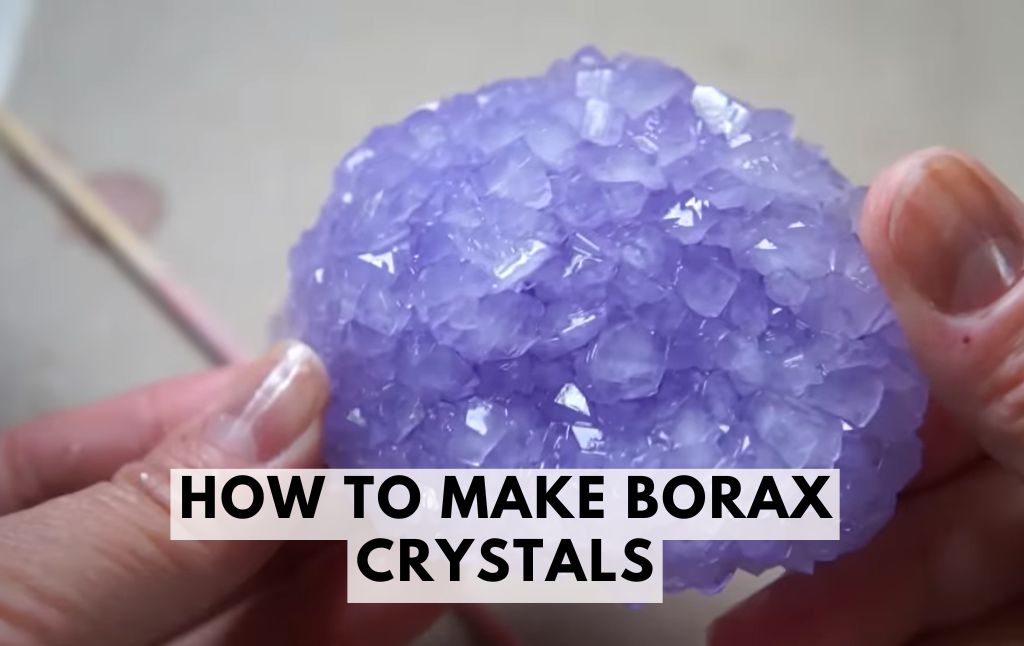
If you love science experiments that are both fun and visually stunning, making borax crystals is a perfect activity!
These sparkling, gem-like formations are easy to grow at home using just a few simple ingredients. Follow these step-by-step instructions to create your own beautiful borax crystals.
Materials You’ll Need:
- Borax powder (found in the laundry aisle of most stores)
- Pipe cleaners (white or colored)
- String or thread
- Bamboo skewer or pencil
- Large glass jar or Pyrex container
- Measuring cup
- Boiling water
- Food coloring (optional)
- Cardboard or paper towel (for covering the container)
Step 1: Shape Your Pipe Cleaner
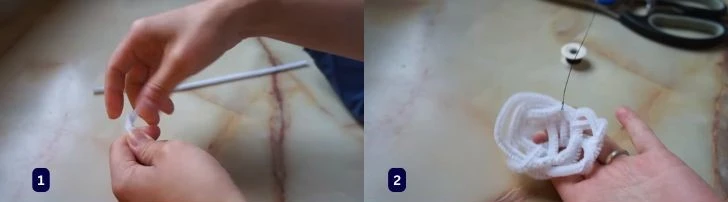
Take three pipe cleaners and twist them into a loose spiral or coil shape. You can also bend them into other creative designs like hearts or stars.
Tie a piece of thread to your shaped pipe cleaner, leaving enough length so it can dangle freely in the jar without touching the bottom or sides.
Attach the other end of the thread to a bamboo skewer or pencil, so the pipe cleaner hangs in place when suspended over the jar.
Step 2: Prepare the Borax Solution
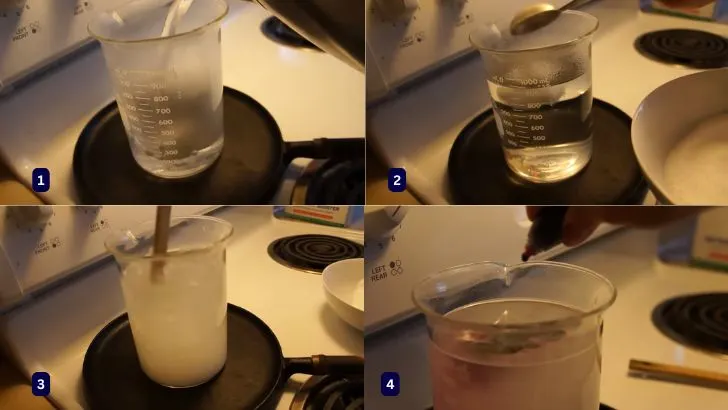
Boil water: Heat about 1 liter (4 cups) of water until it reaches a rolling boil. This step should be done with adult supervision.
Dissolve the borax: Slowly add 1.5 to 2 cups of borax to the boiling water, stirring continuously until it no longer dissolves. This means your solution is fully saturated.
Add food coloring (optional): If you want colored crystals, mix in about 20–30 drops of food coloring.
Step 3: Grow the Crystals

Pour the hot borax solution into a glass jar or Pyrex container.
Suspend the pipe cleaner in the solution, ensuring it is completely submerged and not touching the sides or bottom.
Cover the container with cardboard or a paper towel to keep dust out and slow down evaporation.
Leave the setup undisturbed for 8 to 12 hours (overnight is best).
Step 4: Reveal Your Crystals
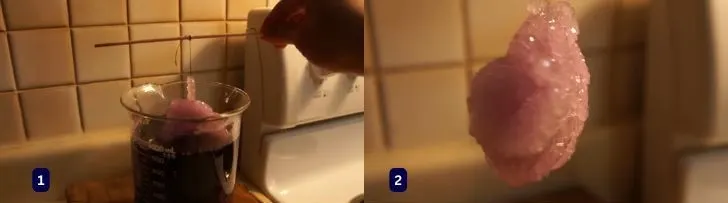
After at least 12 hours, carefully remove the pipe cleaner from the solution.
Let it dry on a paper towel for an hour.
Admire your beautifully formed borax crystals!
Bonus Tip: Make Larger Crystals
To grow bigger crystals, reheat the leftover solution, dissolve more borax, and repeat the process with a new pipe cleaner or re-dip your existing crystal formation.
The Science Behind It
Borax dissolves in hot water, creating a supersaturated solution. As the water cools, the borax particles can no longer stay dissolved and begin to crystallize onto the pipe cleaner. The tiny fibers on the pipe cleaner provide a surface for the crystals to form, resulting in stunning geometric shapes.
Final Thoughts
Growing borax crystals is a fantastic hands-on science experiment that teaches kids about crystallization while also creating a fun keepsake. Try different shapes, colors, and sizes to experiment with different results. Have fun and happy crystal-growing!
Kids Activities
Looking for more fun kids activities and other ideas to keep kids engaged, learning, and having fun? Check out these:
Soda and Mentos Geyser Activity: A Fun and Explosive Science Experiment!
DIY Rain Stick Craft That Actually Sounds Like Rain!
How to Make a Balloon Hovercraft: A Fun DIY Science Experiment
Easy Steps: How to Make a Robot Toilet Paper Roll Craft!
Weather Science Fun: Make a Cloud in a Jar!


