
Are you searching for a super engaging, low mess Thanksgiving activity that helps young learners with fine motor skills? You’ve found the perfect answer: the Torn Paper Turkey Craft!
This project, which uses simple materials and a free printable template, is perfect for the classroom or your family’s holiday prep.
Here is your step by step guide to leading this adorable and skill building craft.
Step 1: Getting Your Supplies Ready
The beauty of this craft is its simplicity. You don’t need fancy tools just paper, glue, and our free A4 printable!
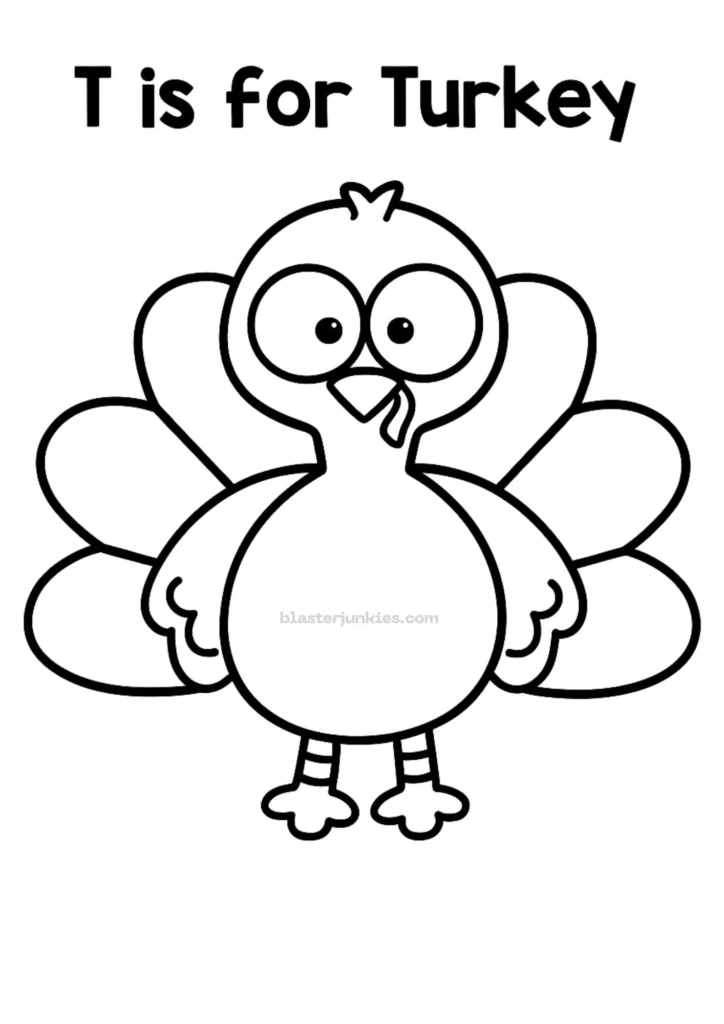
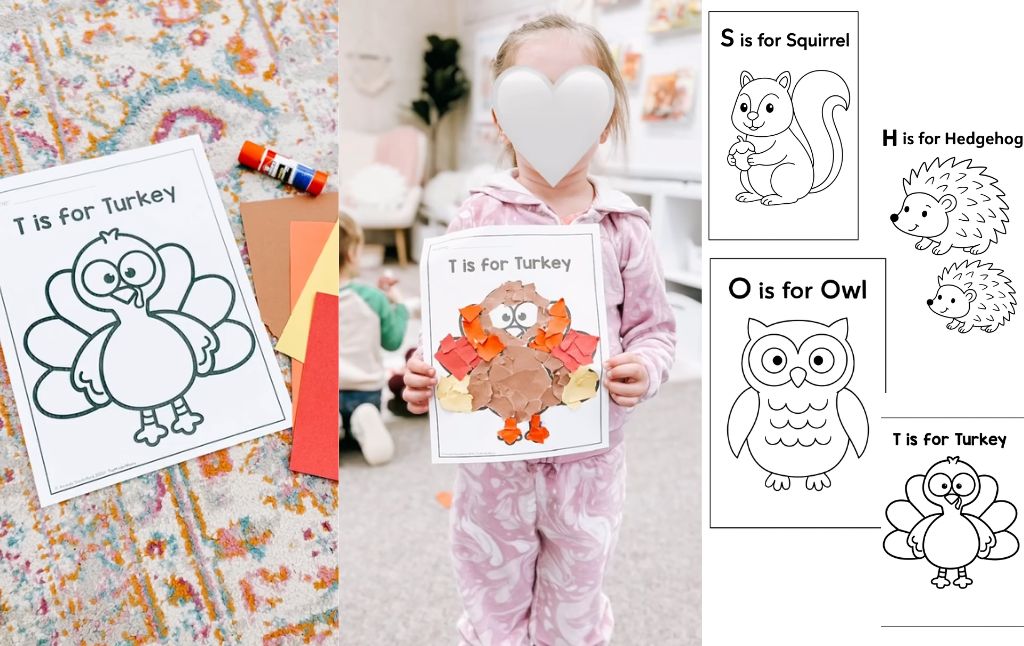
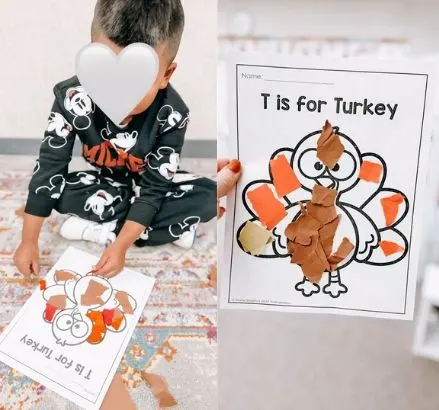
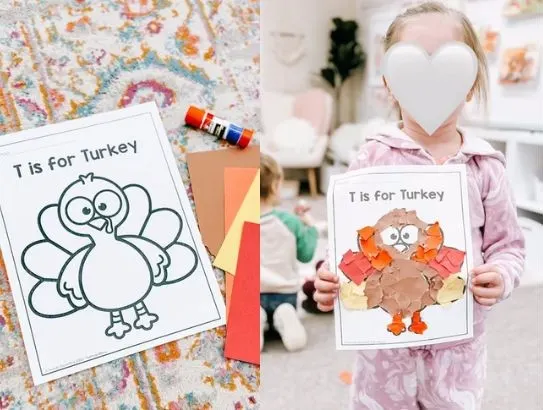
Download and Print: Download our free A4 sized printable template which features the adorable turkey outline and the title: “T is for Turkey.” Print a copy for every participant.
Gather the Colors: You will need construction paper in classic turkey shades:
- Brown: For the body.
- Red, Orange, Yellow, or Tan/Cream: For the feathers, feet, and beak.
Prepare the Tools: Each crafter will need a glue stick (these are less messy and easier for little hands than liquid glue).
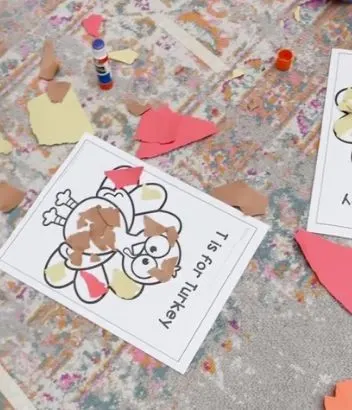
Set the Stage: Clear a flat surface the floor or a large table to give everyone plenty of space to work and contain the paper scraps.
Step 2: The Core Skill Tearing the Paper
This step is the most important for developing fine motor skills. Resist the urge to pre cut the pieces!
Focus on the Feathers: Start with the colored papers (red, orange, yellow). Encourage the children to use their fingers to tear small, irregular pieces from the paper.
These torn pieces, rather than neat cuts, give the final turkey its wonderful texture and depth.
Tear the Body: Move on to the brown paper. Again, encourage them to tear small pieces. You’ll need more brown than any other color, so make sure they tear enough to cover the main body outline. The goal is lots of small scraps, not large chunks.
Step 3: Gluing the Turkey Body
Now it’s time to start assembling the turkey on the template.
Apply Glue Strategically: Show the crafters how to apply the glue stick directly onto the largest outline the turkey’s body.
Remind them they only need glue on the brown body section, not the feathers yet.
Stick and Press: Have the children take their torn brown pieces and place them onto the glue, overlapping slightly to completely cover the turkey’s body outline.
If they miss a few spots, that’s okay it adds to the charm!
Step 4: Adding the Colorful Feathers
The colorful feathers are what make this turkey pop!
Work Section by Section: Direct the crafters to the different feather sections behind the turkey’s body.
Have them choose a color for each feather section (e.g., red for the central feathers, yellow for the sides).
Tear and Glue: Following the same technique, they will apply glue to one feather section at a time and cover it completely with the corresponding torn paper color.
The overlapping effect of the torn paper will make the turkey look fluffy and textured.
Don’t Forget the Details: If your template includes separate outlines for the feet, gobbler (wattle), and beak, encourage them to add small torn pieces of orange and red paper to these areas as well.
Step 5: Displaying the Finished Artwork
Once the turkeys are complete, you have a beautiful, personalized Thanksgiving decoration!
Dry Time: Allow all the glue to dry completely (this usually doesn’t take long with glue sticks).
Showcase Their Work: Since each child’s turkey is unique—a result of their individual tearing and gluing style—they should be incredibly proud of their artwork!
Create a Gallery: Hang the completed “T is for Turkey” pages on a wall or bulletin board to create a festive fall display that celebrates both the holiday and the hard work of your little crafters.
This tear and glue technique is not just fun; it provides fantastic pre writing practice by strengthening hand muscles and the finished turkeys are simply irresistible!
DIY Balloon Floats: Bringing the Thanksgiving Day Parade to Your Kids’ Table!
Immortalizing Your Closest Bonds: Creating the Ultimate Aesthetic Friendship Journal
Crafting the Ultimate Personalized Gift: Heartfelt Scrapbook Layout Ideas
15 Inspiring Styles to Kickstart Your Next Junk Journal Spread
10 Inspiring Junk Journal Spreads to Try Today
Create a Spooktacular Light Up Halloween Card: A Step by Step Guide
How to Craft a Stunning Autumn Leaf Bowl


