As the air gets crisper and the nights grow longer, it’s time to fill your home with ghoulishly delightful decorations.
If you’re a fan of “The Nightmare Before Christmas” and love a good DIY project, then this one is for you!
Get ready to create an enchanting Jack Skellington night light that is surprisingly simple to make and will cast a wonderfully spooky glow over your Halloween festivities.
What You’ll Need:
- A white balloon
- A roll of toilet paper or plain white paper towels
- White school glue (PVA glue)
- Water
- A small bowl for mixing
- A paintbrush
- Black craft paper or felt
- Scissors
- A black permanent marker
- A string of battery operated fairy lights (LED lights work best as they don’t get hot)
Step by Step Instructions:
Step 1: Create Your Papier Mâché Paste
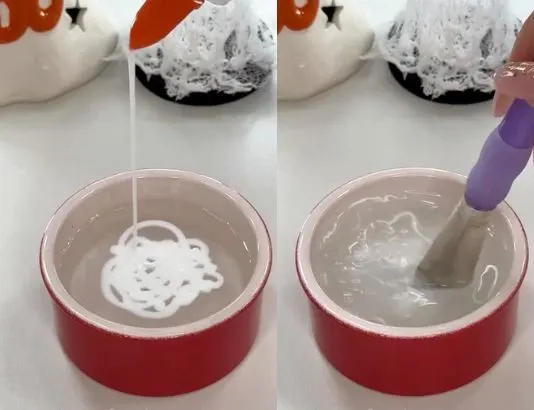
In your small bowl, mix together your white glue and a bit of water. You are aiming for a smooth, milky consistency not too thick, but not too watery.
A good starting point is a roughly 1 to 1 ratio of glue to water. Stir it with your paintbrush until it’s well combined.
Step 2: Prepare the Mold
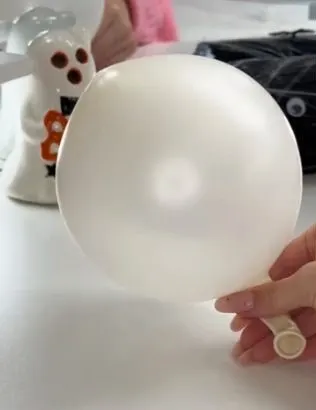
Inflate your white balloon to the size you want your lantern to be. A medium sized round balloon works perfectly for Jack’s head. Tie it off securely.
Step 3: Build Your Lantern Shell
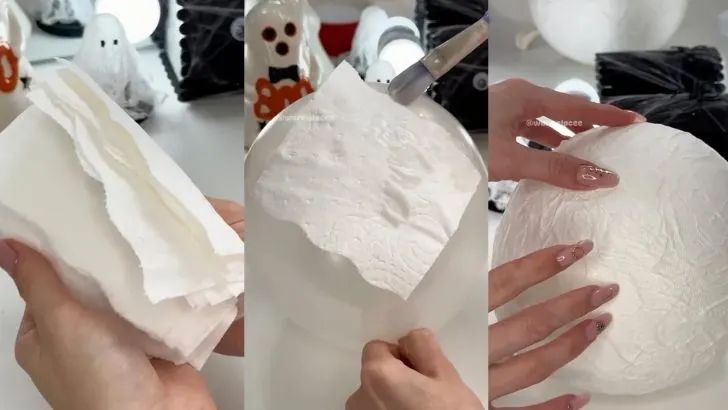
Now for the fun and slightly messy part! Tear your toilet paper or paper towels into small strips or squares.
Tearing the paper instead of cutting it helps the edges blend together for a smoother finish.
Dip your paintbrush into the glue mixture, coat a small section of the balloon, and then place a piece of paper on top.
Use the brush to gently smooth it down with more glue mixture, making sure it’s fully saturated.
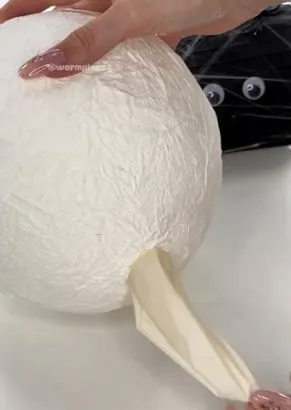
Continue this process, overlapping the pieces of paper, until the entire balloon is covered. For a sturdier lantern, apply a second layer.
Step 4: Let It Dry Completely
Place your papier mâché covered balloon somewhere safe to dry. You can set it on a plastic cup to prevent it from sticking to your table.
This is a crucial step you need to let it dry completely until it’s hard to the touch. This can take up to 24 hours depending on the thickness of your layers and the humidity in your home.
Step 5: The Big Reveal
Once your shell is rock solid, it’s time to pop the balloon! You can use a pin or the tip of your scissors.
The papier mâché shell will hold its shape perfectly. Reach inside the opening (where the balloon knot was) and pull out the deflated balloon pieces.
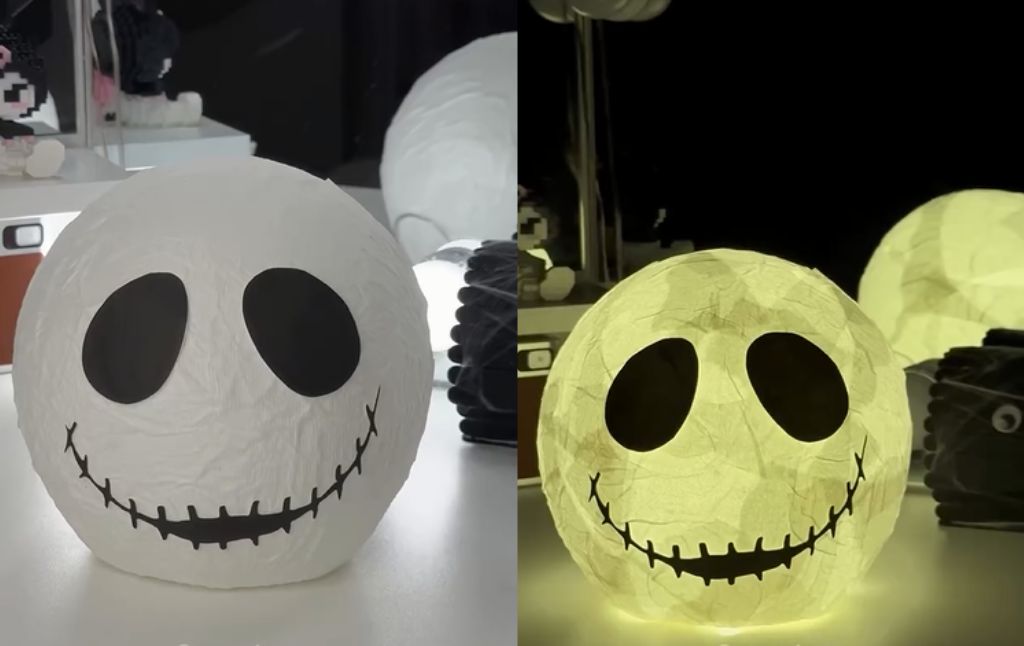
Step 6: Bring the Pumpkin King to Life
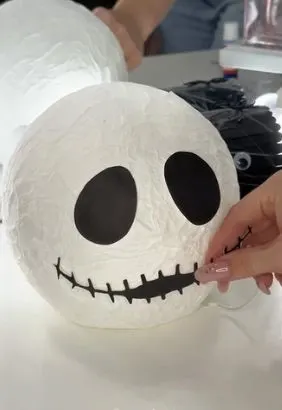
Now you get to decorate! Cut two large, elongated oval shapes from your black paper for Jack’s iconic eyes.
Use a little bit of your glue mixture or a glue stick to attach them to the front of your lantern.
Using a black permanent marker, carefully draw his stitched grin across the front. Don’t worry about making it perfect the slightly uneven lines add to his charm!
Step 7: Let There Be Light!

Your Jack Skellington head is complete! All that’s left is to make it glow. Carefully feed your string of battery operated fairy lights through the opening at the bottom of the lantern. Arrange the lights inside so they are spread out evenly.
And there you have it! Switch on the lights, turn down the overheads, and watch your creation cast a wonderfully eerie glow. It’s the perfect handmade addition to any shelf, mantelpiece, or spooky display this Halloween.
Create Stunning DIY String Lanterns
How to Make a Spooky Halloween Jar Lantern
Seven Pumpkin Creative Painting Ideas for Halloween!
3 Creative No Carve Pumpkin Painting Ideas for Halloween
3 Creative and Unique Pumpkin Carving Ideas for Halloween
3 Beautiful and Easy Fall Leaf Crafts for Kids
All About Apples: A Fun, Hands On Learning Craft for Kids!
Dive into Fall with 5 Fun Apple Investigation Activities!
A Fun and Educational Apple Life Cycle Craft
Create a Magical Glowing String Pumpkin for Your Autumn Decor