
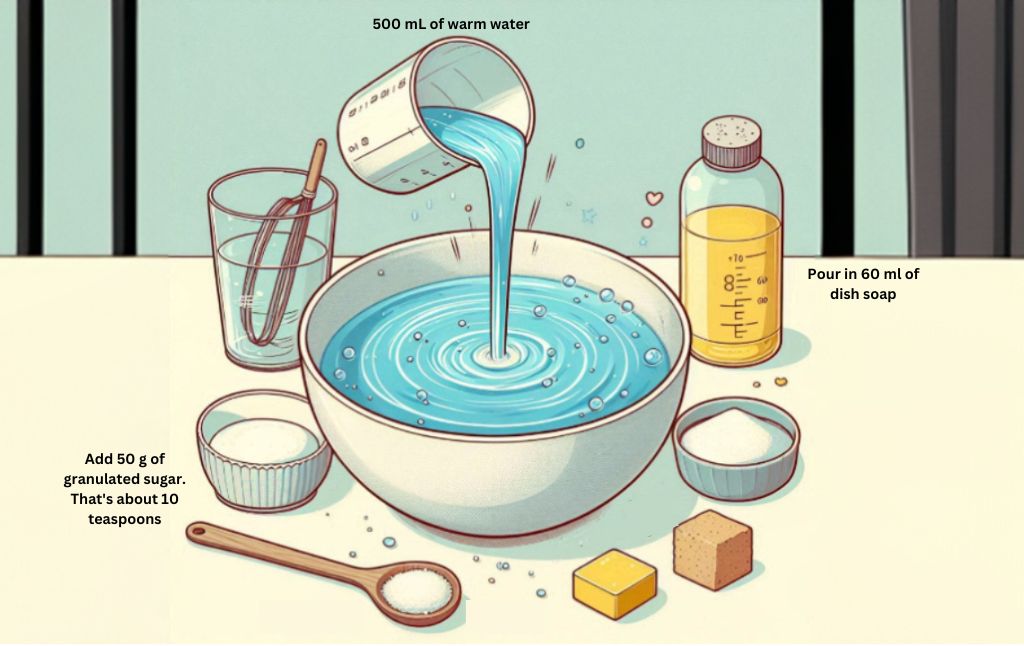
Pour 500 mL of warm water into a container. It’s like filling a big cup. Next, add 50 g of sugar. That’s about 10 teaspoons. Stir it until the sugar disappears in the water. Now, pour in 60 ml of dish soap. That’s like adding a little less than 1/4 cup. Mix everything together gently. That’s the exact water bubble solution that you need. You can now use this solution to get bigger and stronger water nibbles than you’ve ever seen.
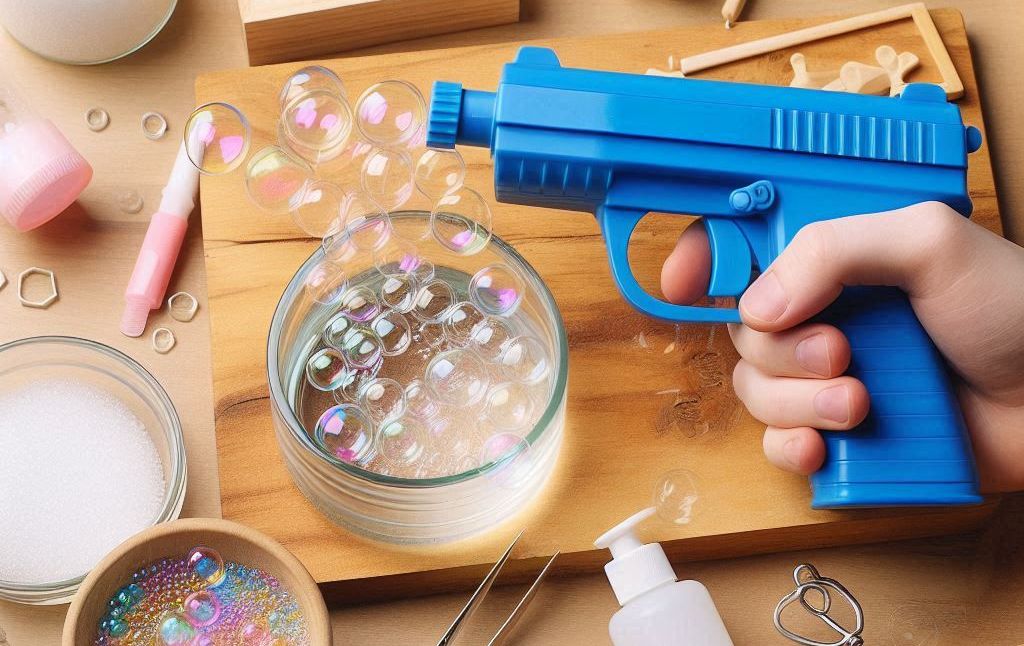
Bubble guns are one of the most trending toys among small kids who are easily attracted by the colorful, rounded water bubbles that come out of them.
Even senior citizens and youngsters, everybody once in their lifetime, find themselves in a situation where they feel attracted by the beauty of these water bubbles.
But you may find it surprising that it is much easier to make the bubble solution that produces these bubbles at home than to get it from the market. The simple procedure of just a few steps will leave you in astonishment.
How To Make Bubble Water At Home
Playing with bubble guns and trying to catch those cute round bubbles is not only exciting but also a form of relaxing exercise for your toddlers. It increases their digestion and boosts their mental health, giving your child a punch of activeness. Making bubble water solution at home is not only affordable, but it can also be a fun activity when you try to do this DIY with your small kids.
Here is how to make bubble water solution at home:
Materials Required:
1. One glass bowl
2. 500 mL of warm water into glass bowl
3. 60 ml of dish soap
4. 50 g of sugar. That’s about 10 teaspoons
Procedure:
Step 1: Mix all the ingredients into a bowl and stir well. Pour 500 mL of warm water into a container. It’s like filling a big cup. Next, add 50 g of granulated sugar. That’s about 10 teaspoons. Stir it until the sugar disappears in the water. Now, pour in 60 ml of dish soap. That’s like adding a little less than 1/4 cup.
Step 2: If you want a bubble mixture that is more or less than what is mentioned above, you can increase or reduce the bubbles as you choose. But remember that the amount of dish soap you add should not exceed 1/6th of the water that makes up the solution.
Step 3: Now stir the solution well. It would help if you kept stirring it slowly and patiently until the soap completely dissolved into the solution. Mix the dish soap gently in the solution, and make sure that the soap does not form bubbles at the top.
Step 4: Once all the ingredients are properly mixed, your mixture is ready, and you can use it to form bubbles at home with a bubble gun.
Smart Tricks To Get The Perfect Bubbles
Most of the bubble gun players dream of getting the perfect bubbles that are difficult to pop. The only fun that the game holds is waiting for the bubbles to last longer and pop on their own after a desirable period. Here are some of the tips that will help you create bubbles that are difficult to pop:
1. To make perfect bubbles, you must ensure that the amount of water you take is exactly four times the piece of soap that you take.
2. Add glycerin or sugar to the bubble solution to make it last longer. These additions would help you blow bigger bubbles that would not dry out quickly.
3. Although the solution is a statement bubble creator on its own, giving it a chance to rest overnight would bring surprisingly amazing results. Store the bubble solution in an airtight container in a cool, dark place for up to four months to maintain its quality and consistency.
Do not forget to mix/shake/stir the solution properly each time before you use it. This will dissolve all the ingredients better and give better results each time.
To make colorful bubbles, you can add 5-6 drops of food colors of different colors to the solution.


