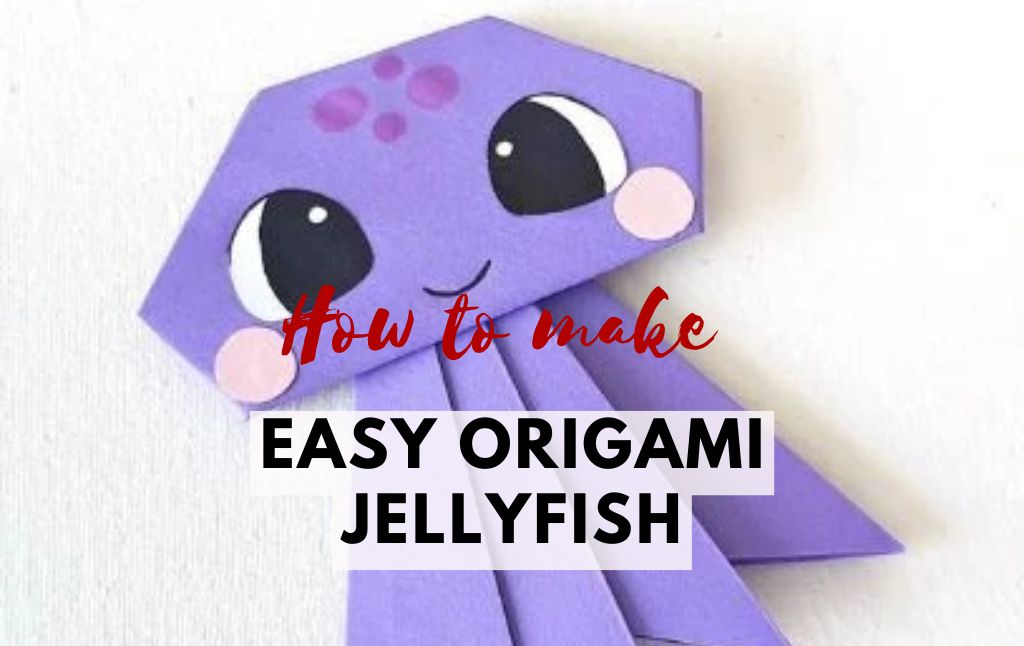
Origami is a fun and creative way to turn a simple piece of paper into beautiful art. One of the easiest and most exciting origami projects for beginners is making an origami fish. Whether you’re a kid looking for a fun craft or an adult who enjoys paper folding, this step-by-step guide will help you create an adorable paper fish.
Materials You Need
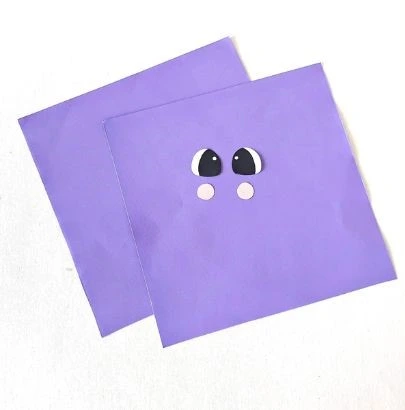
- Two square sheets of paper (both the same size, preferably 6×6 inches)
- White paper to cut out eyes
- A black marker to draw pupils
- Small pink paper circles for the fish’s cheeks
- Glue or double-sided tape
Step 1: Preparing the Paper
Before you start folding, ensure you have your materials ready. If you’re using colored paper, choose a bright and vibrant color to make your fish stand out. You can also decorate your paper beforehand if you want a patterned fish.
Step 2: Creating the Fish’s Body
Take one square sheet of paper and fold it diagonally in half. Unfold it to create a crease.
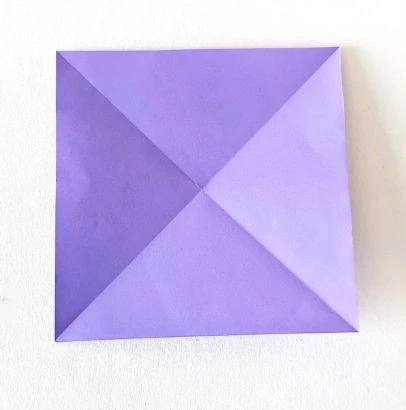
Fold it diagonally in the opposite direction and unfold it again. You should now have an X-shaped crease on your paper.
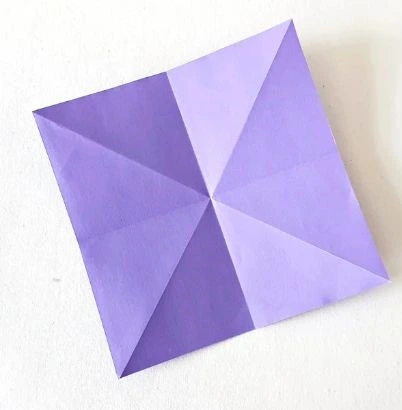
Flip the paper over. Fold and unfold it vertically and horizontally to make two more creases in a cross shape.
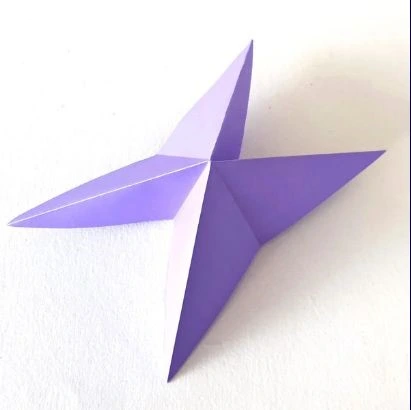
Bring the horizontal creases toward the center while keeping the diagonal creases pointed upwards.
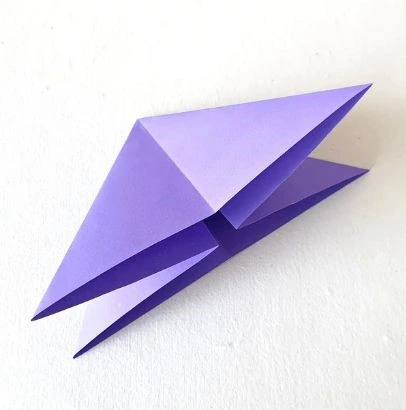
Flatten it into a triangle shape with two flaps on each side.
Step 3: Shaping the Fish’s Tail
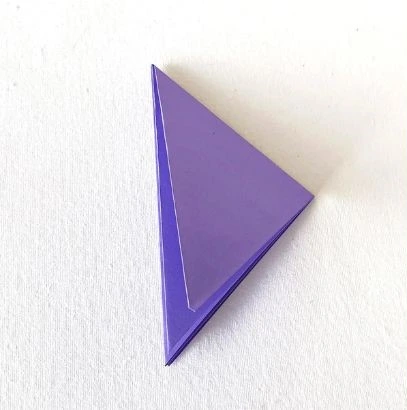
Fold the triangle in half, bringing all the flaps to one side, creating a smaller triangle.
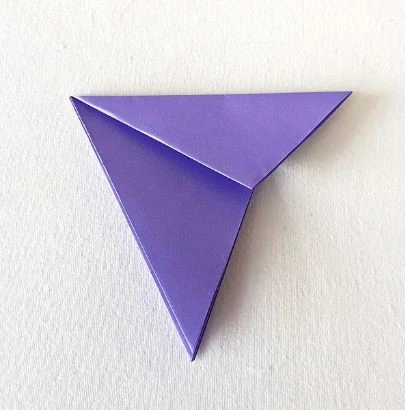
Take the top flap’s loose corner and fold it upward at a 25-30 degree angle.
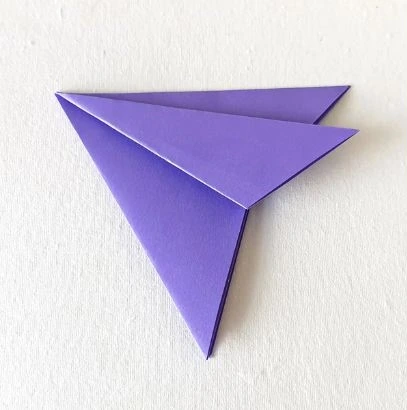
Fold the second flap slightly below the first, leaving a small portion sticking out.

Repeat this process with the third flap, making sure each fold is lower than the previous one.
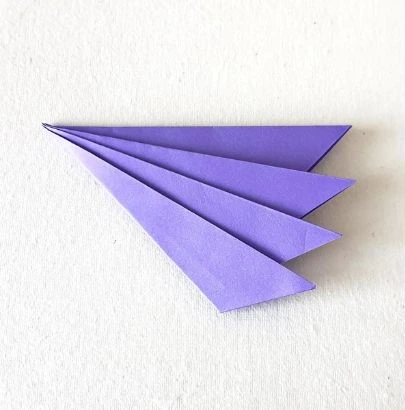
Finally, fold the fourth flap slightly lower than the third one. This creates the layered effect of a fish’s tail.
Step 4: Making the Fish’s Head
Take the second sheet of square paper to form the fish’s head.
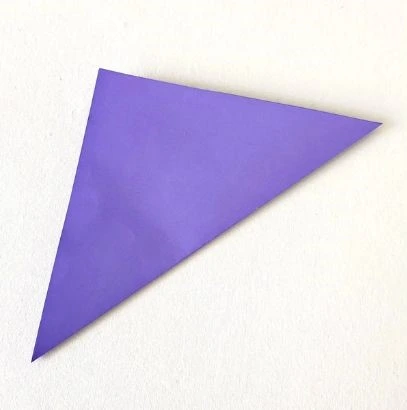
Fold it diagonally in half.
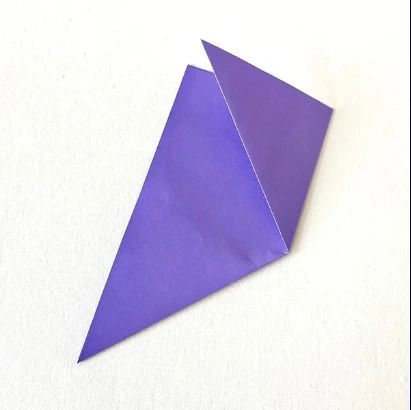
Fold the right side corner towards the center.
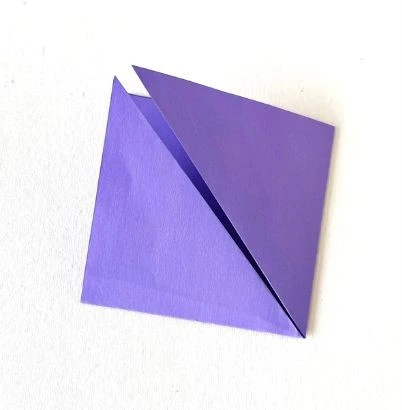
Fold the left side corner towards the center.
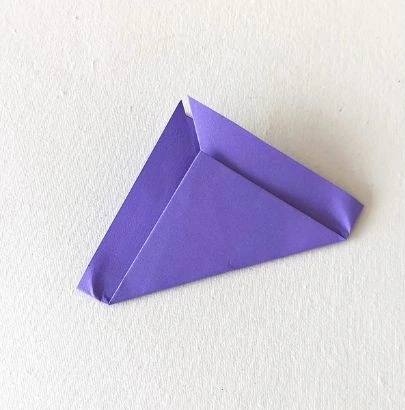
Fold the bottom corner upward, stopping about 1 cm below the top corner.
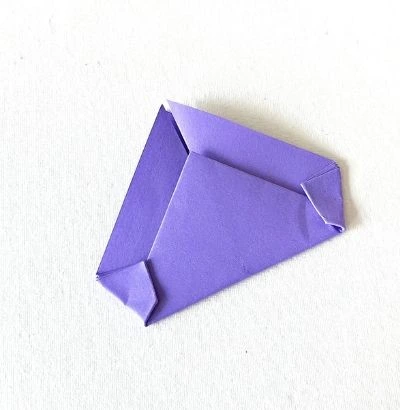
Fold the side corners inward to align with the edges of the top triangle.
Step 5: Assembling the Origami Fish
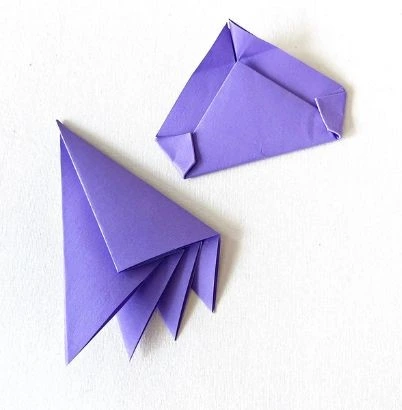
Flip the tail piece over so that the back side is facing up.
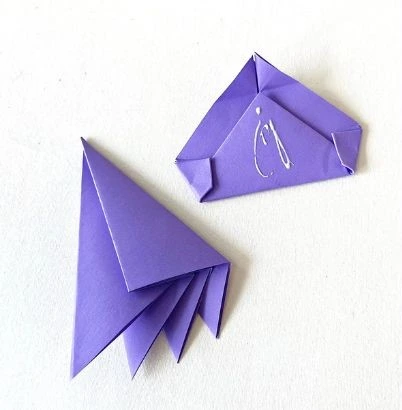
Apply glue to the top portion of the tail.
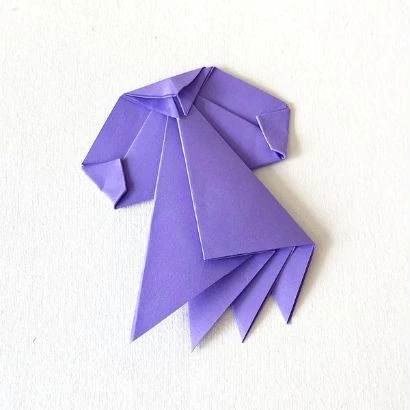
Attach the closed end of the fish’s head onto the glued area. Fold the top corner of the head slightly down to overlap the tail.
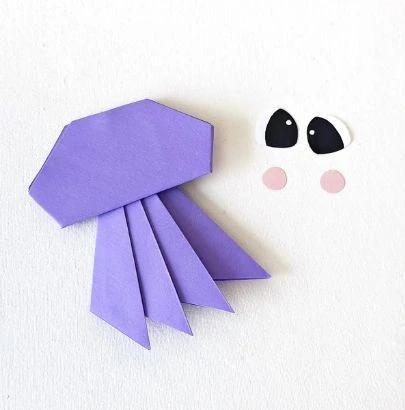
Flip the entire structure over to reveal the complete fish shape.
Step 6: Adding Final Details
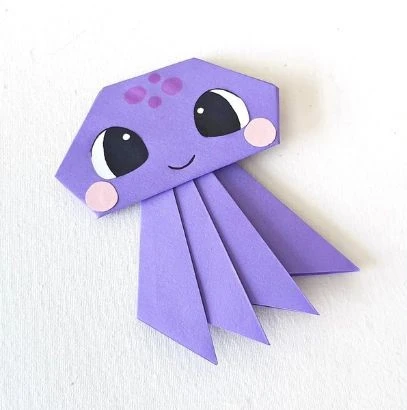
Cut out two small circles from white paper for the eyes. Use a black marker to draw pupils in the center of the eyes. Cut out two small pink circles for blushing cheeks. Glue the eyes and cheeks onto the fish’s head. Draw a small, curved line to form a smiling mouth.
Conclusion
Congratulations! You have successfully made a beautiful origami fish. This simple yet elegant paper fish is great for decorations, crafts, or even storytelling activities. Try making more origami fish in different colors and sizes to create an entire school of fish.
Origami is not only fun but also a great way to improve hand-eye coordination and patience. Enjoy crafting, and keep exploring more origami designs!