
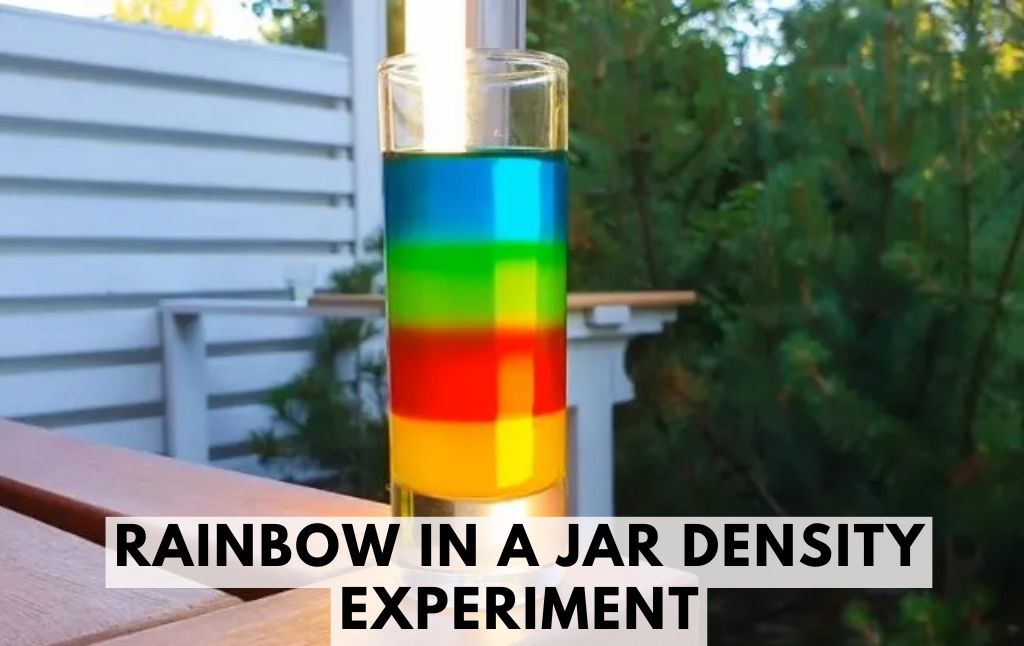
Science experiments are always a fantastic way to engage kids in learning, and this Rainbow in a Jar Density Experiment is no exception!
With just a few kitchen ingredients, you can create a beautiful, layered rainbow while exploring the concept of liquid density and solubility. Follow this step-by-step guide to create your very own rainbow in a jar!
Materials Needed:
- 4 glasses or cups
- 1 cup of warm water per glass
- Sugar
- Measuring teaspoons and cups
- Food coloring
- Spoon for stirring
- Baster or pipette
- Clear jar or test tubes
Step 1: Prepare the Water
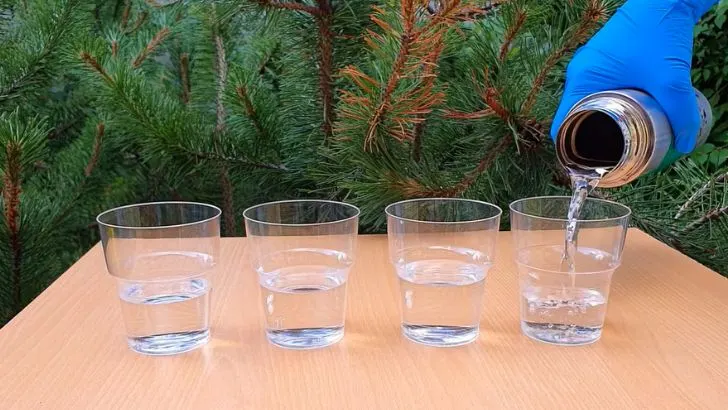
Set out 4 glasses.
Measure and pour 1 cup of warm water into each glass.
Explain the importance of having the same amount of water in each glass to ensure accuracy in the experiment.
Step 2: Create Sugar Solutions with Different Densities
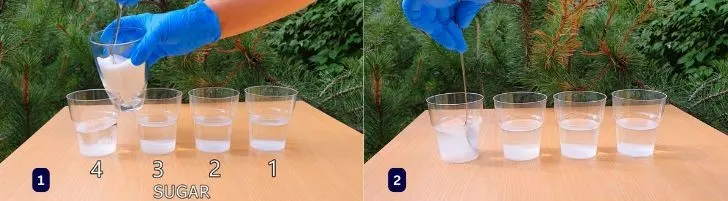
Each glass will contain a different concentration of sugar. The more sugar in the water, the denser it will be.
Blue: 1 tablespoons of sugar
Green: 2 tablespoons of sugar
Red: 3 tablespoons of sugar
Yellow: 4 tablespoons of sugar
Stir each glass thoroughly until as much sugar as possible is dissolved.
The result is a set of sugar solutions with different densities.
Step 3: Add Food Coloring
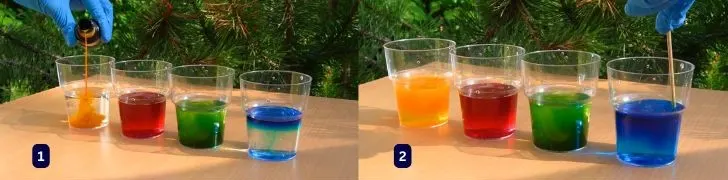
Add a few drops of food coloring to each glass of water.
If desired, let your child mix colors to create new shades!
Stir well so the colors are evenly distributed.
Tip: Using four colors (blue, green, red, and Yellow) works best for this experiment.
Step 4: Layer the Colored Solutions in a Jar
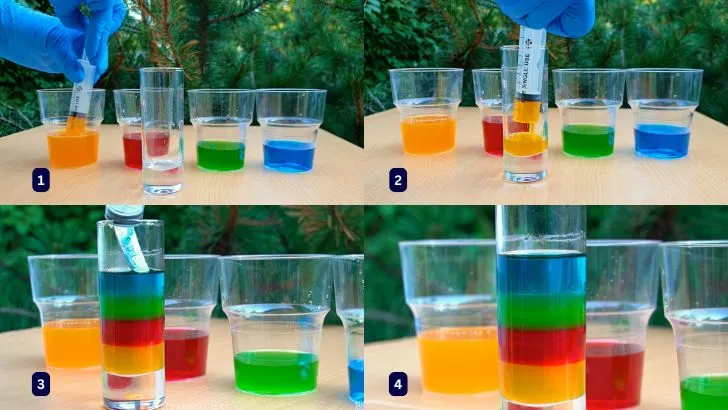
Now it’s time to create the rainbow effect!
Use a baster or pipette to slowly add the densest solution (yellow) first into a clear jar or test tube.
Next, carefully add the red solution, allowing it to settle on top of the yellow without mixing.
Slowly repeat with green, and finally, blue.
Pouring Tip: Slowly release each layer along the side of the jar to prevent mixing.
Optional: If you’re doing this experiment with younger kids, try layering just two colors first before moving on to the full rainbow.
Step 5: Observe the Rainbow Effect
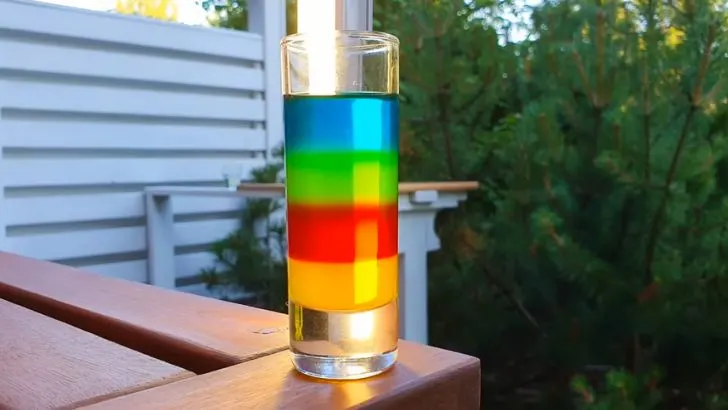
Look at how the colors stay separate instead of mixing!
The denser solutions remain at the bottom, while the less dense solutions stay on top, forming a beautiful rainbow.
How It Works: The Science Behind the Experiment
Density refers to how much “stuff” is packed into a given space. In this experiment, adding more sugar to the same amount of water increases the density of that solution.
The yellow solution (most sugar) is the densest, so it stays at the bottom.
The Blue solution (least sugar) is the least dense, so it floats at the top.
Since each solution has a different density, they stack instead of mixing!
Using the Scientific Method
This experiment is a great opportunity to apply the scientific method! Here’s how:
Ask a question: “How does the amount of sugar affect the layering of colors?”
Make a hypothesis: Predict which solution will be the densest and which will be the least dense.
Experiment: Follow the steps to create the rainbow in a jar.
Observe: Record whether the layers stay separate or mix together.
Analyze results: Compare your observations to your hypothesis.
Turning It Into a Science Fair Project
You can extend this activity into a full science fair project by testing variables such as:
Using different liquids (e.g., saltwater, oil, or honey) instead of sugar water.
Experimenting with temperature changes to see how they affect density.
Testing different amounts of sugar to determine the perfect balance for layering.
Final Thoughts
The Rainbow in a Jar Density Experiment is a visually stunning and engaging way to teach kids about liquid density, solubility, and color mixing. Try this at home and have fun exploring the wonders of science!
Let us know in the comments if you tried this experiment and how your rainbow turned out! 🌈✨
Kids Activities
Looking for more fun kids activities and other ideas to keep kids engaged, learning, and having fun? Check out these:
Disappearing Color Science Experiment: A Fun and Magical Trick!
Hot and Cold Balloon Science Experiment for Kids
Soda and Mentos Geyser Activity: A Fun and Explosive Science Experiment!
Dancing Rice Science Experiment for Kids
How to Make a Rubber Band-Powered Flying Paper Cup Helicopter


