
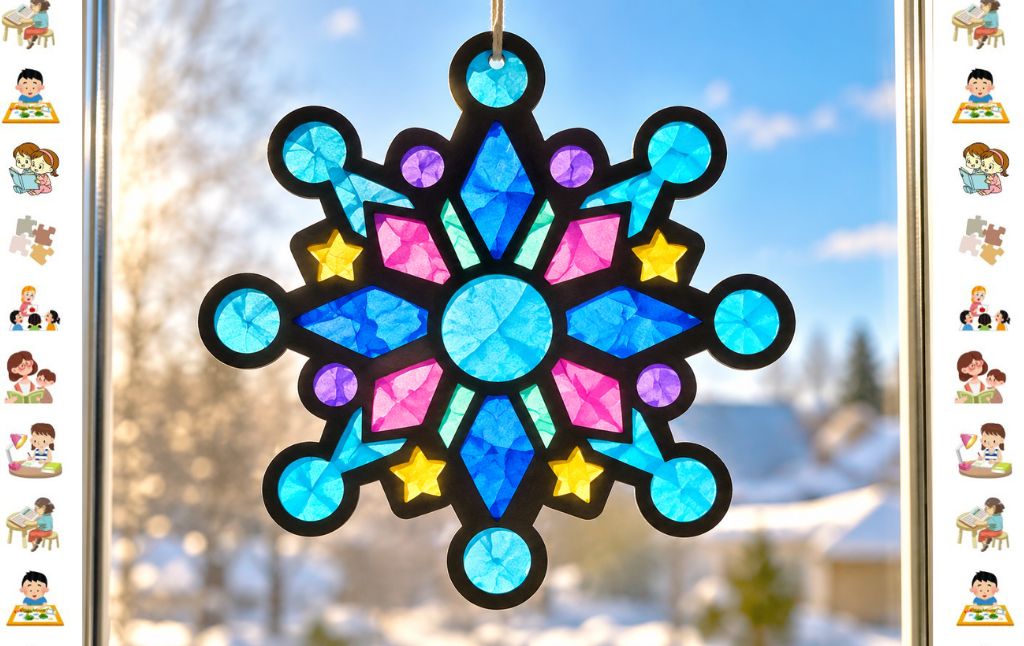
We love creating diy suncatchers.
They’re such a fun little project for children of all ages. They’re an easy craft for kids that are not only so much fun to make but they work on really great things like fine motor skills.
Today, we’re excited to add this simple paper snowflake craft to our growing collection of suncatcher crafts for kids.
A snowflake shape is attached to a sticky piece of contact paper that children decorate with colorful squares of tissue paper to create a beautiful stained glass snowflake.
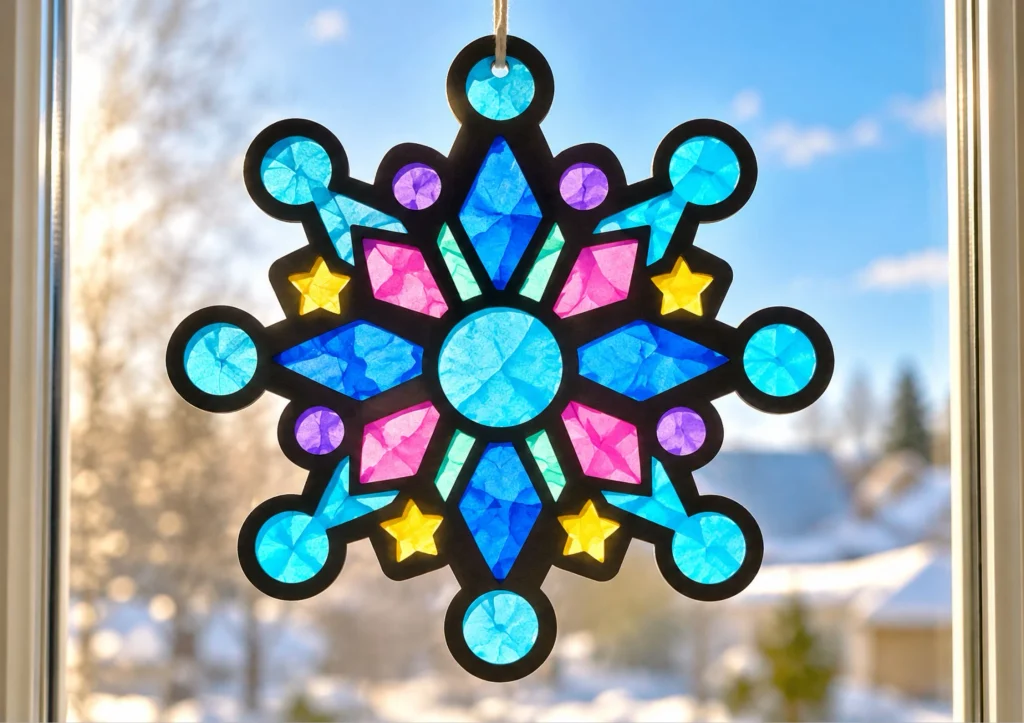
The best part? Children will proudly want to display their snowflake crafts in the window so they can reflect winter sunlight.
Want even more winter fun? Pair this craft with our Christmas Tree Sun Catcher Craft for a whole window full of sparkling holiday decorations.
Craft Supplies
- Construction paper in a variety of colors (white, blue, purple, silver, or any shade you like)
- Scissors
- Pencil or marker
- Tissue paper in a variety of colors, cut into small squares or triangles
- Contact paper
- Self adhesive gems (optional)
- Glue dots or double sided tape for displaying your finished snowflake
Instructions
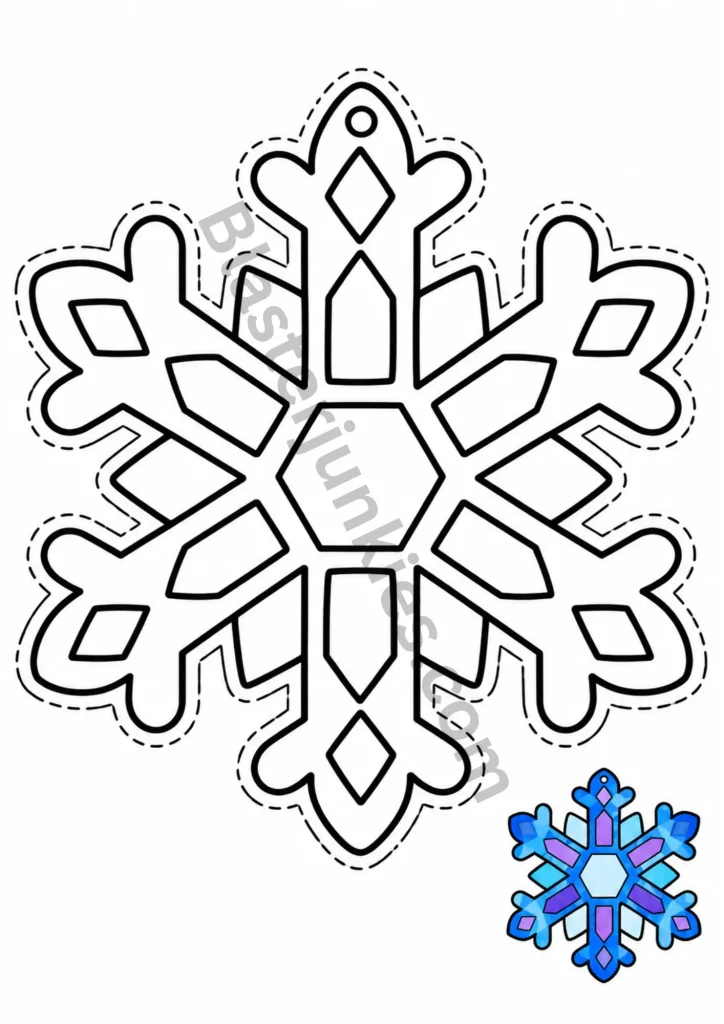
Step 1: Create your snowflake shape by using the printable template included above.
This step can be a little tricky for younger children, so plan to give little ones some help with cutting out all the small details.
Step 2: Make your tissue paper pieces by cutting tissue paper in your choice of colors into small shapes.
We like cutting ours into squares and triangles to give the finished snowflake suncatcher some extra texture and visual interest.
Step 3: Using tape, stick your contact paper down on your work surface with the sticky side facing up.
Place your snowflake template on top of the contact paper. Use your fingers to smooth down all the edges so it lays flat.
A couple pieces of painters tape on the corners will help keep the contact paper from shifting while you work.
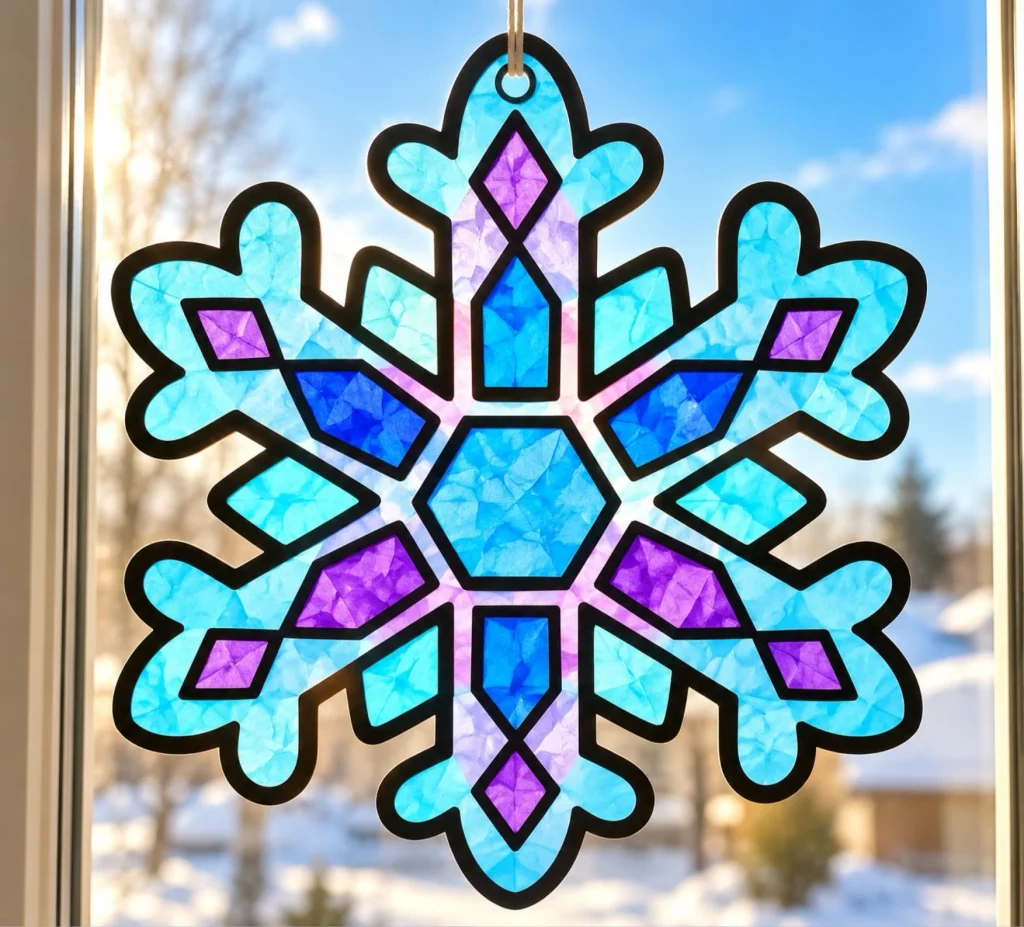
Step 4: Start sticking small pieces of tissue paper to the sticky surface inside the snowflake shape until every open space is covered.
You do not need to cover the outside edges, since that excess strip gets trimmed away later.
Step 5: Trim off the excess contact paper around the outside of your snowflake.
Young children may need some help with this part. We found it easiest to flip the snowflake sticky side down before trimming the edges.
Add self adhesive gems here if you want your snowflake to sparkle a little extra in the sunlight.
Step 6: Proudly display your finished snowflake suncatcher craft in a window.
A glue dot or small piece of double sided tape at the top makes hanging it up quick and easy.
Pair It With More Winter Fun
This craft fits beautifully into a whole afternoon of cozy, screen free winter activities. Here are a few of our favorites to enjoy alongside it.
If your kids love a calm coloring project, the Christmas Color By Number Worksheets are a lovely way to settle in before crafting.
For a bit of silly fun afterward, the Free Christmas Cootie Catcher Printable is always a hit with kids of all ages.
Let’s Keep In Touch
This simple snowflake suncatcher craft was so much fun to make.
It’s the perfect activity for encouraging some screen free creativity on a cold winter afternoon.
Are you planning to make this snowflake suncatcher craft with the kids in your life? We’d love to see your completed snowflake when you’re done.
Snap a photo of your finished craft and share it with us. We love seeing our reader creations.

Counting down the days until Christmas? The Christmas Countdown For Kids Craft pairs nicely with this project.
Little ones who love a hidden picture challenge will enjoy the I Spy Christmas Worksheet as a quiet follow up activity.
And if your kids are already dreaming of their gift list, the Christmas Wish List Template For Kids makes a sweet addition to your winter craft day.

Leave a Reply