
Origami, the ancient Japanese art of paper folding, is a fun and creative way to make different shapes and designs using only a piece of paper.
One of the easiest and most enjoyable projects for beginners is making an origami fish. In this guide, we will take you through the step-by-step process to create your own origami fish.
Materials Needed
- One square sheet of paper (preferably 6×6 inches)
- A flat surface for folding
- Optional: Colored or patterned paper for a decorative look
- A marker or small piece of white paper for the eye
Step-by-Step Instructions
Step 1: Prepare Your Paper
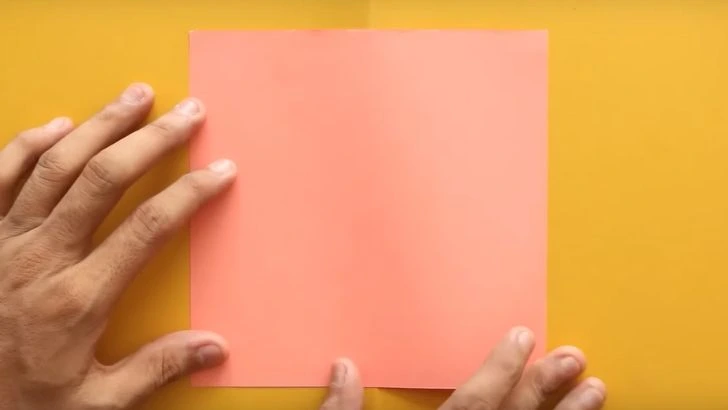
Take a square sheet of paper. Using a bright color like yellow or pink can make your fish look more vibrant.
Place the paper on a flat surface in a diamond position (one corner pointing up).
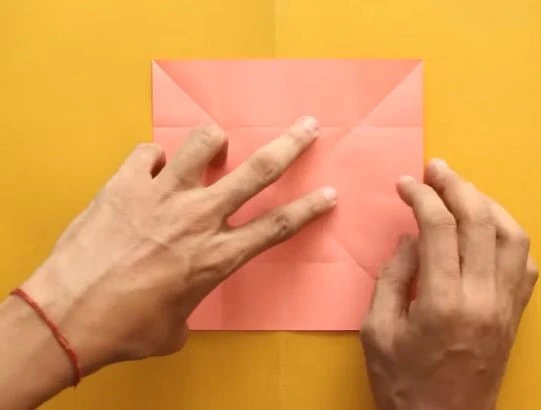
Step 2: Make Crease Marks
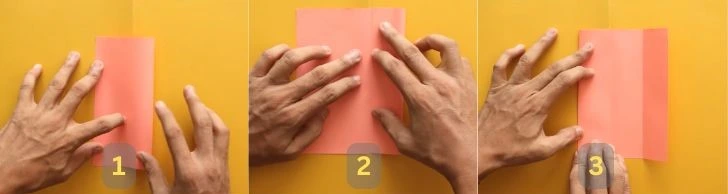
Without folding the entire paper in half, lightly fold to mark the creases on two opposite sides horizontally.
Open the fold and do the same vertically, marking another crease without fully folding.
These creases will serve as guidelines for future folds.
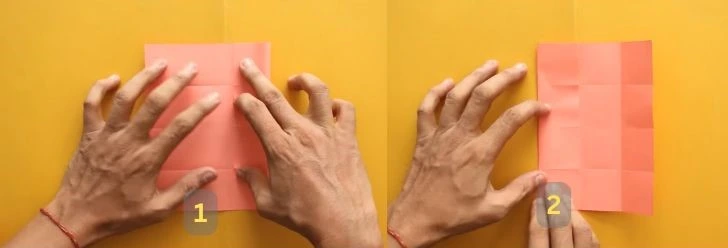
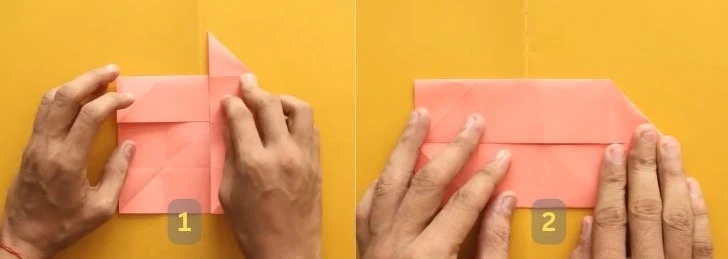
Step 3: Fold the Paper

Take one side of the paper and fold it along the half-crease mark.
Fold the opposite side in the same way, aligning it with the previously folded edge.
Unfold the last two folds so that the crease marks remain.
Step 4: Create Diagonal Creases
Fold the paper diagonally by bringing two opposite corners together.
Press gently to create diagonal creases only in the corner grid sections.
Step 5: Form the Fish’s Body
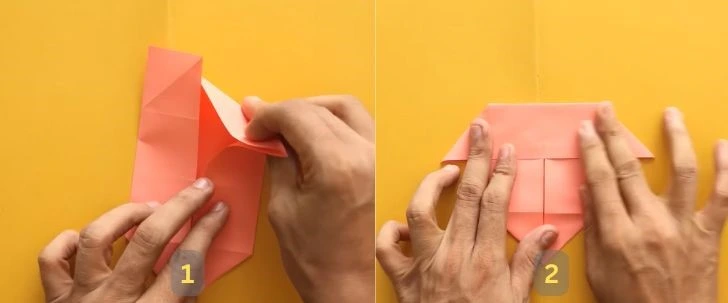
Fold two opposite sides of the paper towards the center along the half-crease.
Flatten most of the paper, leaving one side slightly open.
Step 6: Create the Fish’s Tail

Take any two flaps and fold them outward.
Align the right flap along the edge of the top flap and crease it.
Fold the right flap in half and press outward—this forms half of the fish’s tail.
Repeat the same step with the left flap to complete the tail fin.
Step 7: Shape the Fish’s Head
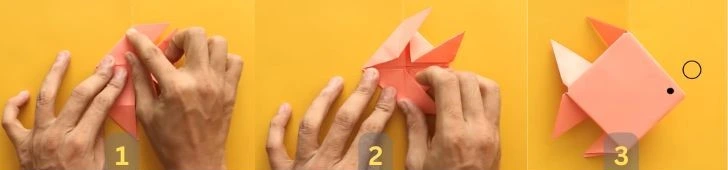
Fold the top-right side at a 45-degree angle so that it aligns with the center of the model.
Repeat the fold on the left side to create symmetry.
Step 8: Final Touches
Flip the paper over to see the fish shape.
Cut out a small circle from white paper and draw an eye.
Attach the eye to the fish’s head using glue or tape.
Your origami fish is now complete!
You can adopt this Creative Variations
Use different colors or patterned paper to create a unique fish design.
Add scales using a marker for extra detail.
Create multiple fish and hang them to make an origami mobile.
Tips for Perfect Origami Fish
Ensure each fold is crisp for a neater final result.
Use thicker paper for better durability.
Experiment with different paper sizes to create various fish sizes.
Conclusion
Making an origami fish is an easy and enjoyable craft for beginners and kids. With just a few folds, you can create a cute fish that can be used for decoration or play.
Try making a whole school of fish with different colors and sizes. Happy folding!


