Dyeing eggs is a fun and creative activity, especially during Easter! One of the most beautiful and easy ways to decorate eggs is by using shaving cream and food coloring.
This simple technique creates stunning, marbled eggs that look like little works of art. Whether you’re crafting with kids or just want to try a unique way to color eggs, this method is a must-try.
Read on to learn how to make your own beautiful shaving cream eggs!
Materials Needed:
- Eggs
- White vinegar
- Shaving cream (or whipped cream if you plan to eat the eggs)
- Food coloring
- Toothpicks or skewers
- Disposable gloves
Step-by-Step Instructions
Step 1: Prepare the Eggs
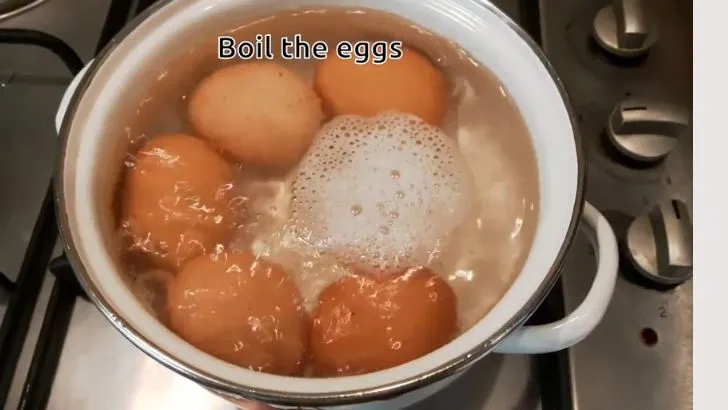
Start by making hard-boiled eggs. You can boil them traditionally on the stove or use an Instant Pot for convenience. Let the eggs cool completely before moving to the next step.
Step 2: Soak the Eggs in Vinegar
Place the cooled eggs in a bowl of white vinegar for about 30 minutes. This step helps the dye adhere to the eggshell, making the colors more vibrant.
Step 3: Prepare the Shaving Cream
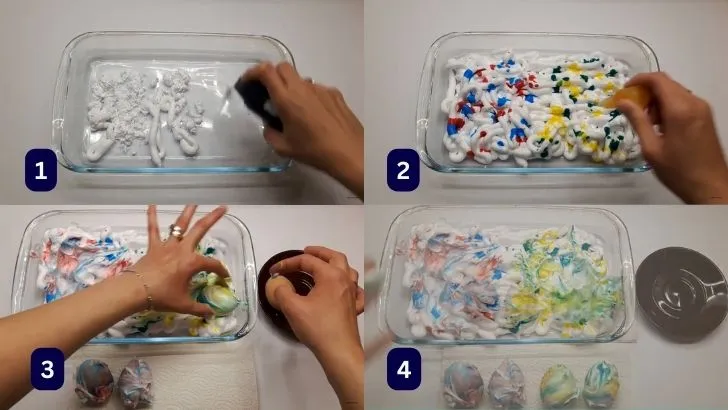
Cover the bottom of a container with a thick layer of shaving cream. If you want to eat the eggs after dyeing, use whipped cream instead of shaving cream. You can smooth out the surface with a spatula if needed.
Step 4: Add Food Coloring
Drop different colors of food coloring onto the shaving cream. Use a toothpick or skewer to swirl the colors together, creating a marbled effect. Be careful not to overmix, as blending too much can result in a muddy color.
Step 5: Roll the Eggs in the Shaving Cream
Wearing disposable gloves, gently roll the eggs in the colorful shaving cream, making sure to cover all white areas of the eggshell. Avoid dropping the eggs into the mixture, as this can cause the colors to blend too much.
Step 6: Let the Eggs Dry
Carefully place the dyed eggs onto a paper towel or baking sheet and let them sit for at least 30 minutes. For richer colors, allow them to dry for a few hours.
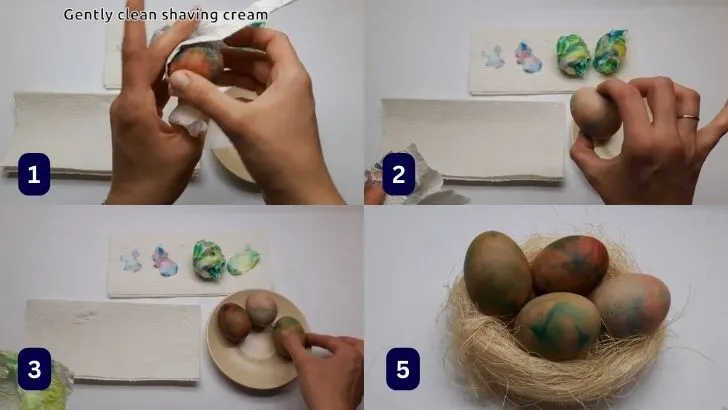
Step 7: Rinse and Pat Dry
Once the eggs have set, gently rinse off the shaving cream with water. Use a paper towel to pat them dry, but be careful not to rub too hard, as this can remove some of the dye.
Final Thoughts
And that’s it—your beautiful shaving cream eggs are ready! Each egg will have a unique, marbled design, making them a wonderful addition to your Easter decorations.
This method is perfect for families with young kids, as it’s both fun and easy to do. Enjoy the process and happy egg decorating!