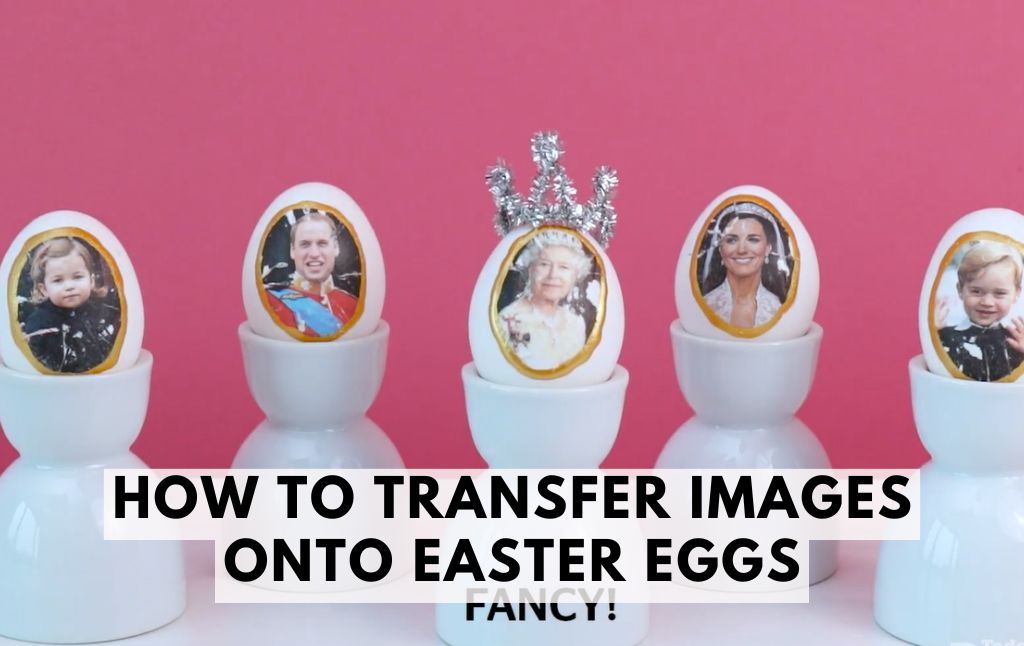
Tired of the same ol’ dip-dye Easter eggs? Looking to make your Easter decor a little more picture perfect this year? Well, you’re in for a treat!
This easy DIY project will show you how to transfer images onto Easter eggs, turning plain eggs into miniature works of art.
Whether it’s floral patterns, vintage prints, cute bunnies, or even your kid’s favorite cartoon character, this method adds a personal touch that’s bound to wow.
Let’s get cracking!
What You’ll Need:
- White hard-boiled or blown-out eggs (real or faux eggs)
- Tissue paper or napkins (white works best)
- Regular printer paper
- Inkjet printer
- Scissors
- Glue stick or Mod Podge
- Foam brush or paintbrush
- Tape (preferably double-sided or scotch tape)
Step-by-Step Instructions
Step 1: Choose Your Images
Select your favorite Easter-themed images — think pastel florals, bunny silhouettes, chicks, crosses, or even family photos! Keep in mind that small images work best since they’ll need to fit the curve of the egg.
Tip: Mirror the images (especially text) before printing so they transfer correctly!
Step 2: Print Onto Tissue Paper
Carefully tape a piece of white tissue paper onto a regular sheet of printer paper. Make sure the tissue is flat and secure.
Load the paper into your inkjet printer so the tissue side will be printed on.
Print your images in color or black and white — both work beautifully!
Let the ink dry for a minute or two before handling.
Step 3: Cut Out the Designs

Cut around each image, leaving a thin border. If you’re using napkins, you’ll want to peel away all but the top printed layer before cutting.
Step 4: Apply the Images
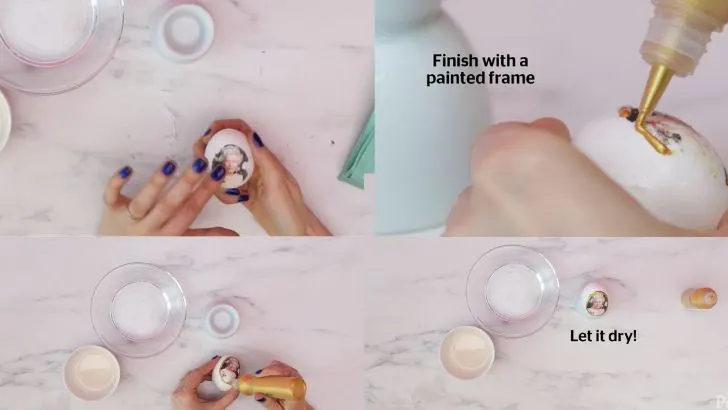
Use a glue stick or Mod Podge to lightly coat the area of the egg where the image will go.
Gently press the cut-out image onto the egg, smoothing out any wrinkles.
Apply a thin layer of Mod Podge over the top with a foam brush to seal it.
Let it dry completely. Voilà — your image is now part of the egg!
Optional: Add glitter, tiny rhinestones, or ribbon around the egg for extra flair!
Egg-cellent Display Ideas:
Nest them in a rustic basket filled with shredded paper or moss
Display them in egg cups or on a cake stand as a centerpiece
Use them in an Easter egg hunt for older kids (the fancy edition!)
Gift them as keepsakes with names or sweet messages
Why You’ll Love This Easter Craft:
Personalized: Use family photos, favorite quotes, or initials.
Mess-Free: No dyes or messy colors — just print and paste!
Creative & Fun: Great for older kids, teens, and adults.
Beautiful Decor: Perfect for tablescapes, mantels, or Easter brunch settings.
Final Thoughts
Transferring images onto Easter eggs is an elegant and fun way to upgrade your spring crafting game. Whether you’re crafting solo, with your kids, or hosting an Easter-themed crafternoon, this project guarantees eggs-tra special results.
So go ahead — print, paste, and personalize your way to Easter egg magic!
Happy Easter & Happy Crafting!
For more Easter fun and creative craft ideas, check out the rest of our DIY holiday projects!
How To Make Paper Handprint Bunnies for Kids
How To Make: Adorable Macrame Bunnies for Easter
Easy DIY: How to Make an Easter Bunny Lollipop for Young Kids
DIY Easter Bunny Ears Headband
Adorable Bunny Paper Chain Craft for Easter
The Easiest Easter Bunny Craft Using Unmatched Socks
Toilet Roll Easter Bunnies – Adorable DIY Craft for Kids & Parents
Easter Paper Plate Crafts for Kids – DIY Bunny Baskets & Rocking Rabbits!
Easy and Fun Easter Crafts for Kids – DIY Potato Stamp Easter Eggs!