
Looking for a craft that’s part art, part science, and 100% magical for your little ones?
You’ve come to the right place! This Blooming Paper Flower activity is an enchanting way to spend an afternoon, combining a simple papercraft with a delightful “wow” moment that kids will want to experience again and again.
When you spray these special flowers with water, they magically bloom right before your eyes! It’s a fantastic activity for spring, a lesson on plants, or just some rainy-day fun. Let’s make our own magical garden.What You’ll Need:
What You’ll Need:
- Paper (regular printer paper works perfectly)
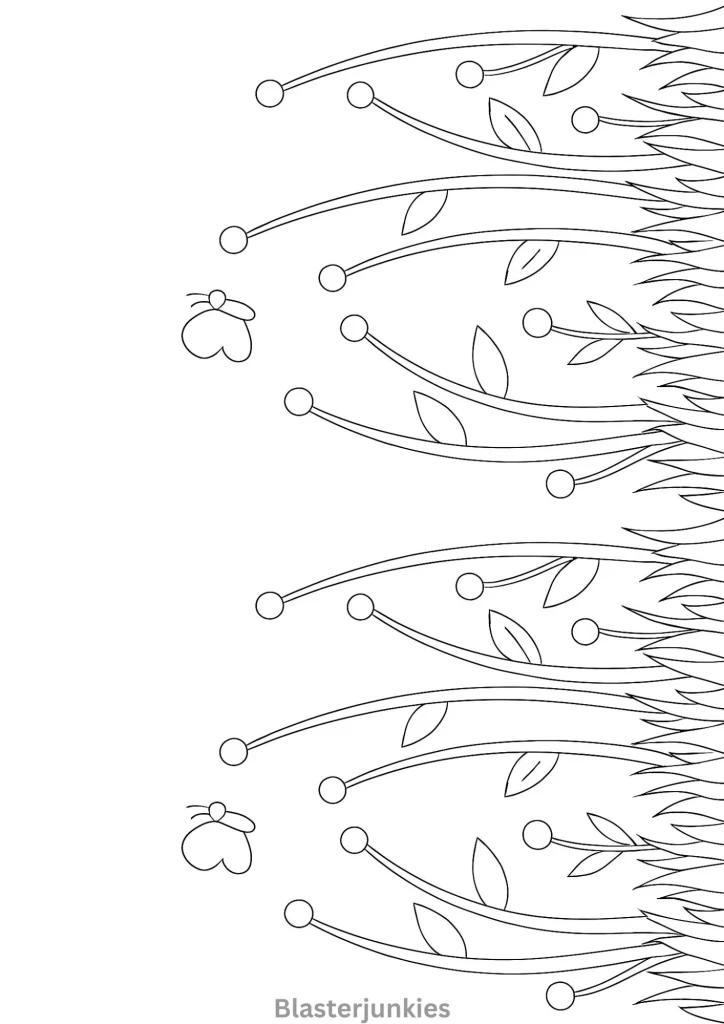
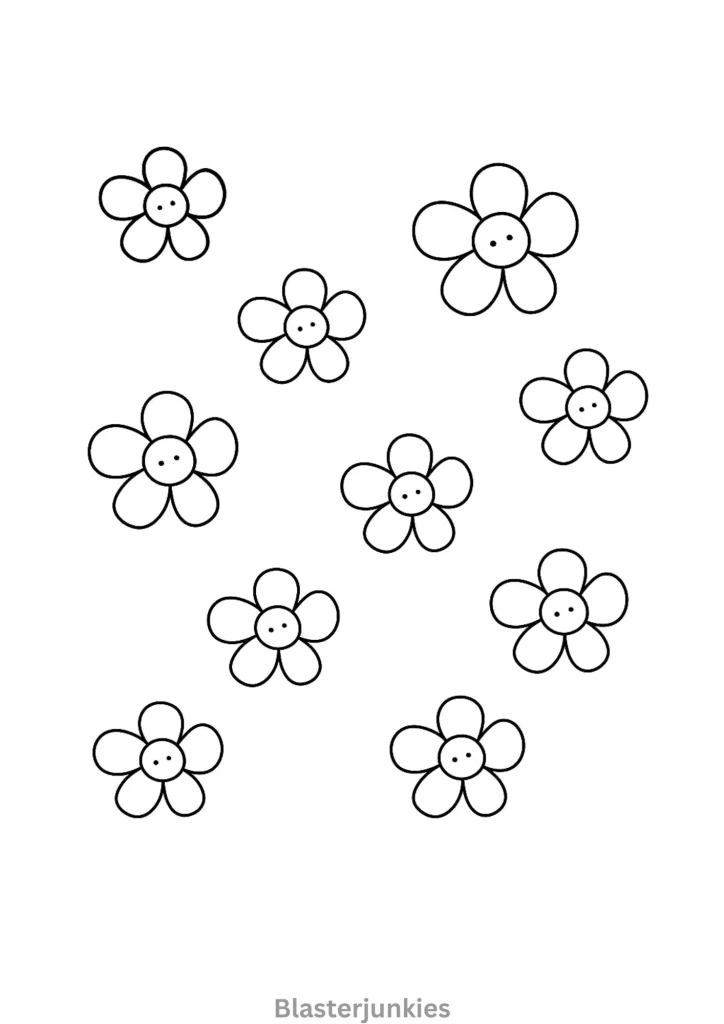
- Printables of a grassy background and colorful flowers (or you can draw your own!)
- Scissors
- Laminator and laminating pouches
- Glue dots or a tape runner
- A spray bottle
- Water
- Painter’s tape or another gentle tape for hanging
Step-by-Step Instructions:
Step 1: Prepare Your Flowers
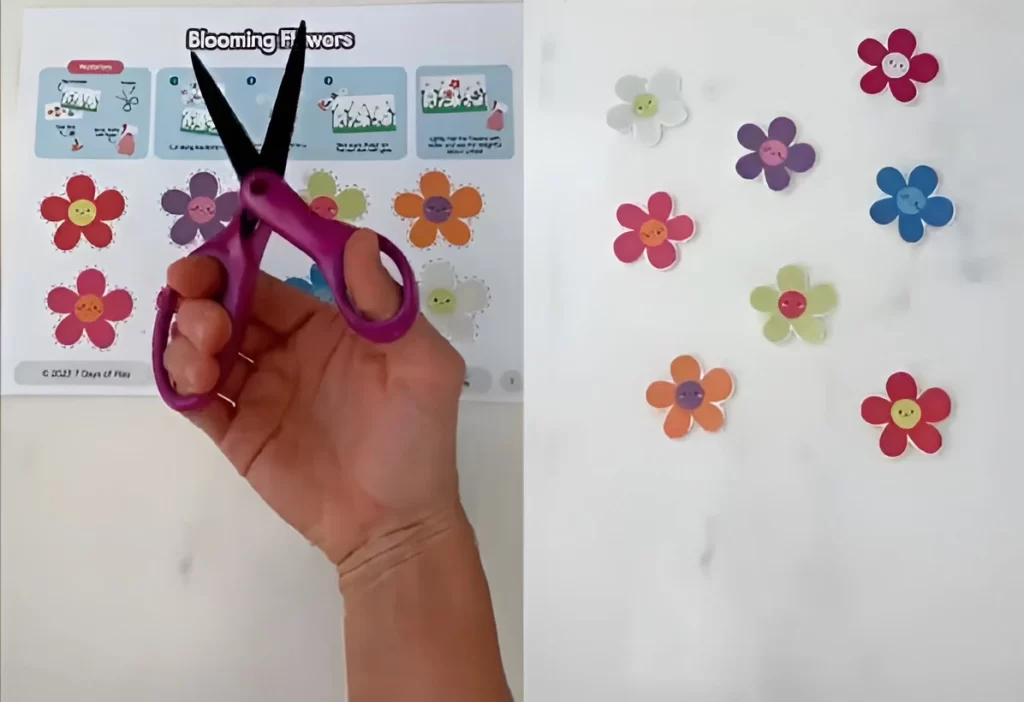
Start with your flowers. If you’re using a printable, print them out on a sheet of paper. If you’re feeling creative, draw and color your own! Once you have your sheet of flowers, carefully cut each one out.
Step 2: Fold the Flower Buds
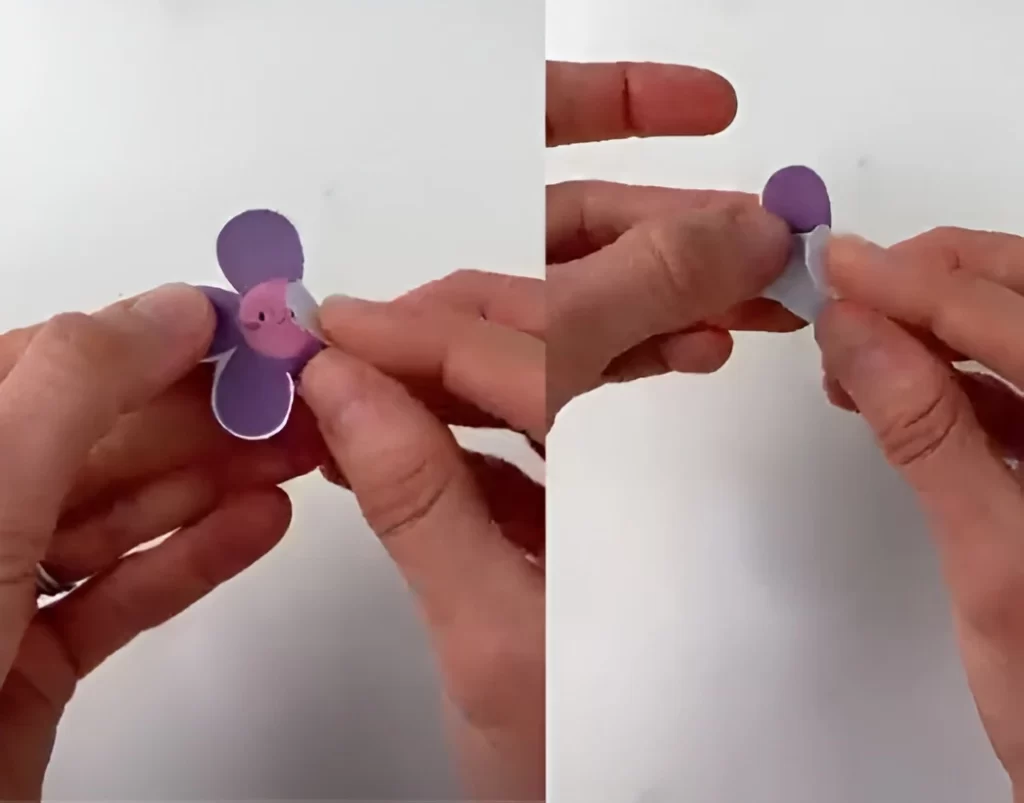
This is the secret to the magic! Take one of your cut-out flowers and gently fold each petal inward toward the center, one by one. You’re essentially closing the flower up to look like a small, colorful bud. Set your folded flower buds aside.
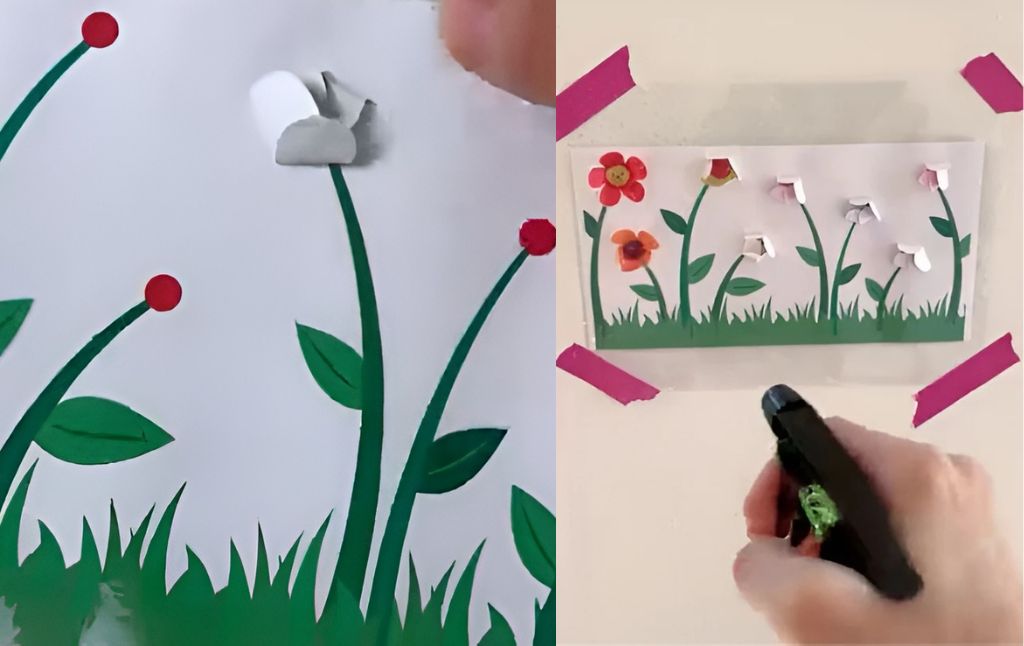
Step 3: Create and Laminate Your Garden Scene
Next, create your background. You can print a simple scene of grass and flower stems or draw one yourself.
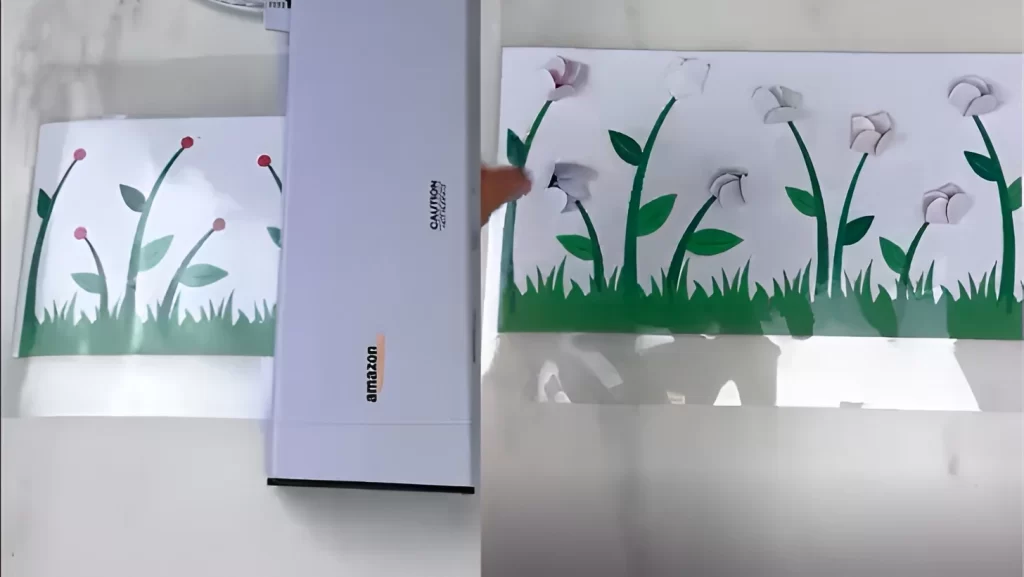
To make this activity reusable and waterproof, place your background sheet inside a laminating pouch and run it through a laminator. This will protect the background from the water and provide a sturdy base for your garden.
Step 4: Plant Your Flowers
Now it’s time to “plant” your flower buds. Using glue dots or a tape runner, apply a small dot of adhesive to the top of each stem on your now-laminated background.
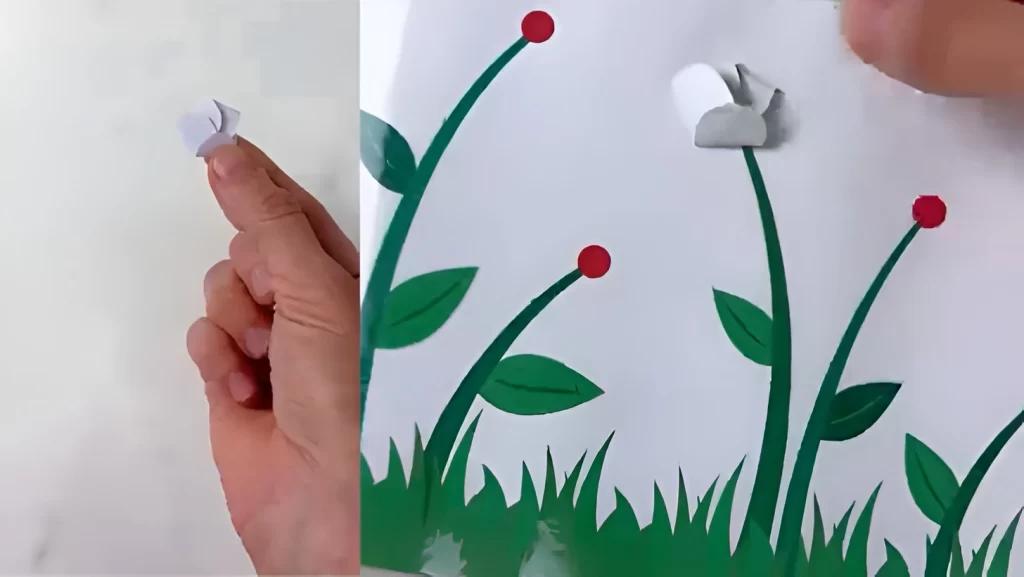
Take your folded paper buds and gently press them onto the adhesive spots. Your garden is now ready!
Step 5: Let the Magic Begin!
Tape your completed garden scene to a wall, a window, or even the side of the bathtub. Fill your spray bottle with plain water.
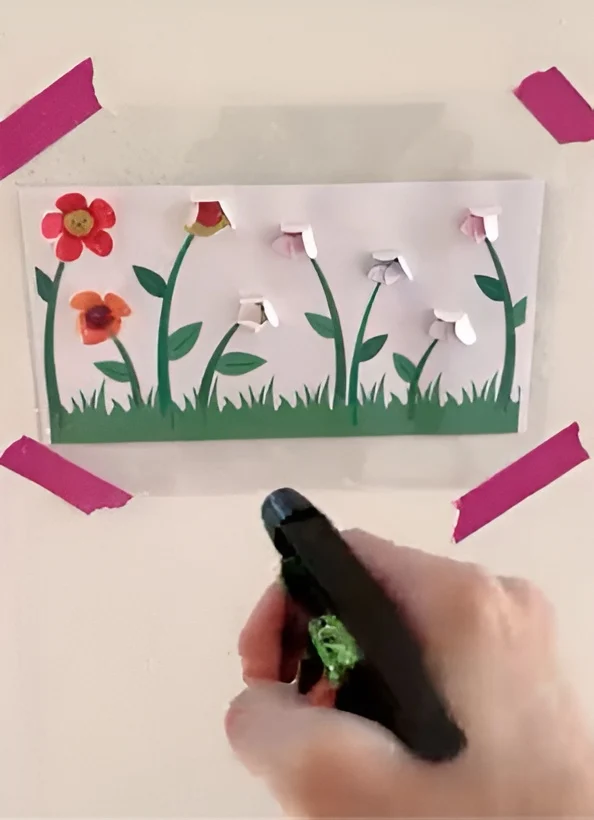
Hand it to your child and let them “water” their garden. As the paper flowers absorb the water, the fibers will expand, causing the petals to slowly open and “bloom,” revealing the colorful flowers inside!
How Does It Work?
This craft is a simple and beautiful demonstration of capillary action. The paper fibers in the flowers absorb the water, causing them to swell and get heavier.
This process makes the folds unfurl, creating the blooming effect. It’s a perfect little STEAM (Science, Technology, Engineering, Art, and Math) lesson hidden in a fun activity!
The best part? Once the flowers have dried, you can gently re-fold the petals and do it all over again.
Kids Activities
Looking for more fun kids activities and other ideas to keep kids engaged, learning, and having fun? Check out these:
Splat! Create a Hilariously Fun Poppable Bug Craft
Galaxy Jars DIY: A Complete Guide
How to Make a Mini Crossbow with Pencils
How to Make Paper Pinwheels: A Fun DIY Craft
How to Build a Catapult from Popsicle Sticks


