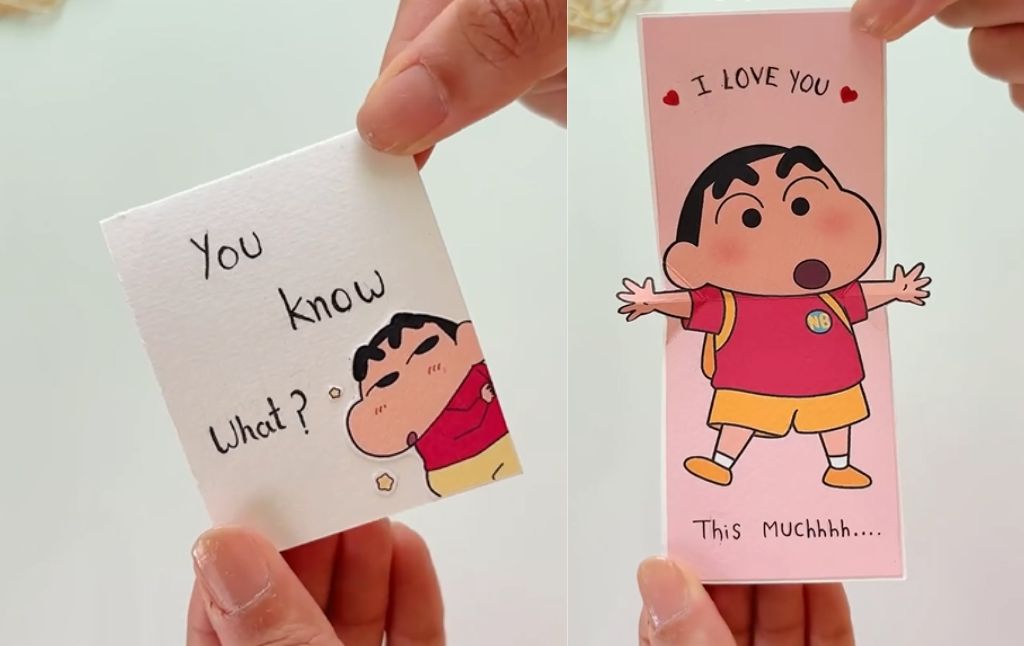
Looking for a unique and heartfelt way to tell someone you care? This adorable pop-up card is the perfect craft! It starts as a small, unassuming note, but opens up to reveal a character with wide-stretching arms, delivering a message of love in the cutest way possible.
This simple paper mechanism creates a wonderful surprise that is sure to make anyone smile. Let’s get crafting!
What You’ll Need:
- Colored cardstock (e.g., pink)
- White cardstock
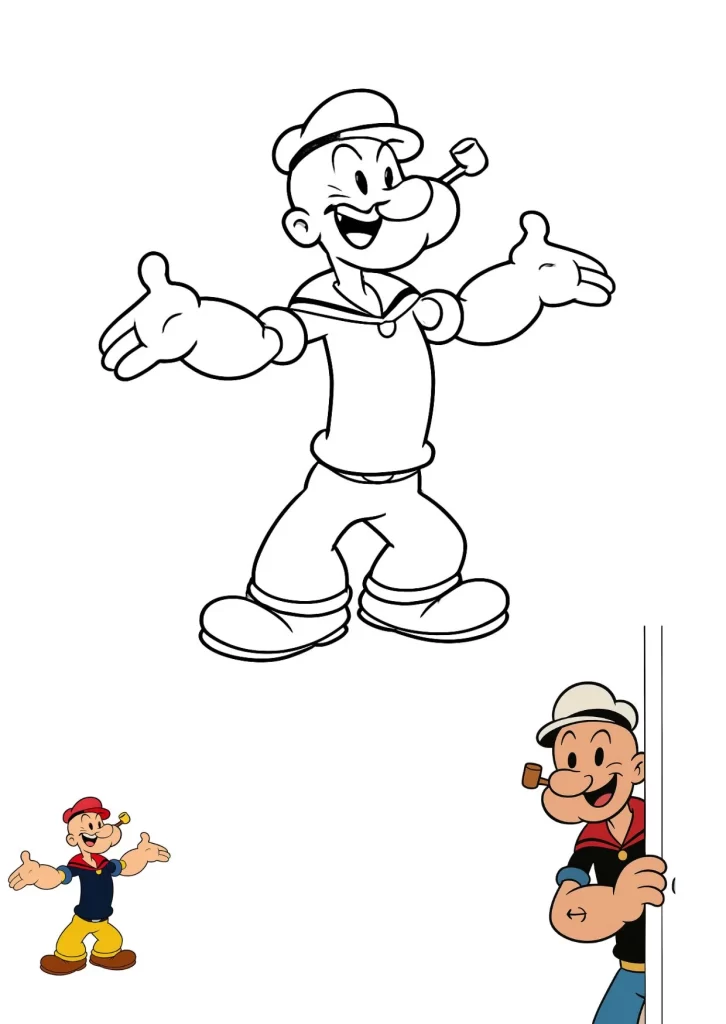
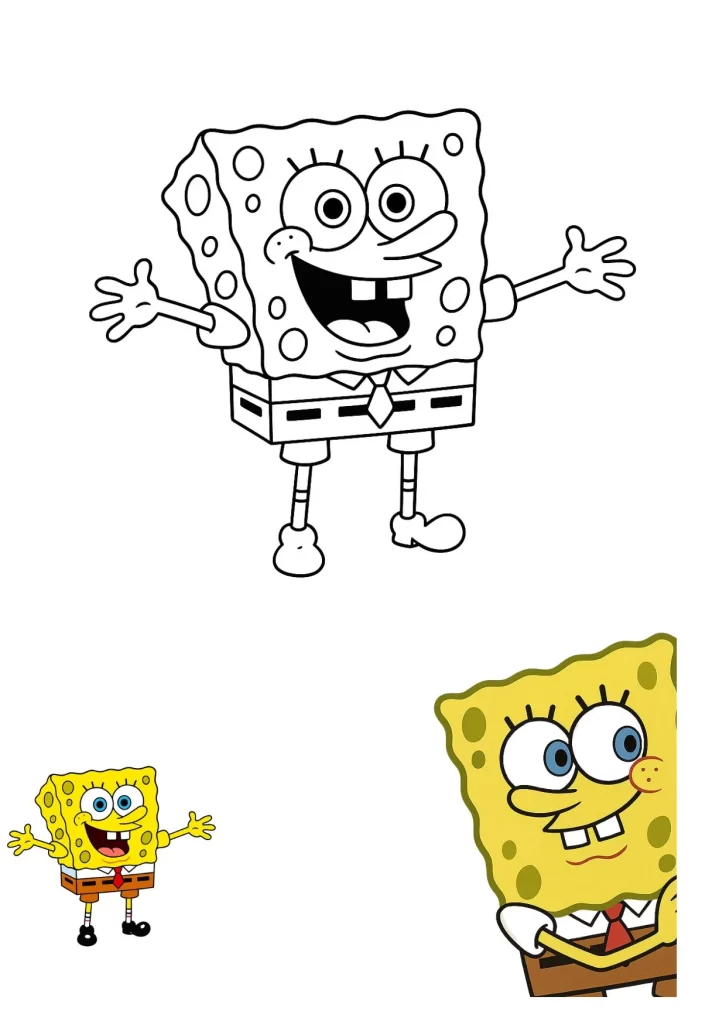
- A printed or hand-drawn picture of your favorite character (like Shinchan)
- Scissors
- A ruler
- A pencil
- Adhesive (a tape runner or glue stick works best)
- A pen for writing messages
Step-by-Step Instructions:
Step 1: Prepare Your Character Panel
The magic begins with the main character illustration. You can either create your own character illustration or make the process easier by using our free printables.
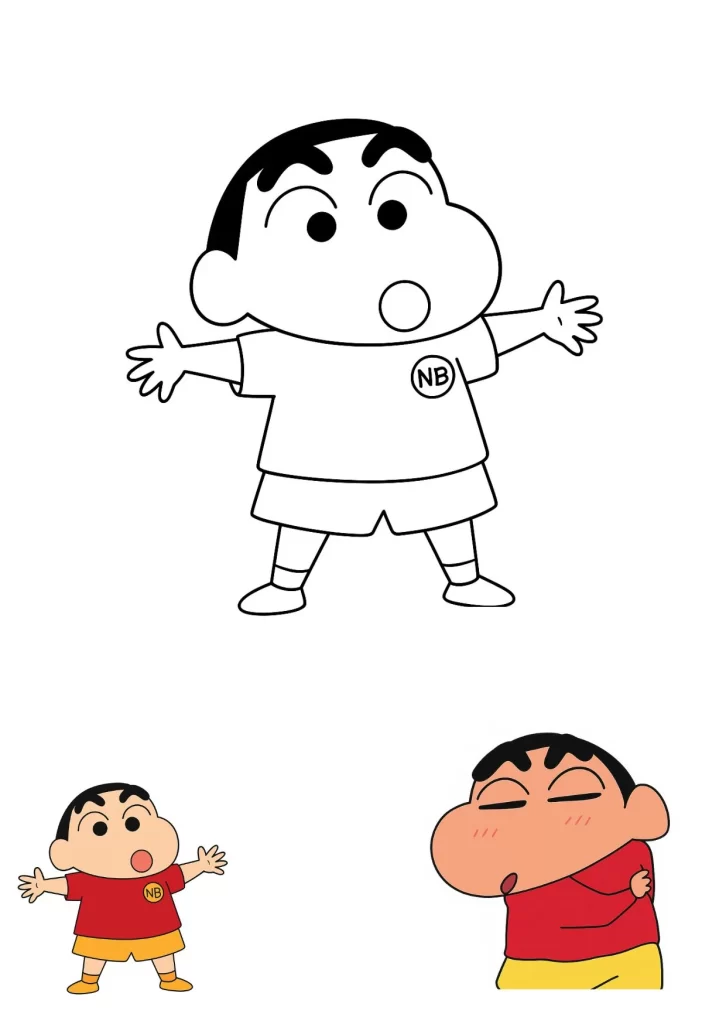

Start with your character printed or drawn on a rectangular piece of colored cardstock.
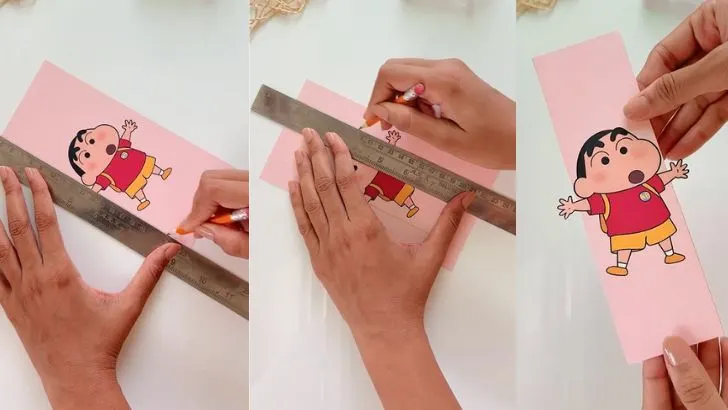
Using scissors, carefully cut around the outside of the character’s arms and the top of their head, leaving them attached to the central part of the paper.
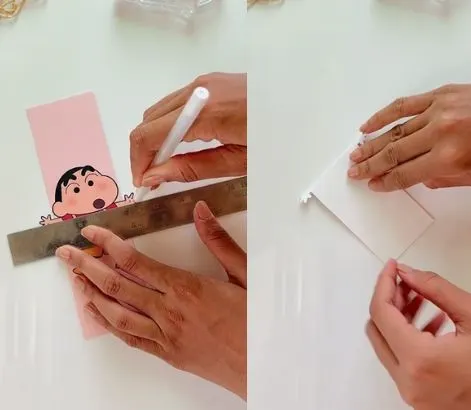
Now, using a ruler, fold the cardstock in the middle so that the character’s hands can move easily.
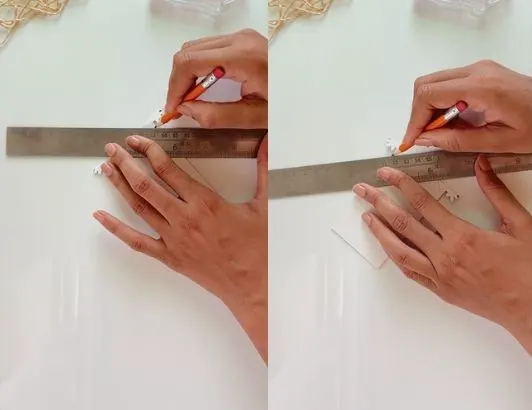
For the clever locking mechanism, fold the cardstock in the middle, then use a pencil and ruler to draw small diagonal lines across the top and bottom corners.
Now fold the character’s hands inward along the diagonal lines into the cardstock.
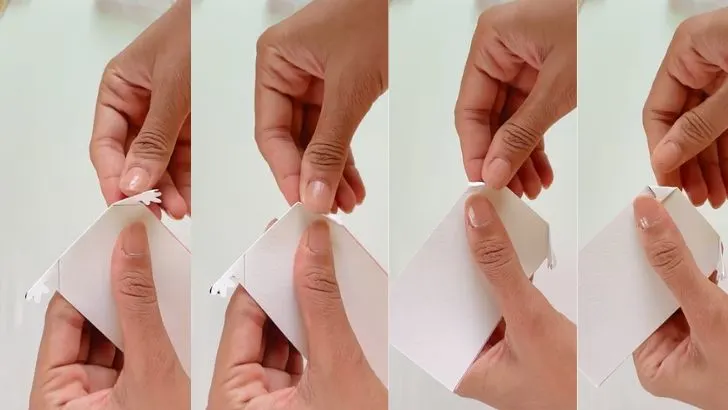
Open the cardstock and take the character’s paws that are sticking out of the frame, then flip them in the middle and fold them inward.
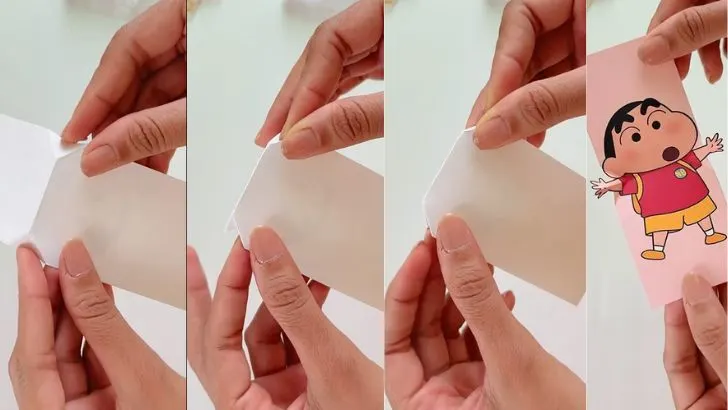
Flip the cardstock over and fold the diagonal area along with the character’s hands inward into the cardstock, then press firmly to make a clean fold.
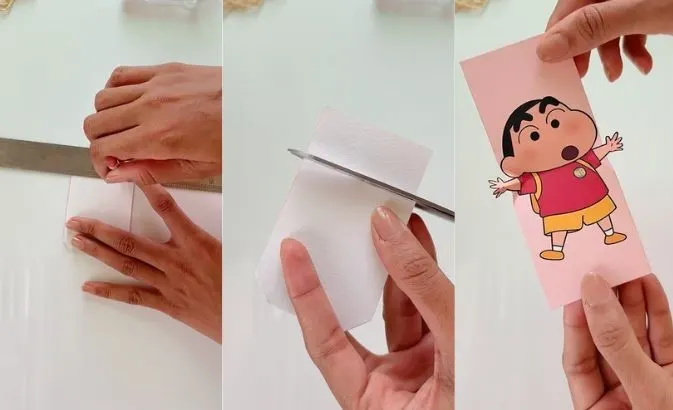
Next, make two straight, horizontal cuts across the cardstock—one just above the character’s head and another just below their feet. This will create a central strip with the character on it.
Step 2: Create the Outer Sleeve
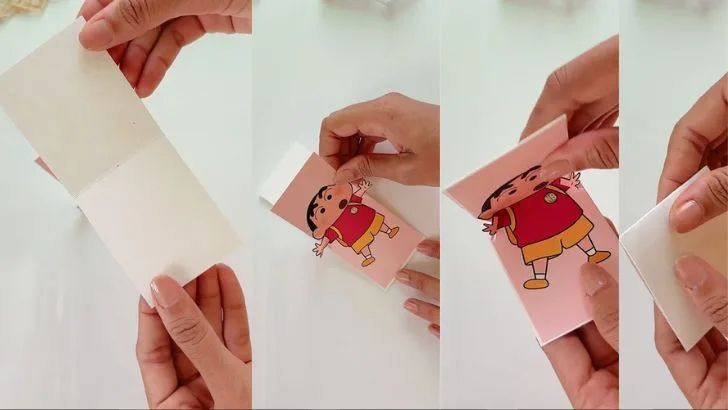
Take a piece of white cardstock and place it so that it only covers the back side of the character’s body. Make sure the character’s paws remain outside the white cardstock.
Now, using a tape runner or glue stick, attach this white cardstock to the back of the colored cardstock.
Step 3: Add the Finishing Touches
The final details make the card extra special.
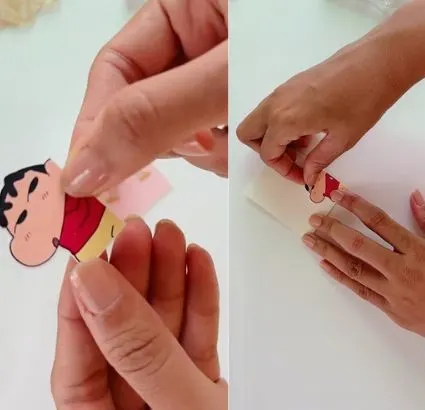
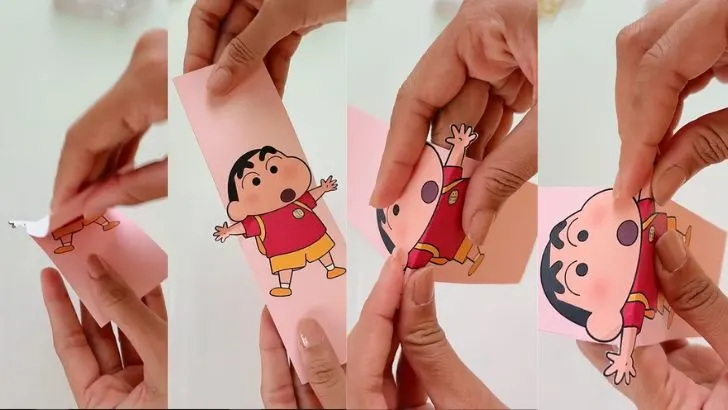
To complete the surprise, you can attach a smaller, separate drawing of the character’s head onto the front of the closed card.
Write a teaser message on the front, like “You know what?”
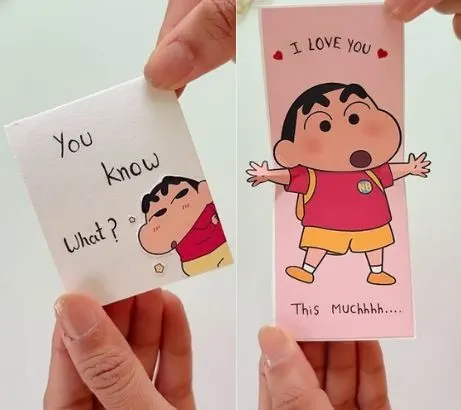
On the inside panel, write your reveal message. Position it so it makes sense when the card expands. For example, write “I LOVE YOU” at the top and “This MUCHHH….” at the bottom.
Now your card is ready! When you hand it to someone, they’ll open it, and the character will pop out with open arms, stretching out to deliver a giant hug and your sweet message.
Kids Activities
Looking for more fun kids activities and other ideas to keep kids engaged, learning, and having fun? Check out these:
Craft a Magical Color-Reveal Card to Wow Your Loved Ones!
Create Magic Color-Reveal Art with This Simple Trick!
DIY Magic Flashlight: Reveal Hidden Pictures with this Fun Craft!
Unleash Your Child’s Inner Artist with this Magical DIY Projector!
Easy Sticky Ice Experiment for Kids – A Fun & Magical Science Activity!
Egg Drop Inertia Science Project: A Fun Physics Experiment for Kids!
Making Flying Tea Bag Ghosts: A Spooky & Fun Science Experiment
DIY iPhone Speaker Hacks: Amplify Your Music Without Electronics